
The journal
Should I remove old silicone sealant before applying new?
Yes—remove old silicone before re-caulking. Here’s when to replace, safe removal steps, how to prep and apply a durable new bead, and common mistakes to avoid.
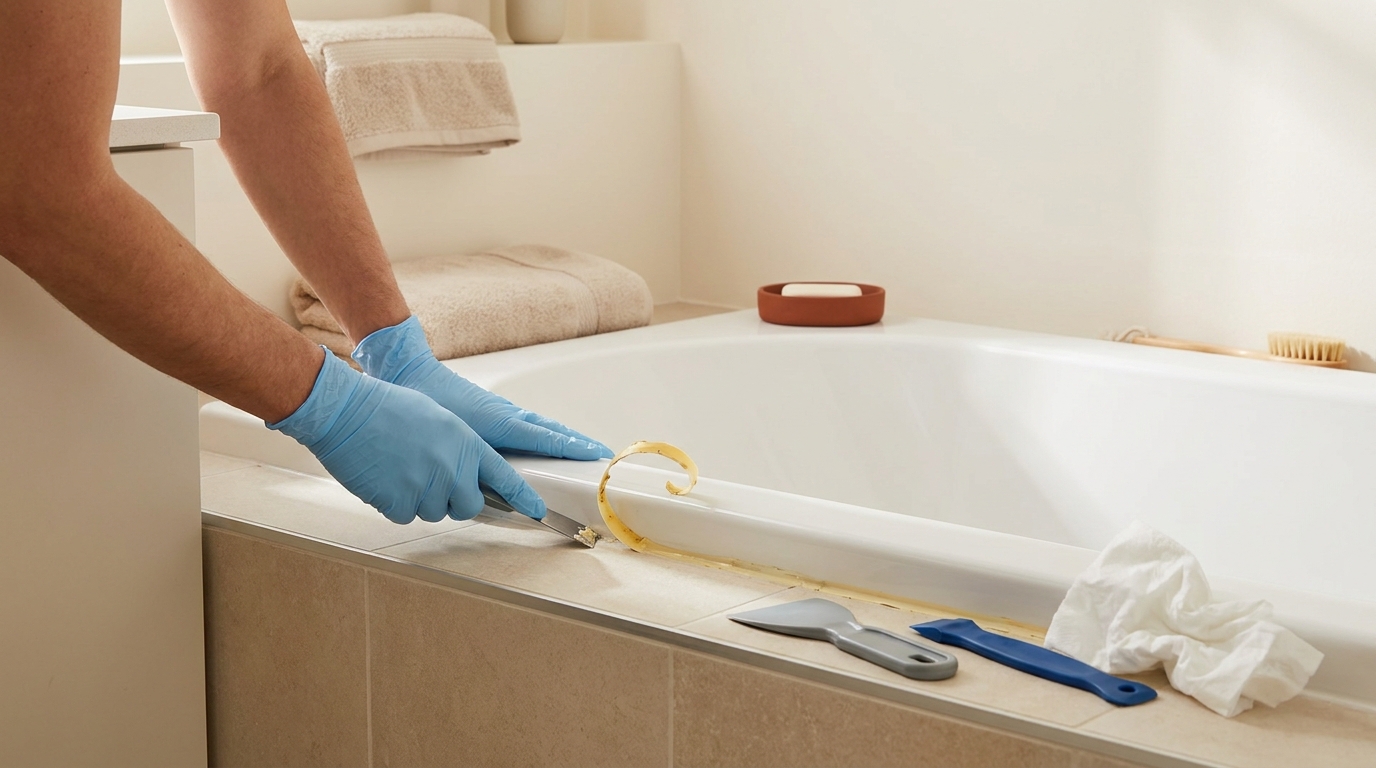
Short answer: Yes. For a durable, watertight seal you should remove the old silicone, clean the joint thoroughly, let it dry, and then apply fresh sealant. Manufacturers explain that new silicone bonds poorly to cured silicone and to the contaminants often trapped on the old bead, so skipping removal risks early failure https://gesealants.com/projects-howtos/can-you-use-silicone-sealant-over-old-sealant/.
When to replace rather than patch
Replace the entire bead if you see any of the following: mildew staining, edge lifting, cracking, gaps, or active leaks. These are common signs the joint is compromised and a full removal plus re-seal is the reliable fix https://gesealants.com/projects-howtos/can-you-use-silicone-sealant-over-old-sealant/. Some homeowner guides also advise against applying new silicone over old because it tends to look messy and the leak can persist https://nustone.co.uk/blog/remove-replace-silicone-sealant.
Limited touch-ups over intact, fully adhered silicone are at best short-term. The fresh bead still bonds to the old silicone “skin,” not the actual surface, which weakens adhesion in wet, high-movement areas like showers and tubs https://gesealants.com/projects-howtos/can-you-use-silicone-sealant-over-old-sealant/. Note: Certain specialty “renew” products are designed to go over existing silicone; if you choose one, follow that product’s instructions and limitations carefully https://gesealants.com/projects-howtos/how-to-remove-old-caulk/.
Tools and preparation
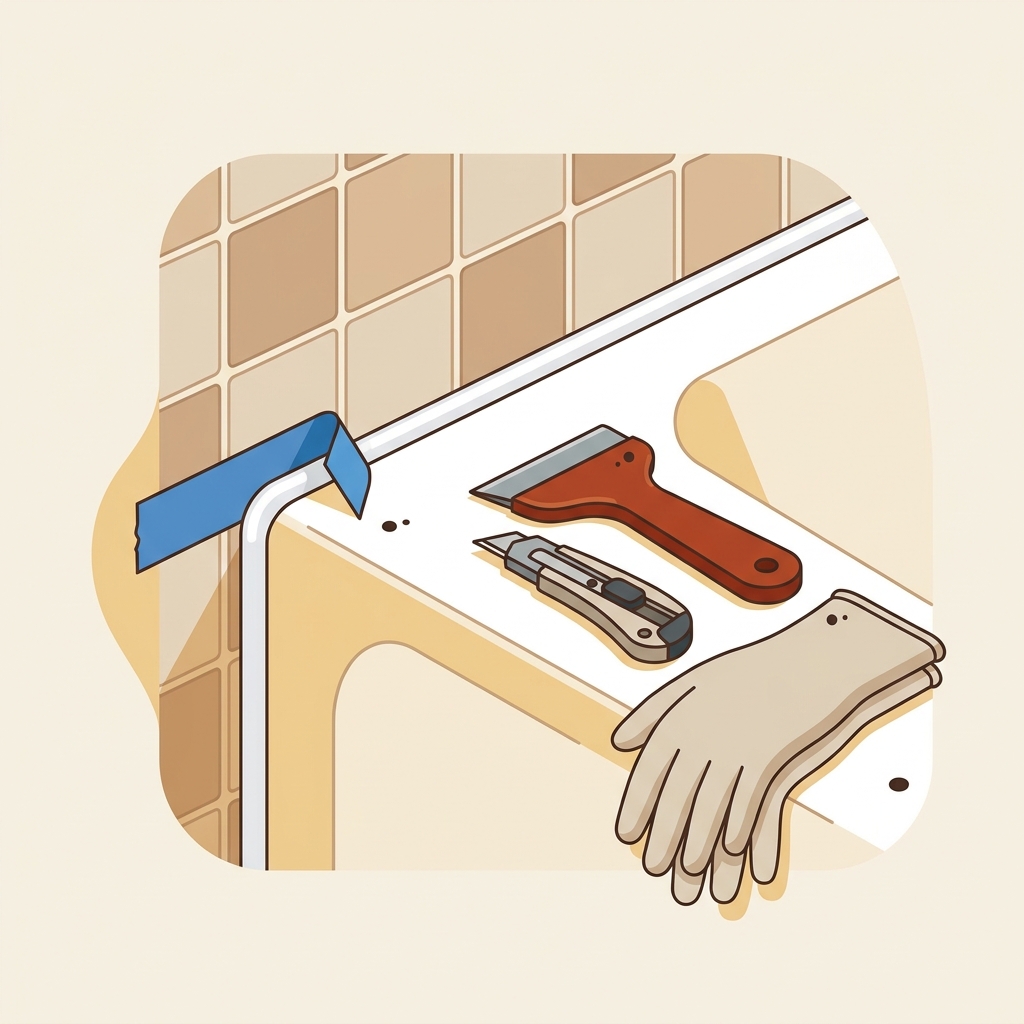
- Sharp utility knife (for scoring both edges)
- Sealant removal tool or rigid scraper (finish-safe profile preferred)
- Isopropyl alcohol (IPA) and lint-free cloths for residue removal
- Low-tack painter’s tape to protect edges
- Nitrile gloves, eye protection, and ventilation during cleaning
Manufacturers recommend mechanical removal first, then a careful wipe-down with isopropyl alcohol on compatible, non-porous surfaces to remove residue and contaminants, followed by complete drying before you re-caulk https://gesealants.com/projects-howtos/how-to-remove-old-caulk/. Protect tubs, tile glazes, acrylic and soft finishes from scratches; test any solvent on an inconspicuous area and avoid aggressive chemicals on sensitive materials https://gesealants.com/projects-howtos/the-right-way-to-remove-silicone-sealant-during-a-remodel/.
Step-by-step: remove old silicone and prepare the joint
1) Score both edges
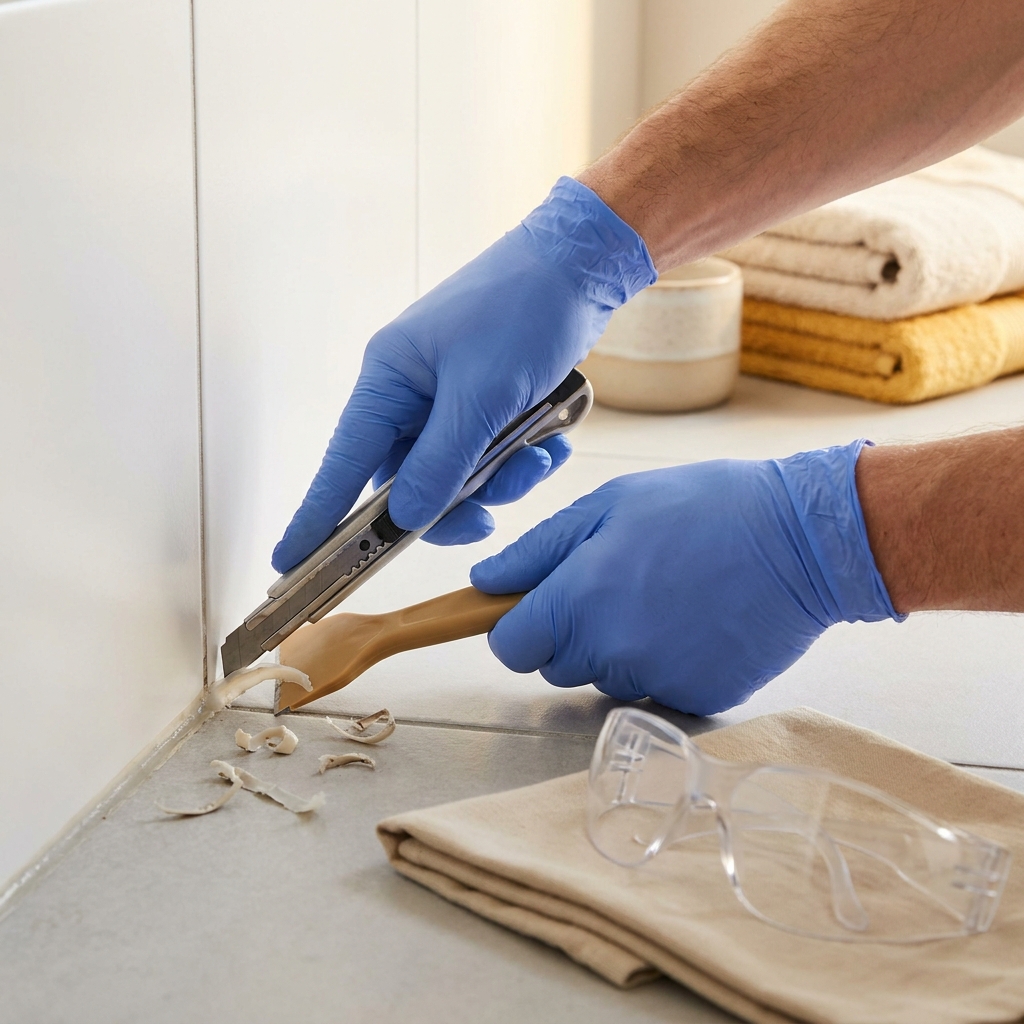
Run a sharp blade along both sides of the bead to break the bond without gouging the surfaces. Light, controlled passes help protect finishes https://gesealants.com/projects-howtos/the-right-way-to-remove-silicone-sealant-during-a-remodel/.
2) Lift out the bead
Use a sealant removal tool or scraper to raise and peel the bead in long strips. Keep the tool at a low angle and work steadily to avoid slips and scratches https://gesealants.com/projects-howtos/the-right-way-to-remove-silicone-sealant-during-a-remodel/.
3) Remove residue and contaminants
Even after peeling, a thin silicone smear often remains that can block adhesion. Wipe the joint with a lint-free cloth dampened with isopropyl alcohol (where compatible) to lift residue, oils and soap film. If mold was present, clean with a suitable mold cleaner first, then wipe with alcohol. Ensure good ventilation for this step https://gesealants.com/projects-howtos/how-to-remove-old-caulk/.
4) Let the joint dry completely
Moisture hinders adhesion and can interfere with curing, so allow full drying before resealing https://gesealants.com/projects-howtos/how-to-remove-old-caulk/.
Applying new silicone: make it last
- Mask edges for neat lines, especially on visible finishes.
- Cut the nozzle to roughly match joint width for better control.
- Apply a continuous bead with the tip touching both surfaces.
- Tool immediately to press sealant into the joint and remove voids.
Follow the product’s label for cure and water-exposure times. Some silicone formulations are splash-ready quickly, but full use typically requires a longer period; always defer to the manufacturer’s timing to avoid compromising the seal https://gesealants.com/projects-howtos/can-you-use-silicone-sealant-over-old-sealant/ https://gesealants.com/projects-howtos/how-to-remove-old-caulk/.
Common mistakes and safe stop conditions
- Applying new silicone over old: it rarely bonds well and often fails early https://gesealants.com/projects-howtos/can-you-use-silicone-sealant-over-old-sealant/.
- Leaving residue, soap film, or cleaner oils: these block adhesion; wipe with IPA where suitable and verify the surface is clean and dry https://gesealants.com/projects-howtos/how-to-remove-old-caulk/.
- Scratching acrylic, enamel, or tile glazes: use finish-safe tools, mask edges, and keep pressure low. If you see damage or softening, stop and reassess your technique or chemistry before proceeding https://gesealants.com/projects-howtos/the-right-way-to-remove-silicone-sealant-during-a-remodel/.
Related practical reads: What type of caulk should I use on baseboards? and Should I use plumber's putty or silicone to seal my sink drain?.
Quick checklist: replace a silicone bead the right way

FAQ
Can I put new silicone over old?
You can, but it usually won’t last. Fresh silicone struggles to bond to cured silicone and contaminants on the old bead. Removal, cleaning with IPA, and drying give you a reliable bond https://gesealants.com/projects-howtos/can-you-use-silicone-sealant-over-old-sealant/.
Do I have to use a chemical remover?
No. Mechanical removal plus a wipe with isopropyl alcohol on compatible surfaces is commonly recommended. If you try any solvent, test first and protect sensitive materials https://gesealants.com/projects-howtos/how-to-remove-old-caulk/ https://gesealants.com/projects-howtos/the-right-way-to-remove-silicone-sealant-during-a-remodel/.
How long before I can use the shower?
Follow your product’s label. Some silicones are splash-ready relatively quickly, but full use typically requires a longer cure. Early water exposure can compromise the seal https://gesealants.com/projects-howtos/how-to-remove-old-caulk/.