
The journal
Is it necessary to use primer before painting walls? Practical guidance from Home by Doing
Understand when to paint primer before painting walls, from new drywall to stains, glossy finishes and repairs. Practical steps and safety notes.
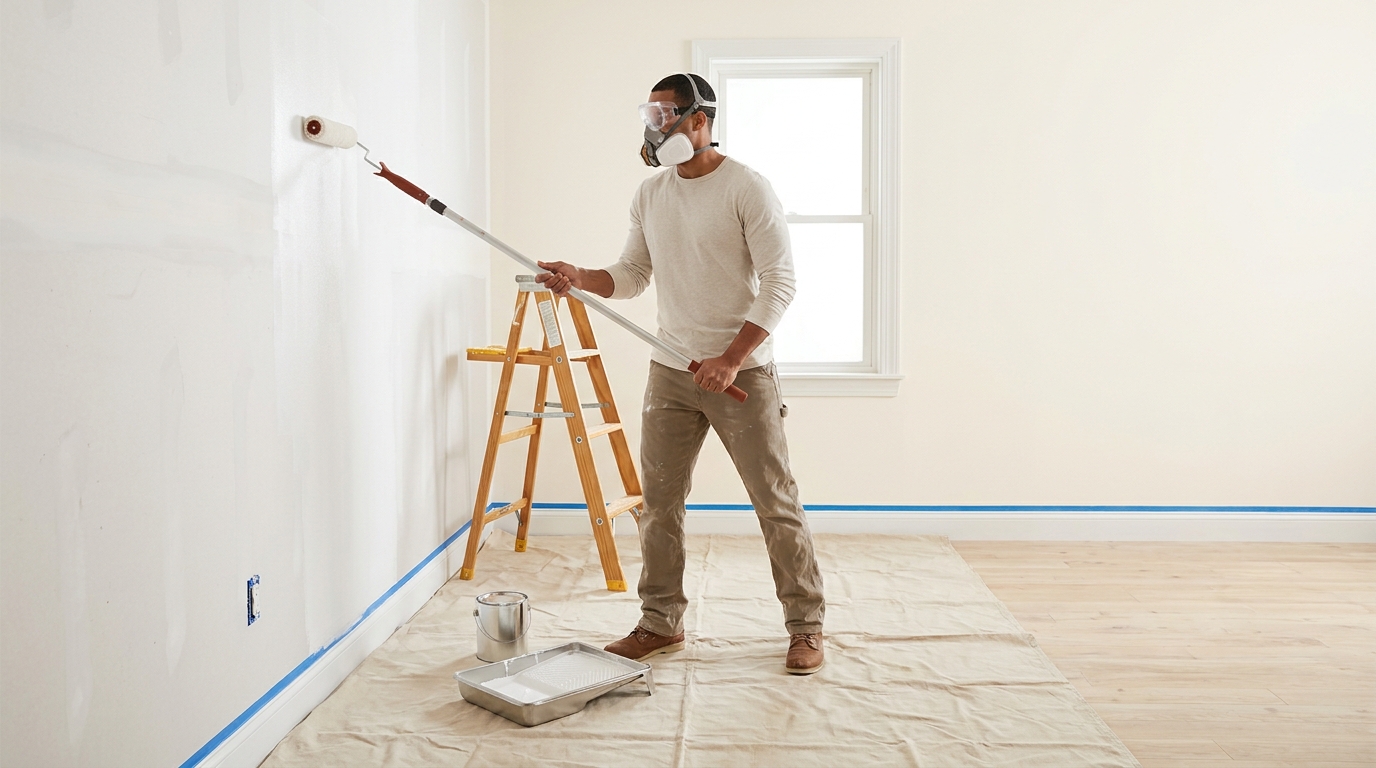
What a primer does and why it matters
Primer: definition and core functions
A primer is a preparatory coating applied before finish paint to seal a surface, control absorption and improve adhesion. For homeowners, a primer acts like a base layer that evens out how the wall soaks up paint and helps the topcoat look consistent. When people ask whether to paint primer before painting walls, the simple answer depends on the surface you have and the result you want.
New drywall is notably absorbent and can lead to patchy color or sheen if it is painted without a seal. Trade guidance describes priming new gypsum board as a routine step to achieve uniform appearance and reliable adhesion, which means sealing new drywall first is the sensible approach for most interior jobs Gypsum Association guidance on levels of finish for gypsum panel products. See GA-214 guidance (PDF) for details GA-214 (PDF).
How primer affects color, sheen and adhesion
A quality primer reduces flashing, which is the uneven look where patches or joint compound appear darker or shinier than the surrounding wall after topcoating. Spot-priming patched areas helps hide texture differences and keeps the finish uniform across the whole wall. This practical step is especially important after repairs using joint compound because the patch and the surrounding drywall absorb finish paint differently Primer vs. Paint guidance for spot priming and patched drywall.
Not all paint needs a separate primer. Many modern self-priming paints are formulated to hide minor differences on previously painted, sound walls and can save a coat and time. However, those products do not replace purpose-made primers where the substrate is bare, stained or difficult to bond to. If the wall has stains, water damage, or other problems that can bleed through, use a dedicated stain-blocking primer rather than relying on a self-priming finish Practical notes on when to use a primer from The Spruce.
A simple decision framework: when to prime, and what kind
Quick yes/no checklist
Start with a quick checklist: is the surface new drywall or bare plaster, does it have visible stains or smoke residue, is the existing paint glossy or oil-based, are there patches or joint compound, or are you shifting from a very dark color to a light color? If you answered yes to any of these, a primer is recommended. If the wall is sound, clean, dull and already close in color, a separate primer may be optional.
Use this short flow when deciding: seal new drywall (see our interior painting guide), use stain-blocking primers for bleed risks, use bonding primers for glossy or oil-based finishes after deglossing, and spot-prime any repairs before the topcoat. Industry guidance supports sealing new gypsum board to avoid uneven sheen and to help the finish paint perform as intended PCA industry standards on surface preparation and priming.
Types of primers and when to use each, briefly
Seal primers or drywall primers are the go-to for fresh drywall and plaster. They control absorption and create a uniform base for the finish coat. Stain-blocking primers are formulated to prevent water stains, smoke or tannin bleed from coming through the topcoat by locking the stain in place. Bonding primers are designed to adhere to glossy or previously oil-based finishes and reduce the risk of peeling when you switch to a waterborne topcoat, usually after scuff sanding or deglossing the surface Notes on primer types and bonding primers from The Spruce.
Choosing the right primer for the job reduces wasted paint and time. If you are unsure which primer type matches a particular problem, the checklist above helps narrow the choice and keeps the job focused on the issue that causes failure, such as stain reappearance or poor adhesion.

Decision criteria: evaluate your wall in five quick checks
Substrate condition: new, painted, patched
Check 1, new drywall or bare plaster. New gypsum board needs a sealing coat to avoid patchiness and flashing when you apply finish paint. The Gypsum Association recommends sealing new drywall to achieve a uniform appearance and dependable adhesion, so treat new panels as a priming job before finishing Gypsum Association guidance on sealing new drywall. See also USG guidance on finishing drywall Finishing Drywall Systems (USG).
Check 2, existing paint. If the wall is previously painted, clean and dull, and the new color is similar, you may use a high quality self-priming paint and skip a separate primer. If the existing paint is glossy or was oil-based, plan to degloss or scuff-sand and use a bonding primer to ensure the new finish sticks properly PCA recommendations on preparing glossy and oil-based surfaces.
Is it necessary to use primer before painting walls?
Primer is necessary for new drywall, stained or bleed-prone surfaces, patched areas and problem substrates; it can be optional for clean, sound, previously painted walls that are similar in color.
Stains, odors and tannins
Check 3, stains and bleed. Water stains, smoke or nicotine residue and tannin bleed from certain woods can reappear through a finish coat unless a stain-blocking primer is used. For surfaces with visible staining or odor concerns, apply a dedicated stain-blocking primer after cleaning and drying the area to reduce the chance that the problem comes back through the paint Preservation guidance on painting interiors and stain-blocking treatments.
Check 4, patched areas and joint compound. Small repairs are common in repainting projects. Spot-priming these areas evens out absorption and reduces the risk of texture telegraphing where the patch stands out after painting. Priming patches before full topcoating helps the whole wall look consistent Sherwin-Williams on spot priming patched drywall.
Previous paint type and sheen
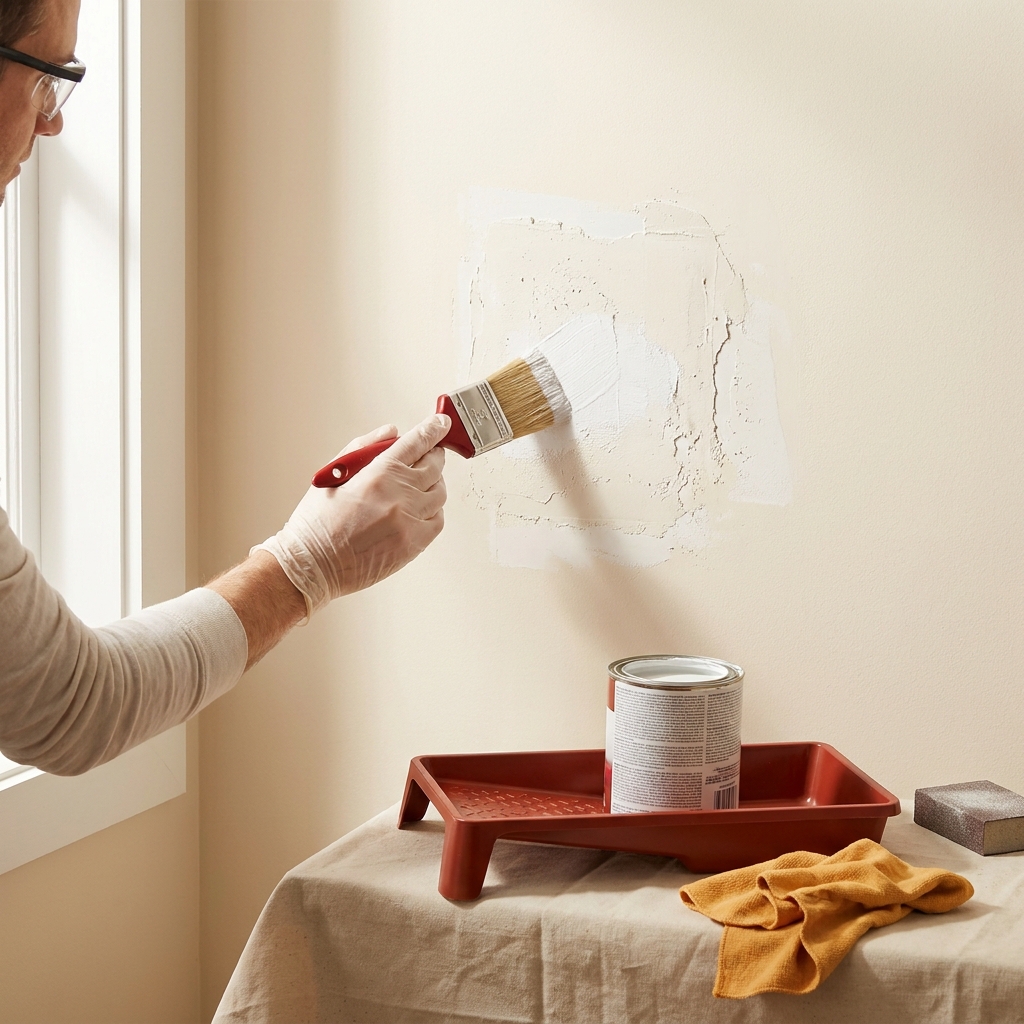
Typical mistakes to avoid when skipping or using primer
Common DIY errors and how they show up after painting
One frequent error is skipping primer on new drywall or over patched areas. The result is often flashing, where joint compound or repaired spots dry to a different sheen or color than the rest of the wall. Spot-priming joint compound prevents that outcome and gives the topcoat a consistent look Gypsum Association guidance on finishing and priming drywall.
Another mistake is using a self-priming finish over problem substrates such as smoke-damaged walls or tannin-stained wood. Self-priming paints can mask minor issues on sound surfaces but they are not a substitute for a stain-blocking primer when bleed-through is likely When to use a primer guidance from The Spruce.
Safety and regulatory mistakes to avoid
Older homes require extra caution. In U.S. housing built before 1978, disturbing existing paint can trigger lead safe work rules. Testing for lead paint and following containment or hiring a certified renovator should take priority over routine priming choices to keep occupants safe EPA RRP guidance on lead safe work practices.
Also avoid rushing through surface prep. Skipping sanding, cleaning or the right primer in hopes of saving time often leads to rework, more coats of finish paint and a job that looks uneven. Investing a little prep time typically prevents larger corrections later Sherwin-Williams on the value of prep and spot priming.
Practical scenarios and what to do in each
Scenario: new drywall in a freshly built or renovated room
New drywall should be sealed across the whole surface before finish coats. Apply a drywall primer or sealer that is formulated for gypsum board to reduce the need for extra finish coats and to avoid patchy sheen where taps and joints absorb paint differently. This approach follows industry finish guidance for uniform color and adhesion on new panels Gypsum Association recommendations for new drywall. See our wall repairs and preparation guide for practical steps wall repairs and preparation guide, and a summary of finish levels is available from industry sources Gypsum board finish levels.
Materials list: drywall primer, quality roller, light sanding pad, clean tack cloth, and a small patching kit if you need to touch joints. After priming, allow the sealer to dry fully before applying topcoat to get an even result and predictable coverage.
Scenario: repainting over dark color or strong pigment
When moving from a dark or saturated color to a much lighter hue, a tinted primer or a high-hide full-coverage primer will reduce the number of finish coats required. Using a primer tuned to the new color saves time and paint and improves final opacity. A tinted primer helps block the old color from altering the finish shade while you complete the topcoat process Guidance on using tinted primers for color changes.
Scenario: smoke- or water-damaged walls
If walls show water stains, smoke or nicotine residue, or if you notice tannin bleed, clean and dry the surface first and then apply a stain-blocking primer designed to lock those contaminants in place. This step reduces the chance that the stain will migrate back through the finish coat and spoil the new paint job NPS preservation brief on painting interiors and stain blocking.
Follow cleanup with the right primer and allow ample drying time. For stubborn odors or large damage areas, consider professional cleaning or remediation before priming to avoid sealing in moisture or contaminants.
Scenario: small patch repairs and spot-priming
For small holes, dents and typical nail pops, repair with joint compound, sand smooth and apply a spot primer over each repair. Spot-priming helps the repaired patch accept the topcoat the same way as the surrounding wall and reduces visible edges or sheen differences under finish paint Sherwin-Williams on spot priming repairs.
When many patches are present, prime the entire wall rather than spot-priming many separate spots. That ensures a consistent finish and usually costs less time and material than trying to match absorption on dozens of small repairs.
Short cheat sheet and next steps
Two-minute primer checklist
Two minute checklist: prime new drywall, prime over stains with a stain-blocking primer, degloss and use a bonding primer on glossy or oil-based finishes, spot-prime patched areas, and use a tinted primer for major color changes. If the wall is sound and previously painted in a similar tone, a high quality self-priming paint can be acceptable.
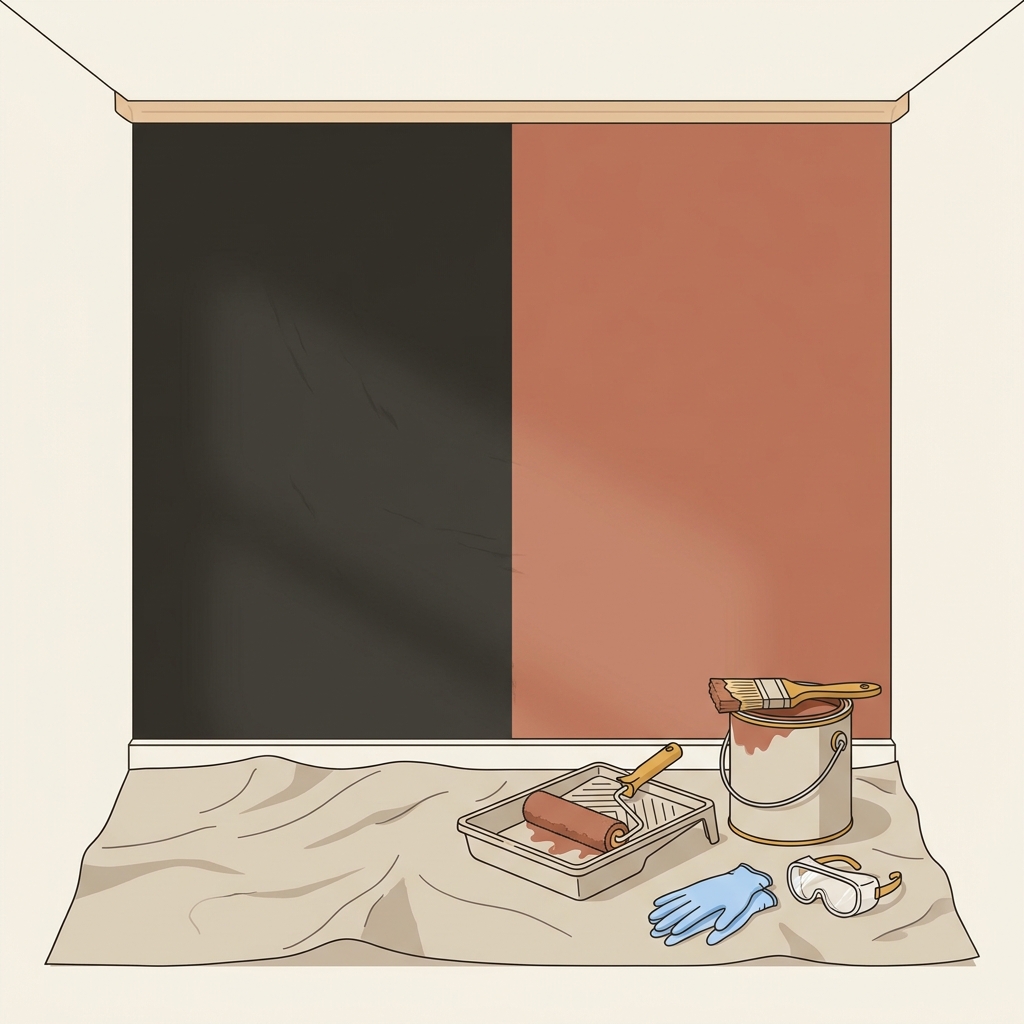
When to call a pro and safety reminders
Call a professional if you suspect lead paint, if stains are widespread, or if there is structural moisture damage. For homes built before 1978, lead testing and following EPA RRP rules or hiring a certified renovator is the right safety step before any scraping or sanding that might disturb old paint EPA RRP lead safe work program.
Next steps: inspect each wall with the two-minute checklist, do a small test patch with your chosen primer and paint, and adjust the plan based on the results. If in doubt, priming is usually the lower risk option when problem signs are present.
Frequently asked questions
Do I always need primer on new drywall?
Yes. New drywall should be sealed or primed before finish paint to avoid uneven absorption, flashing and inconsistent sheen.
Can I skip primer on walls that already have paint?
You can skip primer if the wall is sound, clean, dull and the new color is similar, but use a primer for stains, patched areas, or drastic color changes.
What should I do if I find lead paint?
If the home was built before 1978, follow lead safe work rules, get testing and hire a certified renovator if needed before disturbing paint.
Priming is a simple step that prevents many common paint problems when the surface is new, damaged or otherwise likely to cause bleed-through or adhesion issues. Use the two minute checklist before you start and choose the primer that matches the problem. If you face lead concerns, large stains or structural moisture, stop and get the appropriate testing or professional help first. A little prep work now usually means a lasting finish that looks uniform and needs fewer touch ups later.
References
- https://www.americangypsum.com/sites/default/files/2022-05/ga-214-2021_17.pdf
- https://images.sherwin-williams.com/content_images/sw-pdf-primers-selection-gui-1.pdf
- https://www.thespruce.com/when-to-use-primer-before-painting-1822866
- https://www.pcapainted.org/industry-standards/
- https://www.nps.gov/tps/how-to-preserve/briefs/28-painting-interiors.htm
- https://www.epa.gov/lead/renovation-repair-and-painting-program
- https://www.americangypsum.com/sites/default/files/2022-05/ga-214-2021_17.pdf
- https://www.usg.com/content/dam/USG_Marketing_Communications/canada/product_promotional_materials/finished_assets/cgc-construction-handbook-ch05-finishing-drywall-systems-can-en.pdf
- https://www.nationalgypsum.com/ngconnects/blog/building-knowledge/gypsum-board-finish-levels
- https://homebydoing.com/guides/interior-painting/
- https://homebydoing.com/guides/wall-repairs-and-preparation/
- https://homebydoing.com/guides/