
The journal
Is it easy to replace weather stripping around a door?
Yes, most door weatherstripping swaps are simple DIYs if the frame is sound. Learn how to spot leaks, choose the right seal, replace it cleanly, and test the fit.
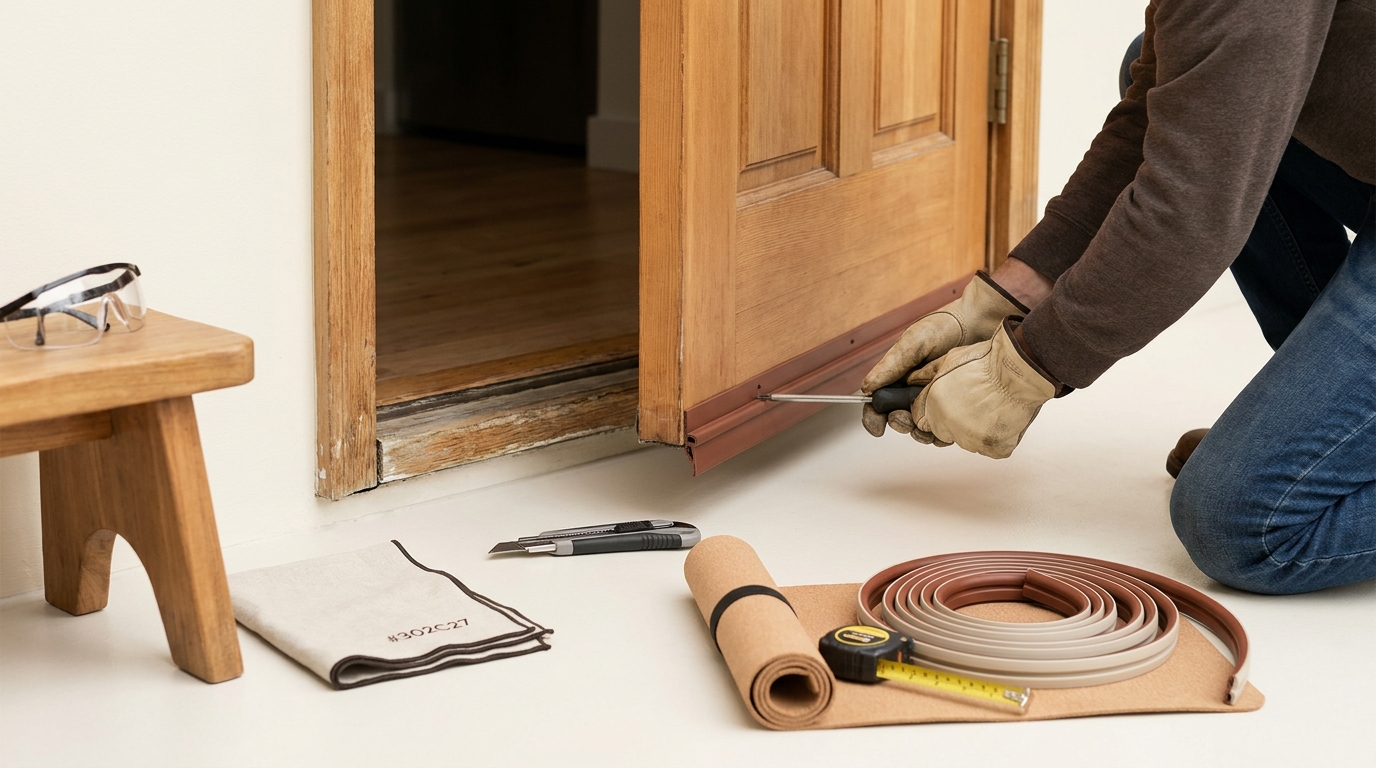
Yes. For most exterior doors in good condition, replacing worn weatherstripping is a straightforward DIY. Many modern doors use kerf-in gaskets that simply pull out and press in a replacement, and even surface-mounted seals and sweeps install with basic tools. If you find rot, a warped threshold, or a badly misaligned door, address those first or hire a pro https://projectcenter.thermatru.com/knowledge/how-to-replace-door-weather-stripping https://doorsforpros.com/blog/post/how-to-replace-front-door-weather-stripping?srsltid=AYCX9vK1N7gX_wMJpYGmTDZpSNQf7779aspXxl-W9mIxcnBO5WHGgici.
How easy it is depends on your door and seal type
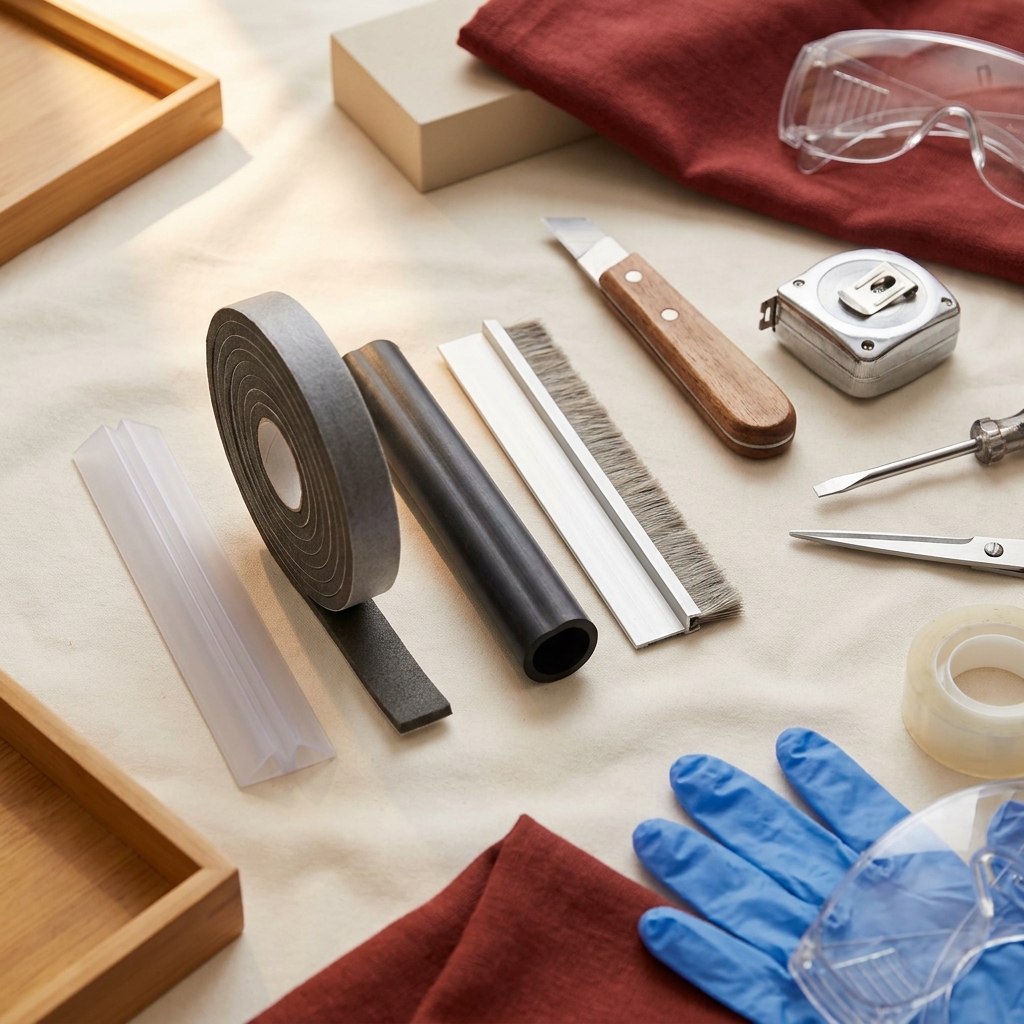
Kerf-in weatherstripping (common on many prehung exterior doors) usually pulls out by hand and presses into the jamb groove, making it a quick swap https://projectcenter.thermatru.com/knowledge/how-to-replace-door-weather-stripping. Surface-mounted perimeter seals (V-strip or tubular gaskets) and bottom door sweeps require cutting to length and light fastening, but remain beginner-friendly with measuring and careful alignment https://doorsforpros.com/blog/post/how-to-replace-front-door-weather-stripping?srsltid=AYCX9vK1N7gX_wMJpYGmTDZpSNQf7779aspXxl-W9mIxcnBO5WHGgici.
Find the leaks and confirm the fit
Before buying parts, check where air is getting in:
- Look for slivers of daylight around the sides, top, and bottom of the door at dusk https://doorsforpros.com/blog/post/how-to-replace-front-door-weather-stripping?srsltid=AYCX9vK1N7gX_wMJpYGmTDZpSNQf7779aspXxl-W9mIxcnBO5WHGgici.
- Use the dollar-bill test: shut the bill in different spots. You should feel a slight tug, not a loose slide or a jammed grip https://doorsforpros.com/blog/post/how-to-replace-front-door-weather-stripping?srsltid=AYCX9vK1N7gX_wMJpYGmTDZpSNQf7779aspXxl-W9mIxcnBO5WHGgici.
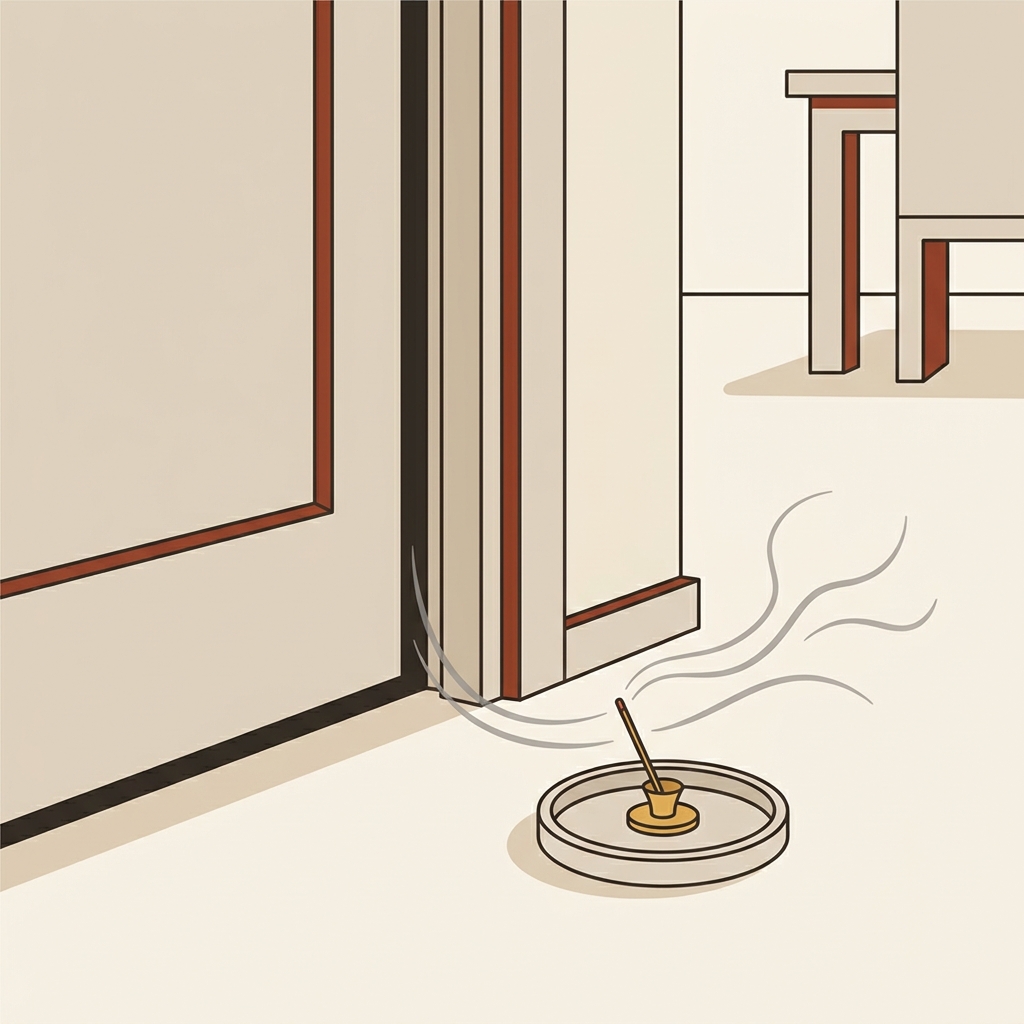
- Feel for drafts with your hand, especially near the threshold and lock side on windy days https://doorsforpros.com/blog/post/how-to-replace-front-door-weather-stripping?srsltid=AYCX9vK1N7gX_wMJpYGmTDZpSNQf7779aspXxl-W9mIxcnBO5WHGgici.
Quick pre-check before you buy weatherstripping
Step-by-step: replace door weatherstripping
1) Remove the old seal
For kerf-in types, start at the top corner and pull the gasket out of the groove. For surface-mounted or adhesive seals, gently pry or peel, using a scraper to lift residue without gouging the jamb https://projectcenter.thermatru.com/knowledge/how-to-replace-door-weather-stripping https://doorsforpros.com/blog/post/how-to-replace-front-door-weather-stripping?srsltid=AYCX9vK1N7gX_wMJpYGmTDZpSNQf7779aspXxl-W9mIxcnBO5WHGgici.
2) Clean and prep
Wash the surfaces, remove leftover adhesive, and lightly sand if paint ridges prevent flat contact. Tighten loose hinges and address any rotted wood or a warped threshold before installing new seals; misalignment will defeat a new gasket https://doorsforpros.com/blog/post/how-to-replace-front-door-weather-stripping?srsltid=AYCX9vK1N7gX_wMJpYGmTDZpSNQf7779aspXxl-W9mIxcnBO5WHGgici.
3) Measure and choose the right type
- Perimeter: kerf-in strips for doors with jamb grooves; or surface-mounted V-strip/tubular gaskets on the stop for retrofit or uneven gaps.
- Bottom: an adjustable sweep or door shoe that brushes the threshold without dragging on flooring.
Match the seal to the gap and exposure; heavier, screw-mounted options and durable materials (for example, neoprene or silicone) hold up better on high-traffic, weather-exposed entries https://doorsforpros.com/blog/post/how-to-replace-front-door-weather-stripping?srsltid=AYCX9vK1N7gX_wMJpYGmTDZpSNQf7779aspXxl-W9mIxcnBO5WHGgici.
4) Cut and install
Dry-fit and trim to length. For kerf-in, press the flat edge fully into the groove and seat the corners neatly; trim any excess flush https://projectcenter.thermatru.com/knowledge/how-to-replace-door-weather-stripping. For surface-mounted perimeter seals and sweeps, pre-drill and fasten evenly so the seal touches the door all along the edge; aim for light compression without binding https://doorsforpros.com/blog/post/how-to-replace-front-door-weather-stripping?srsltid=AYCX9vK1N7gX_wMJpYGmTDZpSNQf7779aspXxl-W9mIxcnBO5WHGgici.
5) Test and fine-tune
Repeat the dollar-bill test around the perimeter and check that the latch engages smoothly. If the door drags or the bill cannot be pulled at all, reduce compression by repositioning or slightly loosening fasteners. If you still see daylight, adjust the sweep height or select a thicker profile where needed https://doorsforpros.com/blog/post/how-to-replace-front-door-weather-stripping?srsltid=AYCX9vK1N7gX_wMJpYGmTDZpSNQf7779aspXxl-W9mIxcnBO5WHGgici.
Tips that make the job last
- Install in milder weather when possible; cold adhesives stick poorly, and stiff seals are harder to shape. Above about 20°F (−7°C) is a practical benchmark for adhesive-backed products https://doorsforpros.com/blog/post/how-to-replace-front-door-weather-stripping?srsltid=AYCX9vK1N7gX_wMJpYGmTDZpSNQf7779aspXxl-W9mIxcnBO5WHGgici.
- Run continuous strips and meet corners tightly; miter if needed so there are no gaps at the joints https://doorsforpros.com/blog/post/how-to-replace-front-door-weather-stripping?srsltid=AYCX9vK1N7gX_wMJpYGmTDZpSNQf7779aspXxl-W9mIxcnBO5WHGgici.
- At threshold corners exposed to weather, a thin bead of compatible sealant can block tricky wind-driven leaks https://doorsforpros.com/blog/post/how-to-replace-front-door-weather-stripping?srsltid=AYCX9vK1N7gX_wMJpYGmTDZpSNQf7779aspXxl-W9mIxcnBO5WHGgici.
- Do not overtighten sweep screws; a slight bend warps the seal and creates new gaps https://doorsforpros.com/blog/post/how-to-replace-front-door-weather-stripping?srsltid=AYCX9vK1N7gX_wMJpYGmTDZpSNQf7779aspXxl-W9mIxcnBO5WHGgici.
When to call a pro
Stop and get help if you find rotted jambs, a visibly warped threshold, or a door that stays misaligned even after you tighten hinges. Sealing over these issues will not hold and can mask water problems https://doorsforpros.com/blog/post/how-to-replace-front-door-weather-stripping?srsltid=AYCX9vK1N7gX_wMJpYGmTDZpSNQf7779aspXxl-W9mIxcnBO5WHGgici. For alignment or rubbing, see our practical fixes: How do you fix an interior door that rubs? and Why is my internal door sticking in the summer?
Install-day checklist
FAQ
Do I need to remove the door to replace the weatherstripping?
No. Kerf-in gaskets, V-strips, tubular gaskets, and screw-on sweeps are typically replaced with the door in place https://doorsforpros.com/blog/post/how-to-replace-front-door-weather-stripping?srsltid=AYCX9vK1N7gX_wMJpYGmTDZpSNQf7779aspXxl-W9mIxcnBO5WHGgici.
What is the best quick test after I install?
Use the dollar-bill test around the perimeter and check for any remaining daylight. Adjust fasteners or choose a thicker/thinner profile where needed https://doorsforpros.com/blog/post/how-to-replace-front-door-weather-stripping?srsltid=AYCX9vK1N7gX_wMJpYGmTDZpSNQf7779aspXxl-W9mIxcnBO5WHGgici.
Can I replace only the bottom seal?
Yes. An adjustable door sweep or shoe can close the gap at the threshold and is often the fastest way to stop a floor-level draft https://doorsforpros.com/blog/post/how-to-replace-front-door-weather-stripping?srsltid=AYCX9vK1N7gX_wMJpYGmTDZpSNQf7779aspXxl-W9mIxcnBO5WHGgici.