
The journal
What type of caulk should I use on baseboards? Practical guidance for choosing and applying caulk
how to choose caulk for baseboards: choose acrylic-latex for painted trim, use silicone for wet areas, and prep with backer rod and proper cleaning.
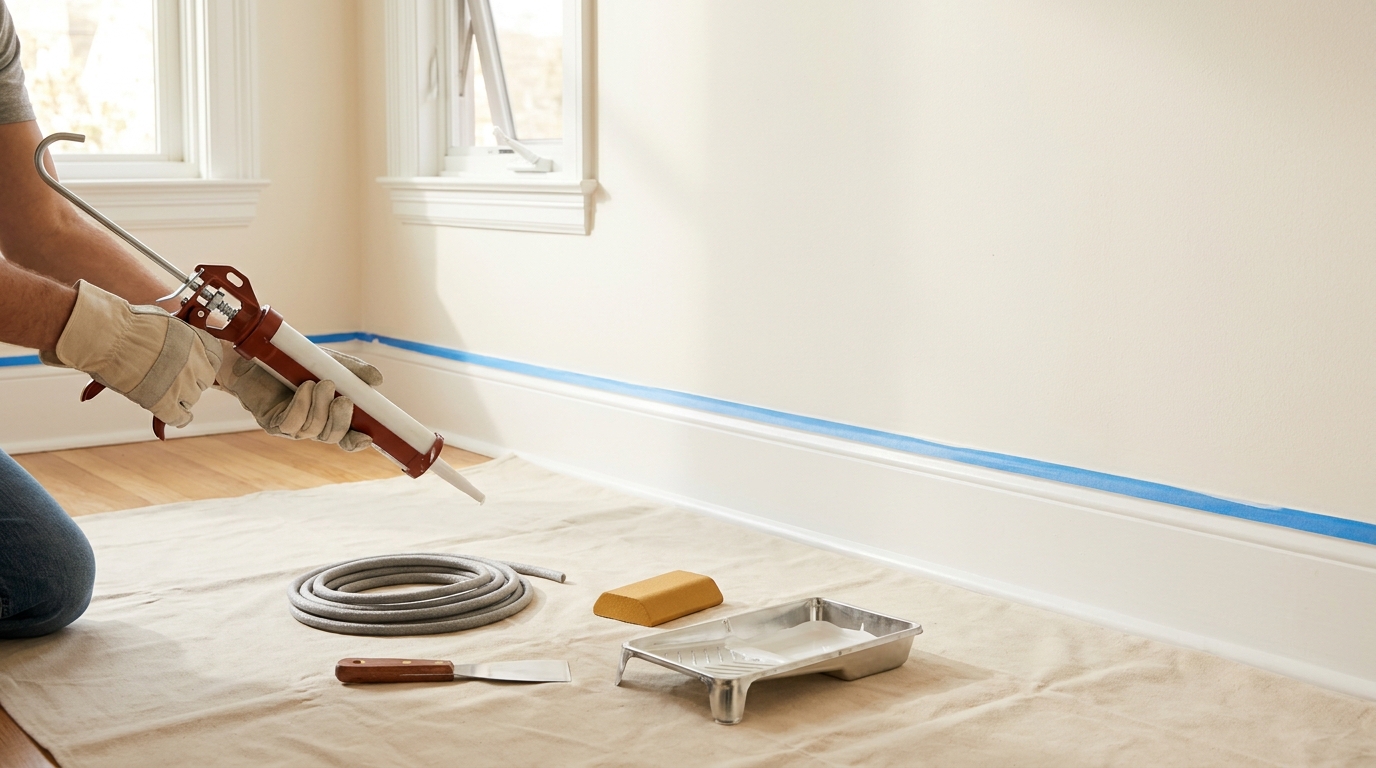
Quick answer: which caulk to use on baseboards
how to choose caulk for baseboards
Acrylic-latex caulk is the typical choice for painted wood baseboards because it is paintable and cleans up with water, making it the easy go-to for most living areas and hallways; this is the recommendation used in U.S. guidance for interior trim.
What type of caulk should I use on baseboards?
For painted interior baseboards, use acrylic-latex because it is paintable and water-cleanable; use 100 percent silicone where water resistance and flexibility are essential, and consider hybrid or siliconized acrylic products only after checking labels and standards.
Use 100 percent silicone where water resistance and long-term flexibility matter most, such as damp floor perimeters or areas exposed to frequent wet cleaning, but note most silicones are not paintable and so interfere with a painted finish.
There are siliconized acrylic and hybrid formulations that aim to offer both paintability and extra flexibility; if you consider one, check the label for movement capability and standards like ASTM C920 to match the product to your needs ASTM C920-21 standard.
Why paintability, flexibility and water resistance matter for baseboards
How paintability affects finish and maintenance
Paintability matters because a non-paintable sealant will leave a visible patch or prevent the new paint from adhering cleanly to the trim; for painted wood baseboards, using a paintable product keeps the repaired joint visually consistent with the surrounding finish.
Acrylic-latex caulks are designed to take paint and to be cleaned up with water during application, which makes touch-ups and coordinated repainting straightforward for DIYers (see Fine Homebuilding for more on paintable caulk differences).
Why flexibility and movement capability matter in trim
Trim and baseboards expand and contract with temperature and humidity changes plus normal house movement; a sealant that accommodates some movement lowers the chance of cracks reopening or joints splitting over time ASTM C920-21 standard.
In spaces where humidity or occasional water contact is present, the added flexibility of silicone or a high-performance hybrid reduces failures that come from repeated wet-dry cycles.
Types of caulk you will encounter and when to use each
Acrylic-latex (paintable) caulk
Acrylic-latex, sometimes called painter's caulk, is the most common recommendation for painted interior baseboards because it accepts paint and is easy to tool and clean up with water, which suits typical living areas and trim repairs (see manufacturer guidance at DAP).
Pros of acrylic-latex include paintability, ease of application, and water cleanup; cons are that it can be less flexible than silicone and may need re-caulking sooner where movement is high or moisture is frequent.
100 percent silicone
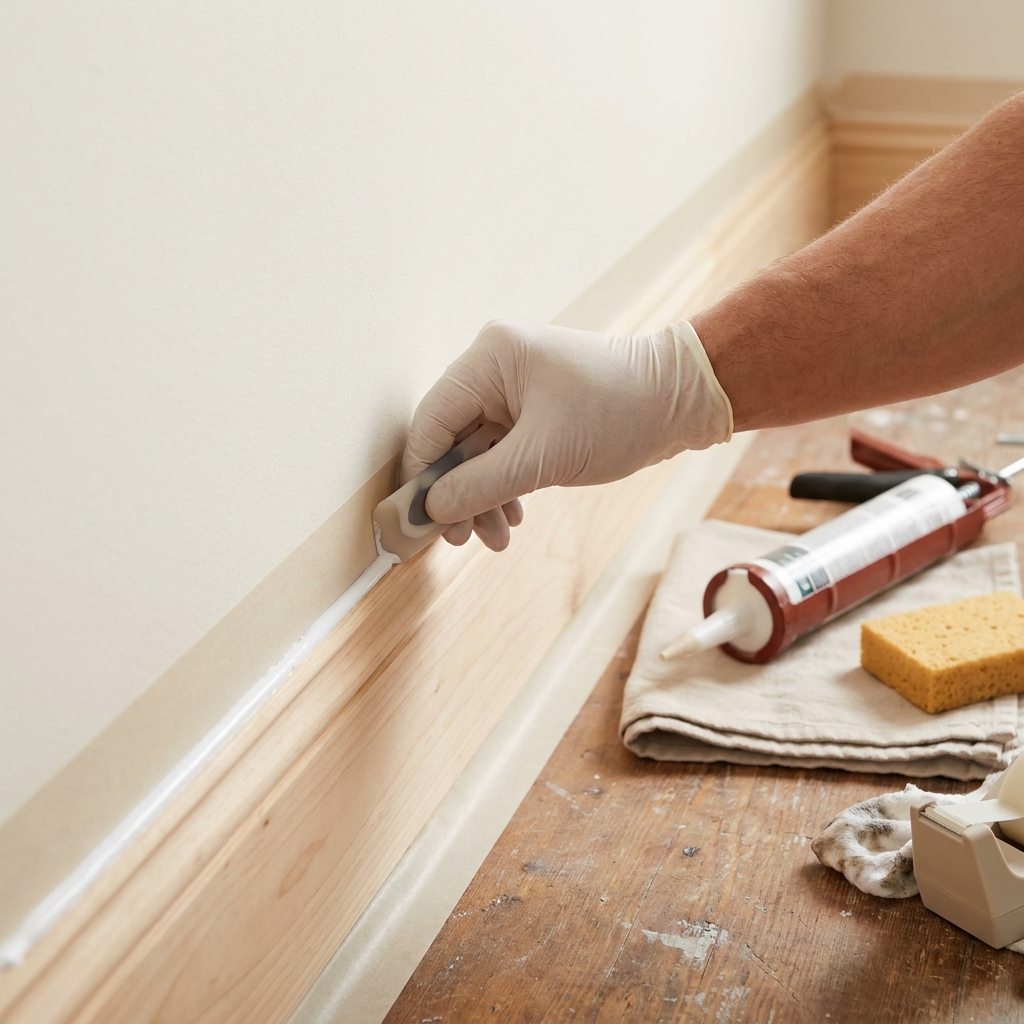
Silicone stays flexible and resists water for longer than basic acrylics, which helps prevent cracking in humid environments, but its non-paintable nature means you should plan the visual finish accordingly.
Use 100 percent silicone where superior water resistance and long-term flexibility are primary concerns, for example around bathroom baseboard perimeters or laundry-room thresholds; many silicones are not paintable, so they are best where you expect bare bead or where a different finish is acceptable.
Siliconized acrylic and hybrid formulations
Siliconized acrylic and newer hybrid formulations aim to give some of the flexibility and water resistance you get from silicone while remaining paintable; manufacturers vary in how well their products meet both goals, so verify label claims before buying and look for products with stated movement capability or compliance with ASTM C920 ASTM C920-21 standard.
These hybrids can be a reasonable compromise for rooms with occasional dampness where you want to paint the trim, but because formulations differ you should choose one with clear performance specifications or test a small area first.

Prep and application: how to get a neat, long-lasting bead
Surface preparation steps
Good adhesion starts with clean, dry surfaces: remove failed caulk, scrape loose paint or debris, wipe with a damp cloth and allow the joint to dry before applying new caulk; this preparation noticeably improves adhesion and appearance. See our sealants and maintenance guide for related tips.
Using painter's tape to mask edges before tooling helps create a straight, crisp line and reduces the need for later trimming or cleanup.
When and how to use backer rod
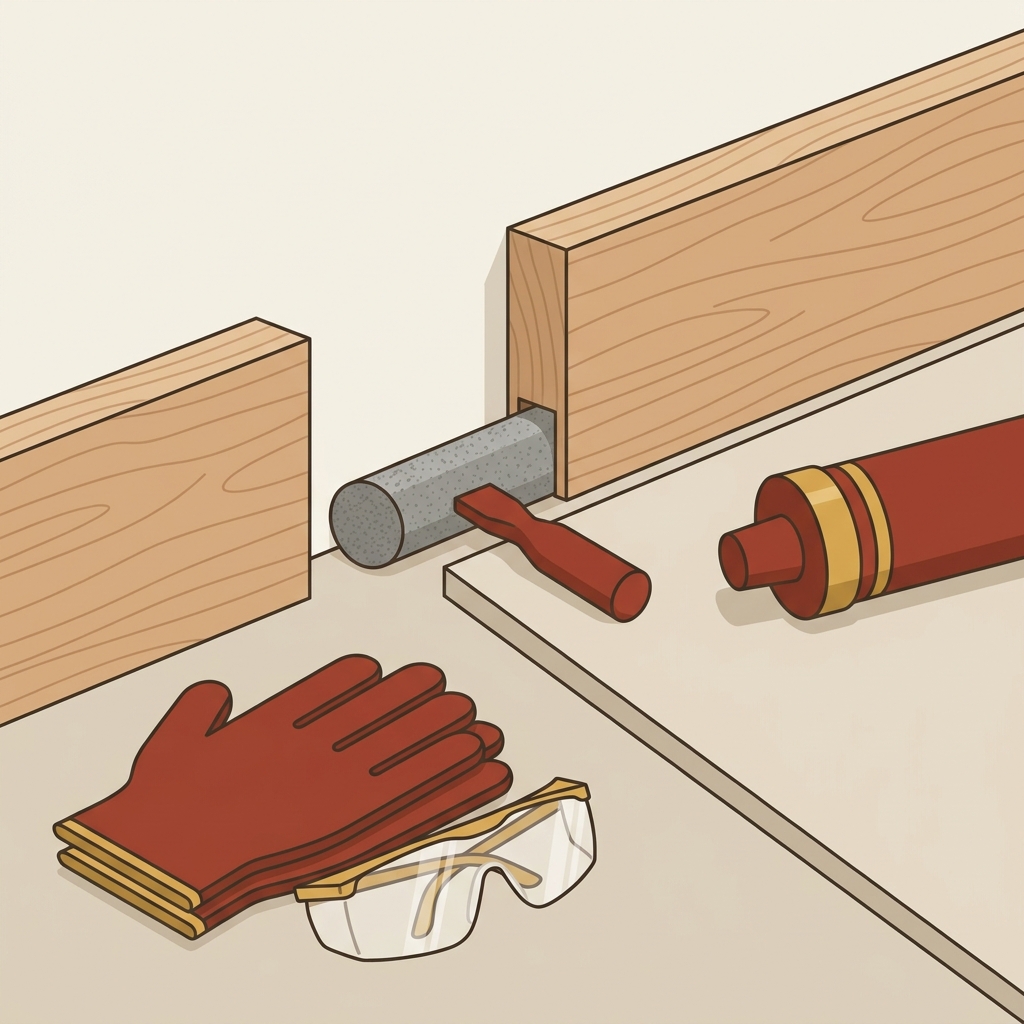
For gaps wider than about 1/4 inch, inserting a compressible backer rod first controls joint depth, reduces the risk of overfilling, and helps the sealant stretch and compress as intended rather than pull free. For measuring and planning the fit of a backer rod, see our measuring and project planning guide.
Measure the gap to choose a backer rod diameter slightly larger than the opening, press the rod into the joint to the correct depth, and leave enough space for an appropriate caulk depth so the bead adheres only to the faces and not the back of the joint.
joint-prep kit for measuring and filling gaps before caulking
After backer rod placement, apply a continuous bead sized to the joint, then tool the caulk with a wet finger or tooling tool for a smooth finish and to press the sealant into contact with both faces of the joint.
Caulking and tooling technique and timing
Apply steady pressure on the caulk tube and move at a consistent speed so the bead is neither too thin nor overly thick; too much material can sag or take longer to cure, while too little may not fill the gap completely.
Keep in mind dry-to-paint and cure times vary: many acrylic-latex caulks are paint-ready in 30 to 120 minutes although full cure can take 24 hours or more, while silicones generally require longer cure times and most are not paintable, so plan painting and traffic accordingly.
Choosing caulk by room and common scenarios
Living areas, hallways and painted trim
For living rooms, bedrooms and hallways, prioritize paintability and easy cleanup by choosing acrylic-latex or paintable siliconized products so the joint blends with the surrounding trim and future repainting is straightforward. See our interior painting guide for repainting tips.
If your baseboards are historic or have multiple paint layers, test a small area to confirm adhesion and paint finish before redoing long runs of trim.
Bathrooms, laundry rooms and damp floors
Where water exposure or high humidity is routine, prefer 100 percent silicone or a high-performance hybrid with explicit water-resistance claims rather than standard acrylic-latex; the flexibility and moisture resistance reduce the chance of failure in damp conditions.
In wet zones, verify whether the sealant is compatible with tile, painted trim, or other adjacent materials and allow full cure time before exposing the joint to water.
Large gaps, historic trim and painted repairs
For gaps larger than about 1/4 inch, use backer rod and select a sealant rated for joints with movement; pairing the rod with the correct caulk reduces sagging and shrinkage that commonly cause early failure.
When matching historic trim, plan for careful surface preparation and try a paintable siliconized product if modest flexibility is needed while keeping the painted look.
Common mistakes, troubleshooting and maintaining caulked baseboards
Mistakes that cause adhesion or finish problems
Common failures come from caulking over dirty or damp surfaces, using non-paintable silicone on painted trim, overfilling joints without backer rod, and painting before caulk reaches paint-ready stage; avoiding these prevents most rework (manufacturer notes at Red Devil).
Avoid using a generic non-paintable silicone for trim you plan to paint, since the result will be a visible, non-adhesive patch that rejects paint.
How to remove and replace failed caulk
To replace failed caulk, cut and pull out the old bead with a utility knife or caulk remover, clean the joint of residue, allow it to dry fully, and then reinstall backer rod if needed before applying new sealant; work cautiously to protect surrounding paint and trim.
Test a small patch for adhesion before finishing long sections, and give the new caulk its full cure time before painting or exposing it to moisture to avoid bonding issues.
Maintenance and when to re-caulк
Inspect caulk lines periodically for cracks, gaps or discoloration; touch up small failures promptly and plan full re-caulking where beads are repeatedly failing or pulling away from the joint.
Keep records of the product type and approximate installation date so you can choose a similar or upgraded formula when resealing and so you know whether to expect a shorter or longer service interval.
Frequently asked questions
Can I paint over silicone caulk on baseboards?
Most 100 percent silicone caulks are not paintable. If paintability is required, use an acrylic-latex or a product explicitly labeled paintable.
How wide a gap needs backer rod before caulking?
Gaps wider than about 1/4 inch generally benefit from a backer rod to control joint depth and reduce the chance of shrinkage or cracking.
How long should I wait to paint after caulking baseboards?
Many acrylic-latex caulks are paint-ready in 30 to 120 minutes, but full cure can take up to 24 hours; check the product label for exact dry-to-paint and cure times.
Choosing the right caulk and preparing the joint carefully are the two most important steps for a durable, neat result. Match product properties to the room conditions and follow proper prep and cure time guidance to avoid rework.
References
- https://homebydoing.com/guides/sealants-and-maintenance/
- https://homebydoing.com/guides/measuring-and-project-planning/
- https://homebydoing.com/guides/interior-painting/
- https://www.dap.com/resources/how-to/choose-the-right-caulk-or-sealant
- https://www.finehomebuilding.com/project-guides/painting/whats-the-difference-paintable-caulk
- https://www.reddevil.com/blog/posts/acrylic-latex-caulk-vs-other-caulking-materials-the-right-choice-for-your-home-diy-project
Product options for this topic
As an Amazon Associate I earn from qualifying purchases. These are researched options, not hands-on test results. Check the exact size or model, current price and availability on Amazon.
| Product option | Fit and limits to check | Retailer |
|---|---|---|
| ScotchBlue Original tape, 1.88-inch single roll | Mask edges when the surface and coating are suitable. Test a small area and follow the stated removal window, especially on delicate finishes. | View on Amazon |