
The journal
Should I use plumber's putty or silicone to seal my sink drain? Practical guide
Learn how to reseal a bathroom sink with clear steps to choose plumber's putty or silicone and complete a safe DIY reseal.

How to reseal a bathroom sink: quick overview and when it matters
Resealing a sink drain is the basic repair of replacing or refreshing the seal between the drain assembly and the sink surface so water stops escaping where the drain meets the sink. Typical components involved include the drain flange, the threaded tailpiece, a rubber gasket or washer on the underside, and the visible seal at the top of the sink.
You might reseal a sink drain to stop slow leaks, to remove trapped grime, or when you replace a drain assembly or countertop fixture. A good reseal restores a water-tight barrier at the joint and helps prevent water damage to the cabinet or the structure below the sink.
What 'reseal the sink drain' means in plain terms
In plain terms, resealing means removing old sealing material or old putty, cleaning both mating surfaces, and then applying a new sealing material so the drain and sink meet without a gap. Many drain assemblies also rely on a gasket under the sink so resealing can include replacing that gasket as well.
Signs you need to reseal
Look for visible water where it should not be. Wet cabinet bases, water stains on the underside of the sink, a damp tailpiece, or dripping around the drain flange are common warning signs. Also check for movement when you gently wiggle the drain flange; a loose flange often means the seal is compromised.
Odor or persistent trapped water around the drain edge can also indicate an old seal that no longer keeps wastewater where it belongs. Small leaks may show only after the sink holds water, so test by filling the basin and watching the cabinet below.
Quick decision checklist
Use this short checklist to decide whether to do the job yourself: Is the leak small and limited to the drain area? Is the sink finish sound and the drain hardware not corroded? Can you access the drain from below and set aside an hour for the job? See our project planning guide to help decide.
Tools and materials for a simple reseal typically include towels, a bucket, pliers, a putty knife, replacement gasket or plumber's putty or silicone sealant, and basic hand tools. Keep the workspace dry and have rags ready to catch residual water.
Plumber's putty versus silicone: pros and cons for resealing a bathroom sink
When deciding between plumber's putty and silicone sealant, think about removability, compatibility with your sink material, and the look you want around the drain. Plumber's putty is a malleable compound that forms a compressible gasket under a drain flange, while silicone is a flexible adhesive sealant applied as a bead around seams.
What plumber's putty is and common use cases
Plumber's putty is used to create a water-tight seal where a metal flange meets a sink surface and where the joint needs to remain removable. It is commonly chosen when the drain must be disassembled later for cleaning or replacement because putty can be removed and replaced without adhesive residue on metal parts.
Plumber's putty can leave a thin layer on the visible metal flange if squeezed out during installation. That residue can usually be wiped away, but it is something to plan for when you want a clean finish.
What silicone sealant is and common use cases
Silicone sealant is a flexible, waterproof bead applied between surfaces. It adheres to many materials and creates a resilient joint. Homeowners often choose silicone where a bead around the edge is acceptable, or where the joint will not need frequent disassembly.
Silicone can be harder to remove cleanly than putty because it bonds to surfaces. If you expect to remove the drain in coming months, putty can be the easier option for a removable connection. For additional user discussion on sealing options see this community Q&A: How do I seal the sink basin opening.
Material compatibility and finish considerations
Check the sink and drain materials before you pick a sealant. Plumber's putty is often used with metal drain flanges and many sink materials, but some sink finishes such as certain natural stones or porous materials can be stained by putty oils. Silicone is generally safe on many surfaces but may not leave the same removable joint.
Appearance matters when the rim of the drain is visible. Plumber's putty tends to sit hidden under the flange while silicone leaves an external bead that you can smooth for a finished look. If paintability or a painted finish is present near the joint, test a small area or choose the material recommended for that surface.
Basic tools to have when comparing sealant types
Deciding which to use: a simple decision framework for how to reseal a bathroom sink
Begin with a short inspection. Identify the drain type, check the sink material, and note whether the drain flange is metal or plastic. Look under the sink for a gasket or washer that may already be doing part of the sealing work. For a side-by-side comparison of putty and silicone, see Plumber Putty vs Silicone.
Ask: Will the drain need future removal for cleaning or replacement? If yes, favor a removable sealing method. If the drain will stay in place and you want a neat external finish, silicone can be a better choice.
Consider the condition of nearby finishes. If there is evidence of staining or porous material near the rim, avoid materials that might leave an oil residue. Confirm that the surfaces are not badly corroded or cracked; poor surfaces can prevent any seal from lasting.
Should I use plumber's putty or silicone to seal my bathroom sink drain?
Use plumber's putty when you want a removable seal under a metal flange and expect to disassemble the drain later; choose silicone when you prefer a durable external bead and do not plan frequent removal. Match your choice to the sink material and the condition of the drain parts.
Materials checklist to inspect before you start: rubber gasket, replacement plumber's putty or a tube of silicone sealant, plumber's putty if you prefer, clean rags, a putty knife, adjustable wrench, and a bucket. Verify you have towels to protect cabinets and gloves for hand protection.
Red flags that suggest hiring a professional include widespread water damage, structural rot around the sink or vanity, corroded drain parts that will not thread or seal properly, and sewer-smell problems that indicate a larger drain issue. For these, a professional inspection avoids making a small repair into a bigger problem.
Step-by-step: how to reseal a bathroom sink drain (practical workflow)
Preparation: tools, safety and workspace
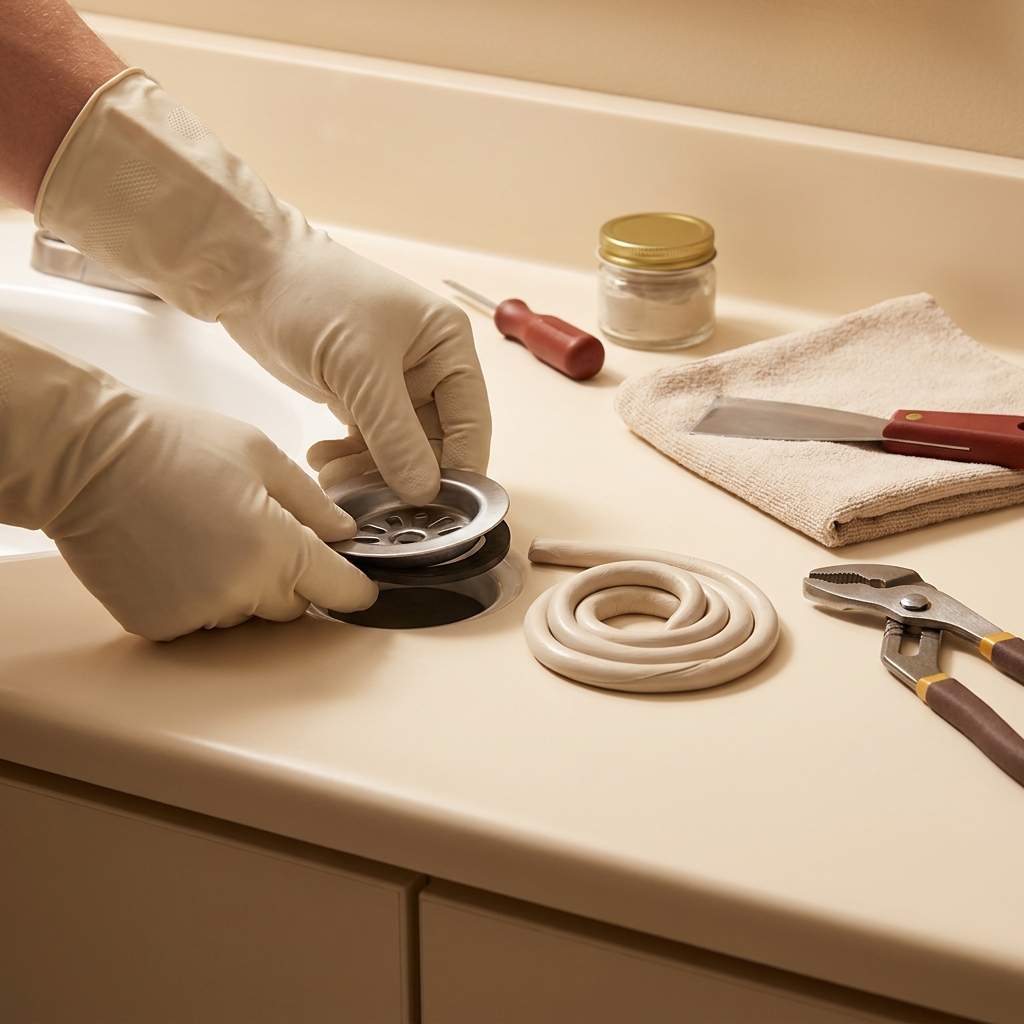
Clear the cabinet below the sink so you can work without obstruction and place towels on the cabinet floor to protect surfaces. Put a bucket under the drain to catch any residual water. Turn off water if you will disconnect the trap or tailpiece to avoid surprises.
Gather tools: adjustable pliers or a wrench for the locknut, a putty knife to remove old sealant, rags, replacement gasket if present, plumber's putty or silicone, and a caulking gun if using silicone. Safety note: wear gloves and eye protection if cleaning hard grime from the old seal and work slowly to avoid scratching sink finishes.
Removing the old seal and cleaning the joint
Start by loosening and removing the drain tailpiece and the trap so you can access the underside of the sink. Place parts in a clean spot so you can reassemble them in order. Remove the drain flange from above the sink while supporting the parts below to avoid dropping them into the cabinet.
Use a putty knife or scraper to lift away old putty or a razor-edged tool to cut through silicone. Work carefully to avoid damaging the sink finish. Clean both the top and bottom mating surfaces with a mild cleaner and dry them thoroughly. Residual oil, soap film, or old sealant will prevent a good seal, so cleaning is important.
Applying plumber's putty or silicone and reassembling the drain
If you choose plumber's putty, roll a small amount between your hands into a rope about the diameter of a pencil, then place it around the underside of the drain flange. Insert the flange and tighten the locknut below, compressing the putty into an even seal. Wipe any excess putty from the visible rim after tightening.
If you choose silicone, load a tube into a caulking gun and apply a continuous bead around the top of the flange where it meets the sink. Press the flange into the bead and tighten from below. Smooth the external bead with a wet finger or a finishing tool to create a neat line. Remember that silicone forms an adhesive bond and can be harder to remove later.
When reassembling, replace any damaged gaskets or washers with like-for-like parts. Hand-tighten flanges first, then use a wrench to snug locknuts carefully. Avoid over-tightening which can crack some sink materials or deform gaskets.
Finishing touches and test
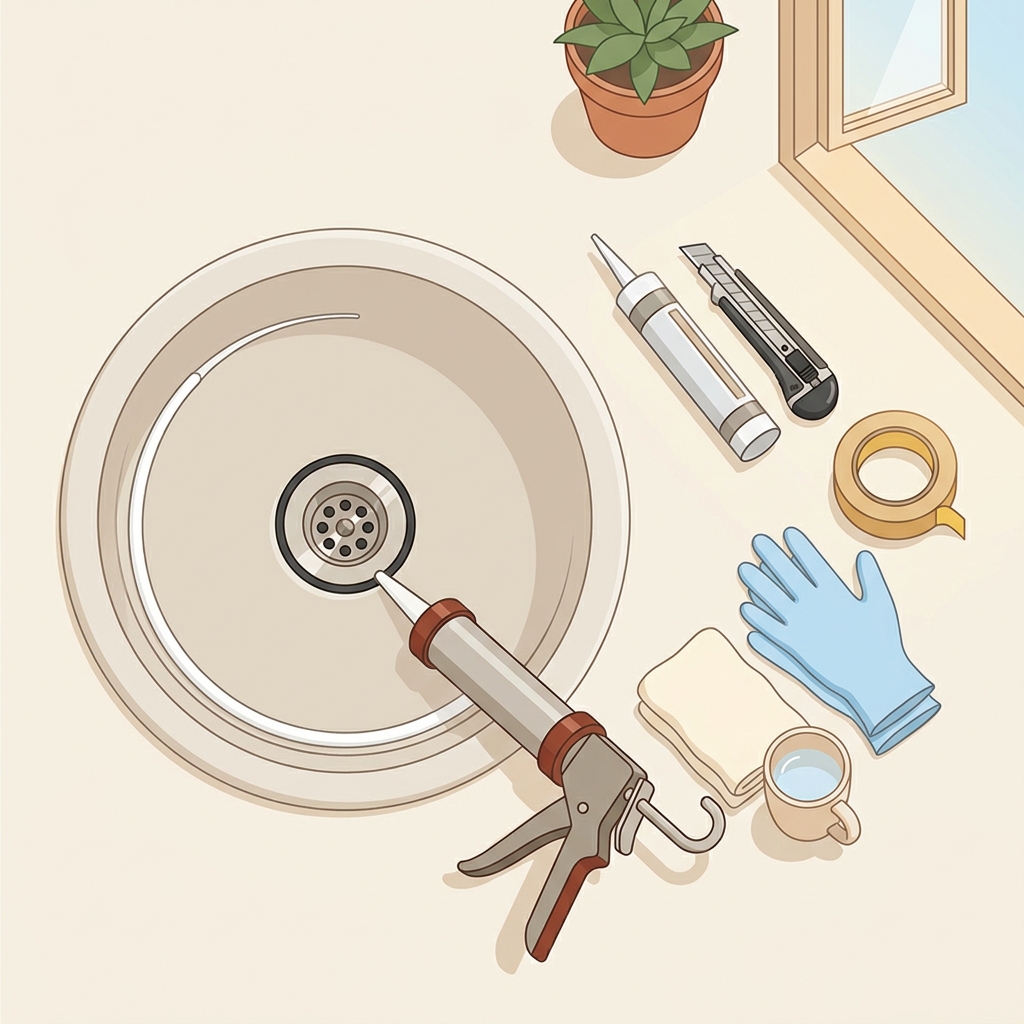
Once the drain is reassembled, run water into the sink and watch the cabinet below for leaks. Check the visible rim for any signs of seepage. If the connection remains dry under a sustained test, dry the area and clean up any excess material. Note that if you used silicone, the bead will stay in place and resist water once set.
If you find a small leak, stop and recheck the assembly. Tighten the locknut slightly and inspect the seal for gaps. If the leak persists, disassemble, clean, and repeat the seal process, verifying that the mating surfaces are clean and the gasket or putty was applied properly.
Common mistakes, troubleshooting and how to avoid making the problem worse
One frequent error is not removing all of the old sealant. Old residue can prevent a new material from seating correctly. Take the time to clean both mating surfaces thoroughly before applying new material.
Using the wrong material for the fixture is another common mistake. For example, leaving a thin layer of putty on porous or stained surfaces can cause a cosmetic issue. Likewise, using silicone where the drain needs to be removed often creates extra work later when the bead must be cut away.
Simple troubleshooting steps start with isolating the exact leak path. Dry the area and place a towel under the drain, then run a small steady flow of water while watching for the first wet spot. If the leak appears at the flange edge, recheck the sealant application. If it appears at the threaded tailpiece or trap, the problem may be a worn gasket or a loose connection downstream.
When to stop and call a professional: if repeated reseals fail to stop leaks, if you find rot or structural damage, or if there is extensive corrosion on drain parts, pause and seek a plumber. Persistent leaks under cabinets can lead to mold or structural issues and deserve professional attention.
Simple maintenance and wrap-up: keeping the seal working and what to expect next
Keep a quick maintenance habit. Every few months inspect the cabinet under the sink for dampness and glance at the drain rim for signs of water. Wipe down the area after spills and avoid letting water sit for long periods around the drain edge.
Record the work you did and the materials you used. Note the date, the type of sealant, and any part numbers for gaskets or replacement components. These notes make future maintenance easier and help a pro understand what has been tried if the issue returns.
Expect that a properly applied reseal will hold for a long time under normal household use, but that no seal is permanent. If signs of leakage return, reassess the joint and consider whether a component replacement, not just resealing, is needed.
Final recommendation: choose the material that matches the fixture and your plan for future access. For joints you will remove occasionally, prefer a removable seal option. For a neat external finish where the joint will remain in place, silicone is a reasonable choice. Work carefully, clean thoroughly, and test before you finish the job.

Frequently asked questions
How long will a reseal last?
Lifespan varies with use and materials. Check seals periodically and reapply when you notice dampness, movement, or visible failure.
Can I use silicone over old putty?
No. Remove old putty and clean surfaces before applying silicone to ensure a secure, uniform seal.
Is plumber's putty safe for all sink materials?
Plumber's putty is widely used but can affect some porous or natural stone finishes, so test or choose a recommended product for those surfaces.
A successful reseal depends on careful inspection, clean mating surfaces, and choosing the material that matches your need for removability or a neat finish. If you encounter corrosion or structural damage, pause and seek professional help. Keep a short record of the work and materials, and check the area periodically to catch small leaks before they become larger issues.