
The journal
What are common caulking mistakes to avoid? Practical tips on choosing caulk for baseboards
Learn how to choose caulk for baseboards, prep safely, and avoid common caulking mistakes for a neat, paint-ready finish.
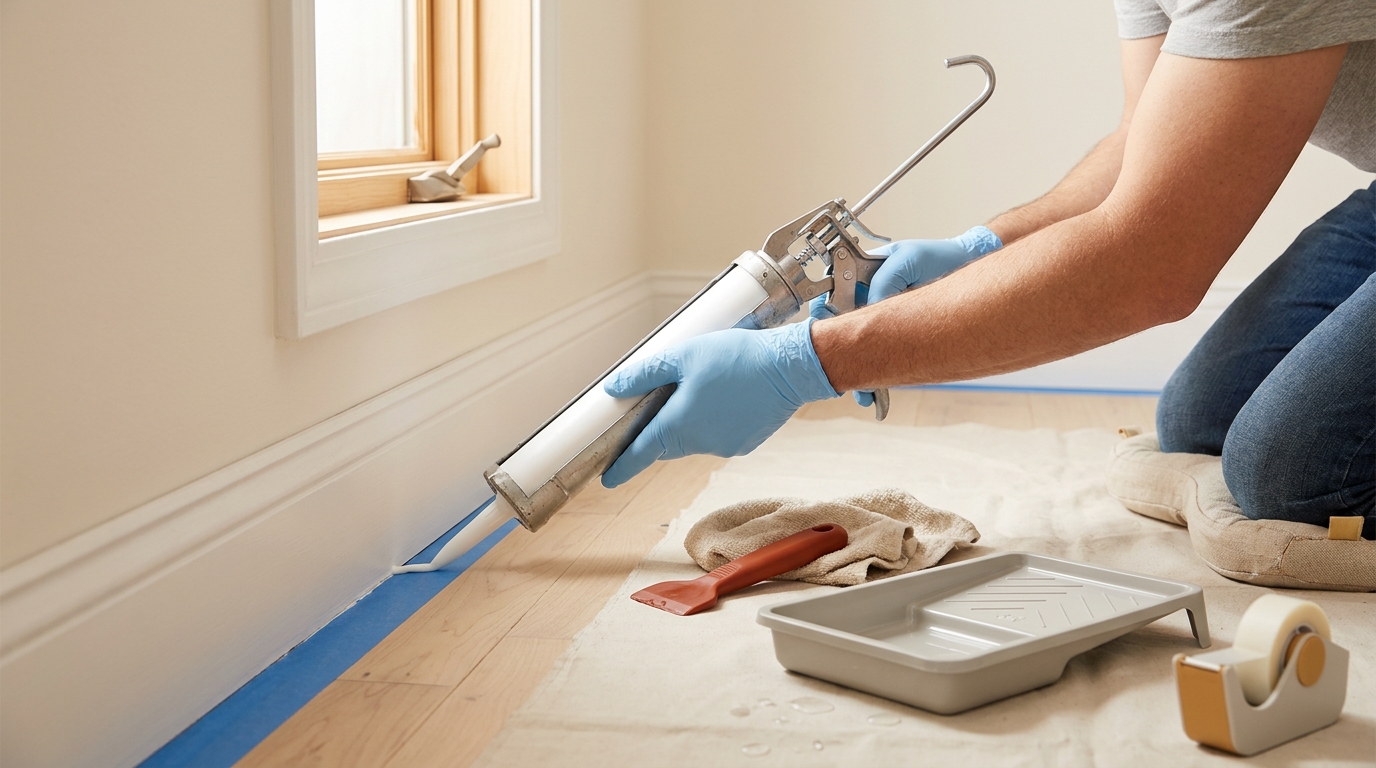
Quick answer and what this guide covers
Short answer: for painted interior baseboards, prefer paintable acrylic latex or siliconized-acrylic caulk rather than 100% silicone, which is generally not paintable and is better suited to wet areas or nonpainted trim; this choice reduces peeling, cracking, and paint adhesion problems when you finish the trim.
This guide covers the common caulking mistakes to avoid: poor prep, wrong product choice, cutting the nozzle too large, moving the gun too fast, skipping tooling, and painting before the caulk is paint-ready. It also lays out how to choose caulk for baseboards, prep and lead-safe steps, when to use backer rod, a step-by-step workflow, and troubleshooting advice for failures.
Expect clear, practical steps you can follow on a weekend project and decision rules that tell you when caulk alone is not enough. Find similar step-by-step projects in our Guides section. The first practical tip is to read the caulk label for paintability and temperature limits before you start; manufacturers provide the limits that determine whether a product will perform in your conditions. Energy Saver

How to choose caulk for baseboards
Types of caulk and when to use them
For most painted interior trim and baseboards, choose paintable acrylic latex or siliconized-acrylic caulk. These chemistries accept paint and are formulated for indoor trim use, which helps paint adhere and reduces surface cracking after painting.
Avoid 100% silicone for painted baseboards because it does not take paint reliably and can cause finish problems unless the trim will remain unpainted or is in a wet area where silicone is appropriate. When a space needs moisture resistance, pick a product labeled for the location and finish. Energy Saver
Labels and performance terms to check
Look on the tube for terms like paint-ready or paintable, and check the product label for application temperature and surface limits; those details tell you whether the product will cure and accept paint in your home environment.
essential small tools to set up and apply caulk
Prefer low-VOC formulations when possible for indoor work, and always read the label for any warnings about surface preparation or temperature limits before you buy. Energy Saver
Prep and safety before you caulk
Removing old caulk and cleaning the joint
Good prep prevents adhesion failures. Start by removing failed caulk and any flaking paint so the new caulk bonds to solid surfaces rather than loose residue. Use a caulk remover or a utility knife and a stiff brush to clear debris, then vacuum and wipe the joint dry. The Spruce
What are the most common caulking mistakes and how can I avoid them?
The most common mistakes are using a nonpaintable caulk on painted trim, poor prep such as leaving old caulk or paint flakes in place, not using backer rod for wide gaps, cutting the nozzle too large, moving the gun too fast, skipping tooling, and painting before the caulk is paint-ready. Prevent these by choosing a paint-ready acrylic latex or siliconized-acrylic product, cleaning and drying the joint, using backer rod for gaps over 1/4 inch, cutting the nozzle to the right size, applying a steady continuous bead, tooling the bead promptly, and waiting to paint until the label allows.
Lead-safe practices for older homes
If your home was built before 1978, follow EPA Renovation, Repair and Painting lead-safe work practices to reduce the risk of lead dust when removing old paint or caulk, and consider hiring a certified contractor for large or disruptive work. EPA RRP
In every job, make sure surfaces are clean and fully dry before you apply caulk; moisture or dust prevents proper adhesion and shortens the life of the bead. Use a dry rag and vacuum for final cleanup and allow time for the joint to dry after any washing. Energy Saver
When to use backer rod and when caulk is not enough
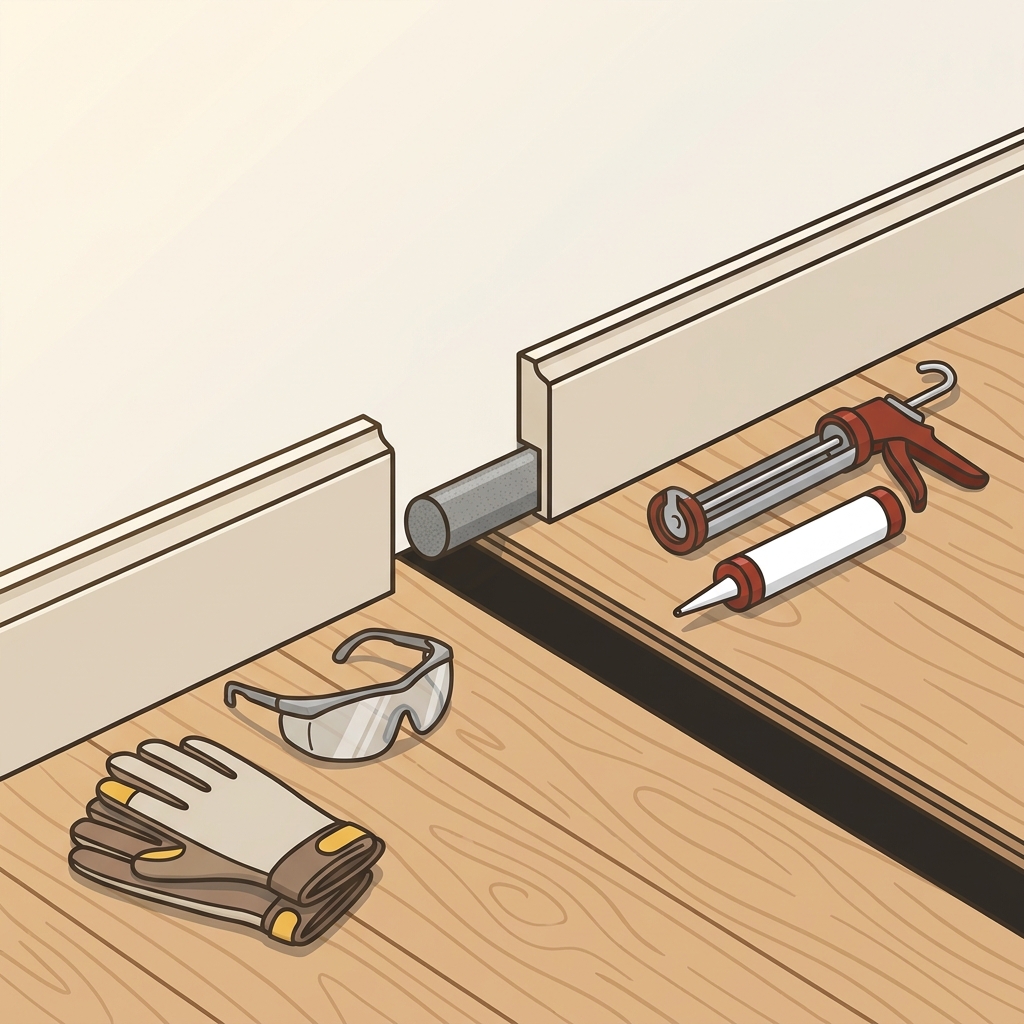
Backer rod controls joint depth and improves caulk performance for gaps wider than about 1/4 inch; insert an appropriate diameter rod so the caulk fills the top third to half of the cavity and the joint depth matches the caulk manufacturer recommendations. See the Home by Doing sealants and maintenance guide for more detail, or manufacturer's notes at Metro Sealant. ENERGY STAR
Caulk is primarily an air-sealing and finish detail, not a structural repair. If gaps are unstable, moving, or far wider than a normal trim seam, stabilize the trim, add shims, or repair the substrate before caulking. Applying caulk over a loose gap will not hold it long term. Energy Saver
Choose a backer rod diameter slightly larger than the gap so it compresses into place and prevents a too-deep or too-shallow joint. A correct joint profile helps the caulk move with small changes and reduces the chance of cracking. Backer rods are available from hardware suppliers like hardware stores. ENERGY STAR
Top application mistakes and how to avoid them
Cutting the nozzle opening too large is a frequent mistake; a cut sized close to the gap gives more control and reduces excess squeeze-out that ends up on the floor and trim. Measure the gap and make a small cut, then enlarge slightly if needed while testing on scrap. Loctite The Spruce
Moving the gun too fast causes voids and uneven beads. Apply steady pressure and a continuous bead, moving at a pace that lets caulk fill the joint without stretching the material; stop, release pressure, and carry on to maintain an even flow. Family Handyman
Skipping tooling is another common error. After you apply the bead, tool it promptly to press the caulk into the joint and smooth the surface; tooling also compacts the bead to the correct profile and helps adhesion. Tool with a wet finger, a caulking tool, or a wet cloth and remove excess promptly. The Spruce
Painting before the caulk is paint-ready can lead to cracking or wrinkling. Follow the product label for the dry time before painting; if you paint too soon you may see finish problems or poor paint adhesion. Also observe the product's temperature and humidity limits when you apply and when it cures.
Another avoidable error is smearing caulk onto adjacent finished surfaces. Use masking tape to protect floors and wall finishes where needed and remove the tape shortly after tooling for a cleaner edge. Family Handyman
Step-by-step workflow: caulking baseboards right
Setup, gun technique, and tooling
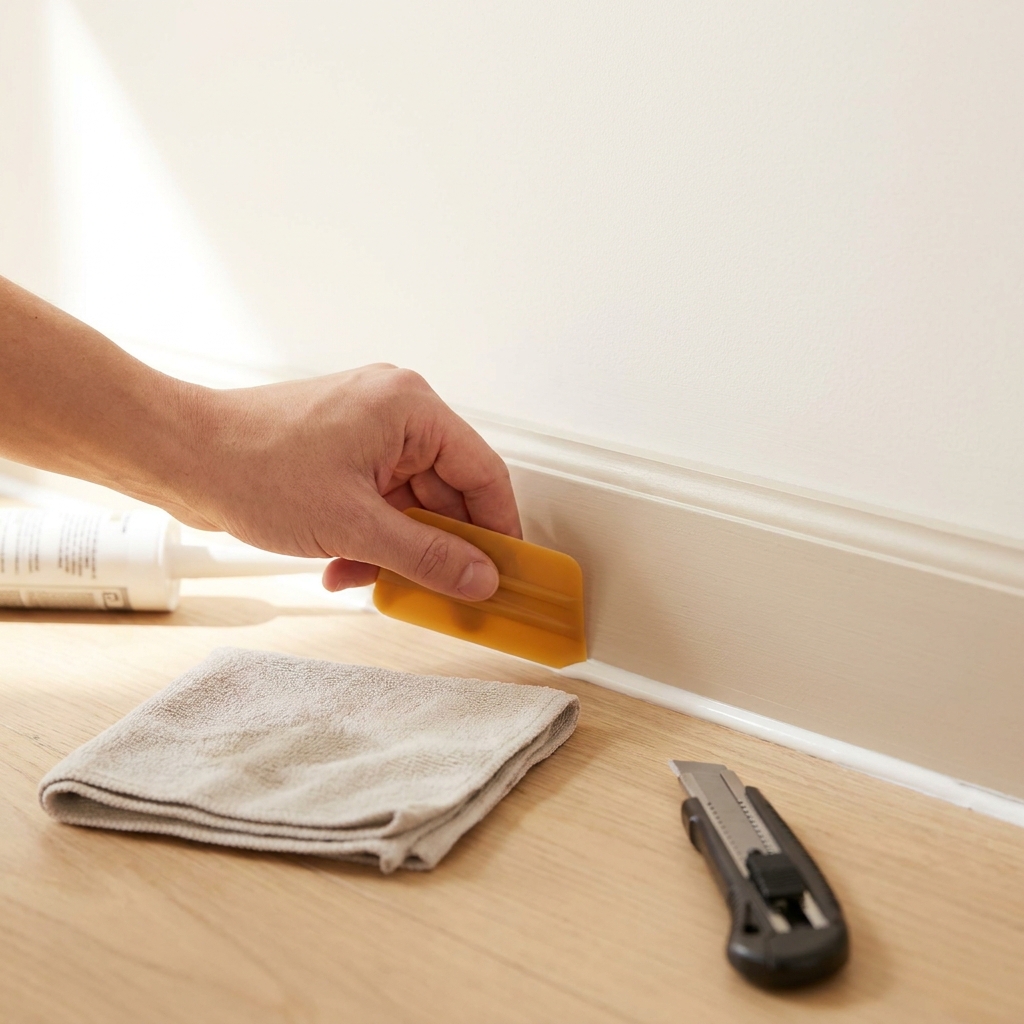
Setup checklist: gather masking tape, a utility knife, backer rod if gaps exceed 1/4 inch, the chosen paintable caulk, a caulk gun, and a tooling implement or a clean damp cloth for finishing. Prepare the joint by removing old caulk, cleaning, and drying the area before you start. The Spruce
Load the tube into the gun and make a small nozzle cut sized for the gap. Hold the gun at a 45-degree angle, apply steady pressure, and lay a continuous bead. Tool immediately while the caulk is still wet to shape the bead and press it into the joint. Family Handyman
Drying, painting, and cleanup
Clean up excess caulk with a damp cloth before it skins over, and remove masking tape shortly after tooling for a sharp finish. Check the tube label for recommended dry and cure times and paint only when the label states the product is paint-ready to avoid finish problems. See Home by Doing's interior painting guide for paint timing.
Be mindful of ambient conditions: apply caulk only on dry surfaces and within the temperature range on the product label, because improper conditions can prevent curing and lead to adhesion or appearance failures. Energy Saver
Troubleshooting, maintenance, and final checklist
Diagnosing adhesion and appearance failures begins with checking preparation. If caulk peels or separates, often the cause is old caulk left in place, paint or dust that blocked adhesion, or moisture in the joint. Recut and remove the failed bead, clean the joint thoroughly, let it dry, and reapply a compatible paintable caulk. The Spruce
If the bead cracks after painting, one common cause is painting before the caulk was fully cured or using a nonpaintable product under paint; confirm the product's paint-ready claim before repainting and replace with a paintable caulk if needed.
For recurring or large failures where trim moves or gaps open up repeatedly, stabilize the trim or repair the substrate instead of relying on caulk as a fix. Structural or movement problems are best handled by a carpenter or contractor. Energy Saver
Final checklist: pick a paint-ready acrylic latex or siliconized-acrylic caulk for painted baseboards, remove failed caulk and clean the joint, use backer rod for gaps wider than 1/4 inch, cut the nozzle to size, apply a steady continuous bead, tool promptly, and paint only when the label says the caulk is paint-ready. Following these steps reduces the most common caulking mistakes and gives the best chance of a neat, long-lasting finish. ENERGY STAR
Frequently asked questions
What type of caulk should I use on painted baseboards?
Use a paintable acrylic latex or a siliconized-acrylic caulk for painted interior baseboards; these accept paint and give better finish results than 100% silicone.
When should I use backer rod behind baseboard caulk?
Use backer rod for gaps wider than about 1/4 inch to control joint depth and improve caulk performance; it prevents overly deep beads and helps movement accommodation.
How long should I wait to paint over new caulk?
Follow the product label for paint-ready or cure times; painting too soon can cause cracking or wrinkling, so wait until the manufacturer specifies the caulk is paint-ready.
A careful approach to selection, prep, and application prevents most caulking mistakes. When in doubt, stop and check the product label or stabilize the trim before you rely on caulk. If you follow the checklist and the safety notes here, your baseboard caulking project should look clean and last longer than a quick patch.
References
- https://homebydoing.com/guides/
- https://www.thespruce.com/how-to-caulk-baseboards-1821482
- https://homebydoing.com/guides/sealants-and-maintenance/
- https://metrosealant.com/when-to-use-backer-rod-a-comprehensive-guide/?srsltid=AU7gw4VDP99btQZzr_jgY4BQzOR02iZmYTkM00yEsnrA-X_RS0r6ii0O
- https://www.epa.gov/lead/renovation-repair-and-painting-program
- https://www.hardwarestore.com/paint/caulking/caulk-backer-rods?srsltid=AU7gw4XZg33UJLUtUFMtEGpZluTzwte54stmOkVegzh5VBVE7LOlgaKU
- https://www.loctiteproducts.com/ideas/fix-stuff/how-to-caulk-baseboards-basic-tips-for-great-results.html
- https://homebydoing.com/guides/interior-painting/
Product options for this topic
As an Amazon Associate I earn from qualifying purchases. These are researched options, not hands-on test results. Check the exact size or model, current price and availability on Amazon.
| Product option | Fit and limits to check | Retailer |
|---|---|---|
| ScotchBlue Original tape, 1.88-inch single roll | Mask edges when the surface and coating are suitable. Test a small area and follow the stated removal window, especially on delicate finishes. | View on Amazon |