Decide whether this is a finish, fit or hardware project
A sticking door, a tired color and a worn handle are different problems. Choose one outcome first. Record the doors and drawer fronts included, then label their original positions on a sketch. A numbering system is a planning tool, not a reason to remove everything at once. Include a place to work on and protect each piece while the kitchen is partly out of service.
Measure the hardware that actually fits
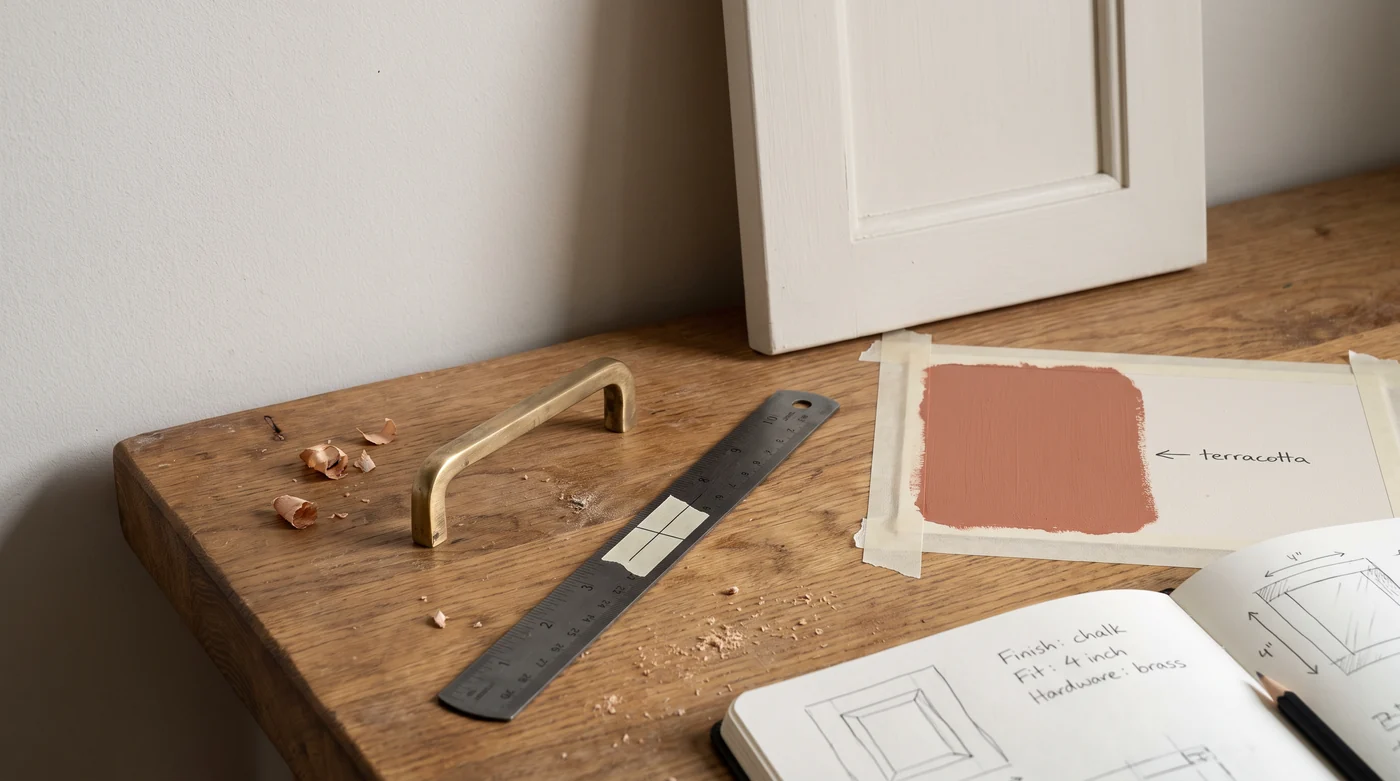
For a handle, record the distance between fixing-hole centers as well as the total handle length and projection. For a hinge, identify the cabinet construction, existing model and mounting arrangement before comparing replacements. Blum’s planning material distinguishes face-frame and frameless cabinets, and overlay and inset applications. Similar appearance alone does not establish compatibility. Keep the manufacturer drawing with your measurements.
| Record | What it helps decide |
|---|---|
| Hole-center spacing | Whether a replacement handle uses the existing holes. |
| Projection | Whether fingers, adjacent fronts and appliances have space. |
| Door thickness | Whether the specified hardware and fasteners suit the front. |
| Hinge and mounting-plate identity | Which documented replacement or adjustment information applies. |
Blum: concealed hinge planning brochure ↗ — US manufacturer diagrams distinguish cabinet construction and hinge applications.
Let one representative door establish the finish plan
A sample should include the difficult part of the project, such as a profile or an existing edge, rather than only an easy flat patch. Keep the substrate description, cleaning method, preparation, primer and finish together. Benjamin Moore’s cabinet guide illustrates how those stages belong to a named coating system. Do not treat its timings or compatibility claims as instructions for another manufacturer’s paint.
Benjamin Moore: painting kitchen cabinets ↗ — A manufacturer’s product-system example, not a universal schedule.
Keep a reassembly record
Photograph the hardware before changes, store related parts together and retain the door numbering. Check the finish manufacturer’s handling instructions before fitting or adjusting pieces. Reassembly is also a chance to compare the observed result with the original problem: has the door’s fit changed, is the handle comfortable, and does the new finish behave as expected after its specified wait? Record the answer without turning one observation into a durability claim.
Keep these details together.
- Door and hinge measurements
- Existing coating and substrate
- One sample before repeating the process
Go a little deeper.
Materials & Fixings Guide ↗A cabinet project starts with one door
Before planning the whole kitchen, make a record of a representative door and the exact change you want.
Read the note ↗A practical reading noteMeasure handle hole centers before ordering
The length you see on the drawer is not necessarily the dimension that fits the existing holes.
Read the note ↗