
The journal
How do you fix an interior door that rubs? Practical steps from Home by Doing
Find where your interior door rubs, check hinges and the latch, and make the smallest safe adjustment before considering sanding or planing.
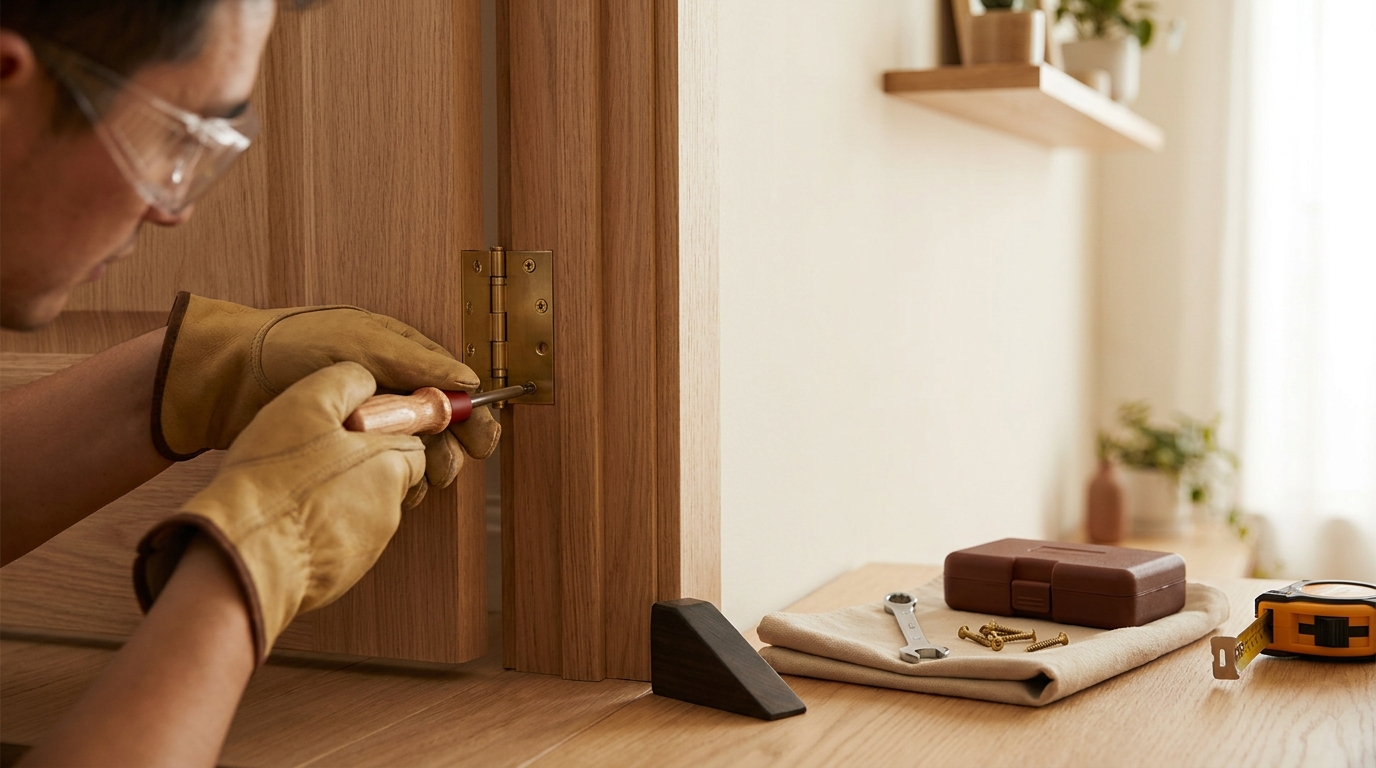
Quick diagnosis: how to fix a sticking interior door
Start by confirming exactly where the door rubs, because a targeted repair is less work and less risky than trimming the whole slab. For a clear baseline, check the reveal all the way around the door, look for uneven gaps at top, bottom, and sides, and note whether the latch engages smoothly; these visible reveals often point to hinge or latch problems rather than broad swelling, which helps decide the least invasive fix when learning how to fix a sticking interior door.
One simple hands-on test uses a strip of paper or a bit of chalk rubbed along the edge where you suspect contact, then closing the door to transfer a mark that shows the exact high spot for removal or adjustment. This paper or chalk transfer test is a reliable way to pinpoint a single bind point and avoid guessing, and it lets you record whether the contact is on the hinge side, the latch side, or along a specific edge, which you should write down before starting any work Family Handyman
Also consider recent seasonal changes or new finishes that might explain sudden sticking. If the door only grabs in humid months or after a fresh coat of paint or varnish, that context suggests swelling or finish build-up rather than loose hardware. Note the room humidity and any recent work so you can try the simplest fixes first, such as tightening hinges, before removing wood.
How do you fix an interior door that rubs?
Locate the contact point, check and tighten loose hinge screws, and test the latch before trimming the door. Make small adjustments and check the fit after each change.
Before you move on, confirm whether the bind is a single, narrow contact or several spots across the edge. A single mark often means localized planing or strike adjustment; multiple marks can point to sag or a frame issue that needs hinge work or professional attention The Spruce
Simple hinge fixes that often stop a rubbing door
Many rubbing doors are caused by a sagging top hinge, and an effective first step when learning how to fix a sticking interior door is to tighten hinge screws and, if needed, replace the short top-hinge screw with a longer screw that reaches the wall framing to lift the door back into alignment. A longer screw into the framing pulls the jamb toward the stud and can correct sag without planing the door, but take care to avoid splitting the jamb when driving longer screws and use one hand to steady the door while you work This Old House
Tools list for these hinge fixes: Phillips or square driver, long number 8 or 9 screws about 3 inches long for the top hinge, short screws for other hinges, and a helper or wedge to support the door. First try simply tightening all hinge screws in place, then test the swing; if the top hinge had a short screw, swap in the long screw and test again. After each change, close the door slowly to see whether the reveal evens and the rubbing stops.
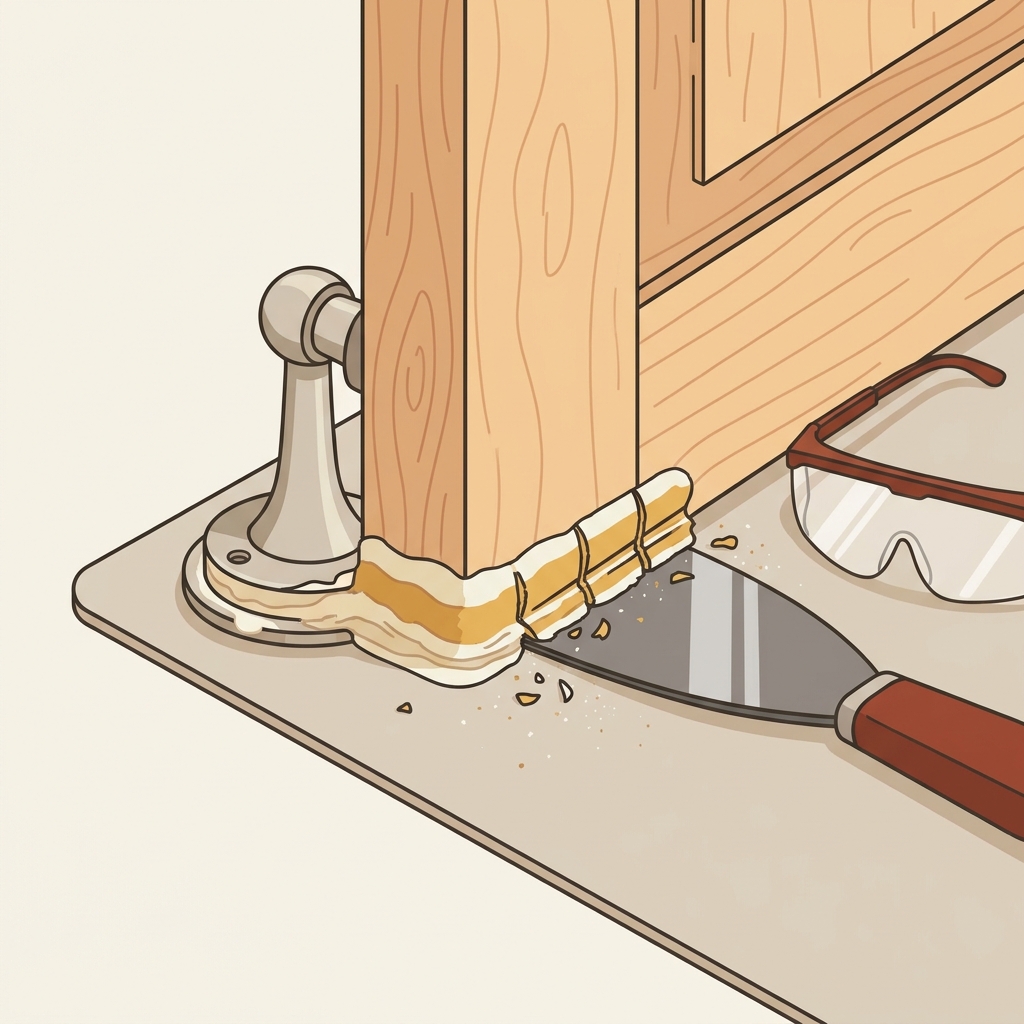
If screw holes are stripped, repair options include a wood filler or a glued dowel and new pilot hole, or using a longer screw to find fresh framing. Each method has trade-offs: wood filler is fast but less load resistant than a glued dowel, while a dowel repair restores solid wood for a new pilot hole. Document which repair you used so you can revisit the hinge later if it loosens again Family Handyman
After tightening or repairing the hinges, test repeatedly by opening and closing the door slowly and watching the reveals. If rubbing stops, do a final check of screw tightness and apply a light lubricant to hinge pins to reduce squeak; remember that lubrication eases movement but will not correct misalignment or a swollen door edge The Spruce
Adjusting the latch and strike plate to restore smooth closing
If the door swings freely but the latch side rubs or will not catch, focus on the strike plate and the latch engagement before removing material from the door edge. Test where the latch hits by closing slowly and observing whether the latch nose contacts the strike plate face or the mortise pocket; small misalignments are common and often corrected by repositioning the strike plate or enlarging the mortise minimally This Old House
Start by loosening the strike plate screws and shifting the plate up, down, or sideways to a position where the latch engages smoothly. If the latch just grazes the face of the plate, a few turns of the screws and a new alignment often fix the issue. When the mortise is too small for the latch, you can carefully enlarge it with a flat file for controlled material removal; use a chisel only when you need to remove little wood cleanly, and check fit frequently to avoid overcutting.
When enlarging a mortise, test the latch engagement after removing very small amounts and after each test close, because overcutting removes options for future adjustment. Avoid altering hardware on metal or fire-rated doors; those must be inspected and adjusted by a professional to preserve rating and safety standards The Spruce

Final checks for the latch side include smooth closing with consistent latch engagement and no rubbing along the strike area. If the latch still binds after careful strike adjustment and minimal mortise work, re-evaluate hinge alignment before doing more trimming, because a slightly sagging door can make the latch miss the new strike position and create a recurring problem This Old House
When and how to plane or sand a door edge safely
Only consider planing or sanding after you have diagnosed the bind, tightened hinges, and adjusted the strike plate; if those fixes do not stop the rubbing, targeted material removal is the final homeowner option. When you reach this stage in learning how to fix a sticking interior door, mark the exact high spots from your paper or chalk test and remove the minimum material necessary, testing fit frequently to avoid removing too much Fine Homebuilding
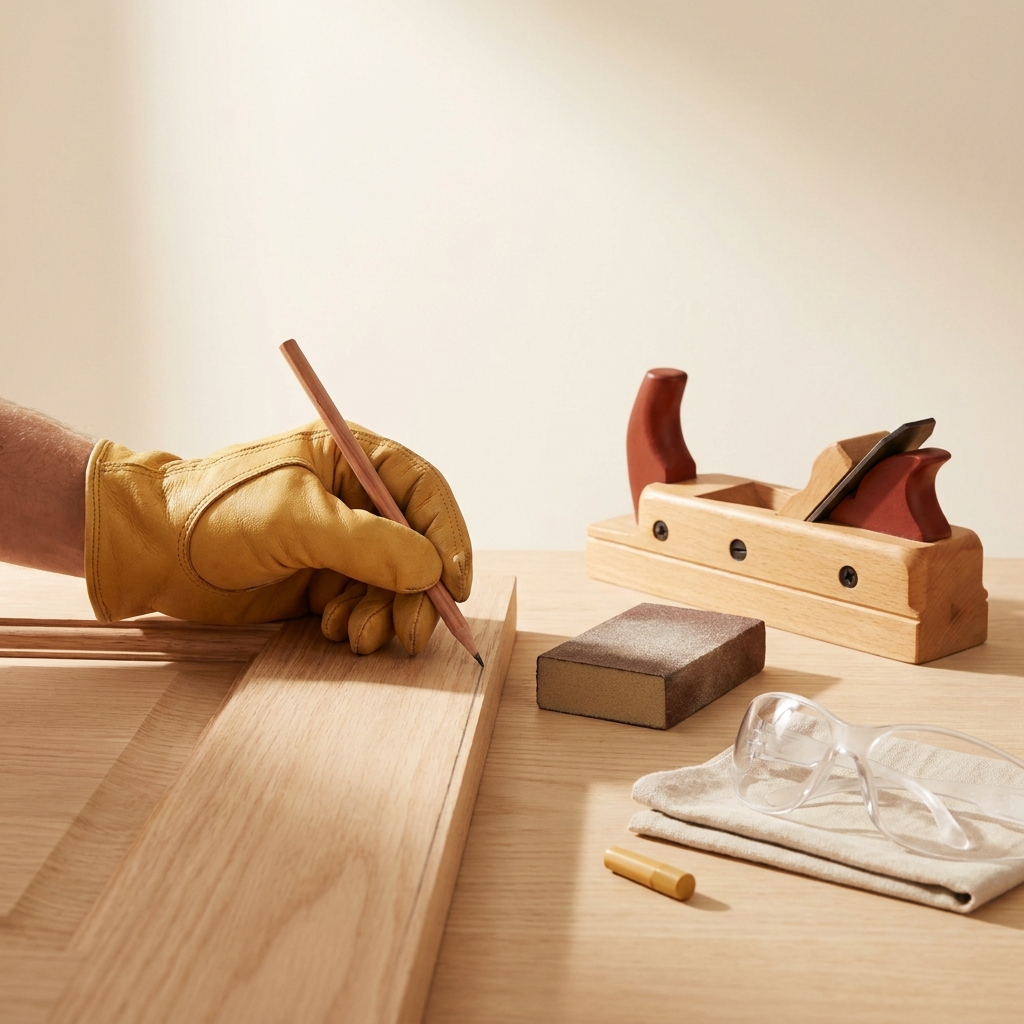
For planing, clamp or support the door horizontally or remove it from the hinges and work on a stable surface. Use a well-tuned hand plane or power planer set to take thin shavings, and always plane across the edge with controlled passes rather than aggressive cuts; stop regularly to test the swing and preserve the door's flatness and edge profile. If you use an electric sander, follow the same rule of small, incremental removal and frequent test fits rather than one long pass.
essential tools for safe door planing and sanding
After you remove material, seal the fresh edge with primer and paint or a clear varnish to restore a moisture barrier; an unsealed cut edge will absorb humidity and can swell again, returning the problem. Sealing also evens the visual finish and reduces the chance that a newly planed edge will change size with seasonal humidity shifts USDA Forest Products Laboratory
Never plane or alter fire-rated or metal doors at home. Those doors and certain veneered units require specialist procedures to preserve ratings and finishes. If the door is one of these types, or if the frame is clearly out of square after your adjustments, call a professional rather than risking a noncompliant repair The Spruce
Seasonal swelling and humidity: prevention and simple maintenance
Wood doors change size with moisture, and seasonal humidity is a common cause of sticking. For longer term prevention, aim to keep indoor relative humidity at about 30 to 50 percent and below 50 percent whenever practical, because this range reduces the likelihood of moisture-driven swelling that makes doors stick during humid months EPA
Practical household steps for door swelling prevention include using exhaust fans or a dehumidifier in damp seasons, improving cross-ventilation, and avoiding heavy coats of paint on the edges without sealing. Small maintenance checks each season, such as tightening hinge screws and testing latch engagement, catch recurring binding early and keep small problems from becoming larger repairs Family Handyman
Lubricants have a place in maintenance but are not a cure for swelling or alignment issues. Apply a light lubricant to hinge pins or the latch mechanism to reduce noise and friction, then tackle any misalignment or swelling with the diagnostic and adjustment steps described earlier. If humidity control does not prevent repeated sticking, investigate whether the door or frame is exposed to a localized moisture source or structural movement USDA Forest Products Laboratory
When to call a professional and common DIY mistakes to avoid
Know when to stop and call a pro: if the frame appears out of square, if the door moves again after proper hinge and strike fixes, or if the door is metal or fire-rated, bring in a professional to diagnose framing or rating issues. A trained technician can check the framing, confirm structural movement, and restore rated hardware without creating safety or code problems This Old House
Common DIY mistakes include trimming too much material, relying exclusively on lubricants, ignoring loose hinge screws, and altering rated hardware. Avoid these errors by following a repair-first workflow: diagnose the bind, tighten and repair hinges, adjust the strike plate, then remove the minimum material only if needed. Keep notes and measurements of what you tried so a pro can pick up where you left off if the problem persists The Spruce
If you must wait for a professional, safer temporary fixes include loosening the hinge side slightly to reduce binding or gently sanding a small area to regain use until a full repair can be made. When contacting a pro, tell them which hinges you tightened, whether you used a long top-hinge screw, and the location of any planing, along with photos of the reveals; that information speeds diagnosis and helps avoid repeated work Family Handyman
Product options for this topic
As an Amazon Associate I earn from qualifying purchases. These are researched options, not hands-on test results. Check the exact size or model, current price and availability on Amazon.
| Product option | Fit and limits to check | Retailer |
|---|---|---|
| Klein Tools 32500 11-in-1 screwdriver | Several common bit shapes in one hand tool for household assembly. Match the bit to the fastener; this is not an insulated electrical-work tool. | View on Amazon |