
The journal
How to tell what grit sandpaper you need
A practical way to choose wood sandpaper grit for bare wood, repainting and heavy removal, with clear starting points, progressions, and quick checks.
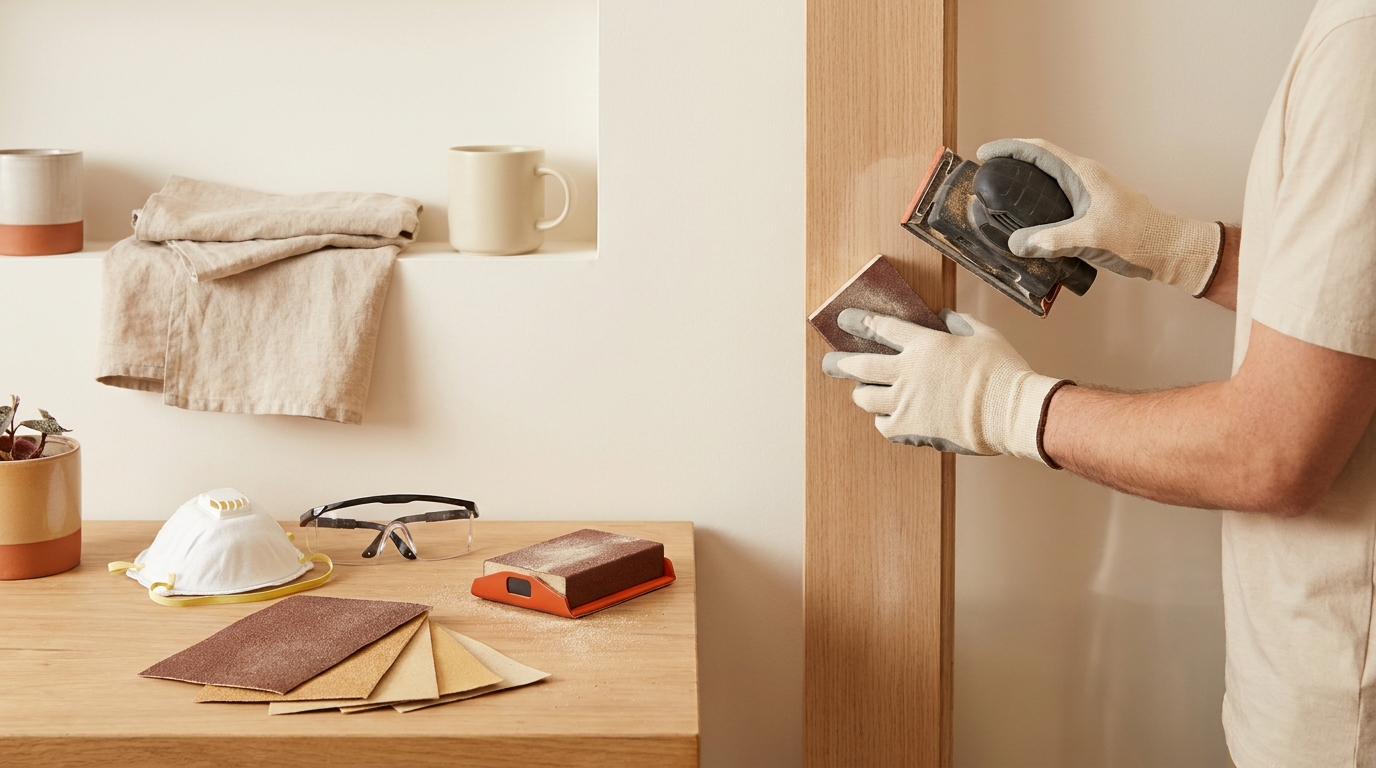
Start with the least-coarse grit that solves your immediate problem, then move through finer grits until the scratches from the previous step disappear. For many bare-wood projects, an initial grit around 80-120 followed by finer steps is a useful starting example. The final grit must suit the wood and the exact stain, paint or clear finish, rather than one universal sequence (This Old House) (Family Handyman).
Check the surface before sanding
This guide concerns ordinary wood preparation. Do not start dry-sanding an old or unidentified painted coating until potential hazards have been assessed. In the US, EPA guidance for lead-safe renovation highlights lead-paint risks in pre-1978 homes and recommends qualified help. Other countries have their own guidance. Use the protection and dust-control methods appropriate to the material and tool.
What grit numbers actually mean for wood
Lower numbers are coarser and cut faster; higher numbers are finer and smooth the surface. Grit is standardized by CAMI and FEPA, which is why you’ll see plain numbers (e.g., 120) and P-numbers (e.g., P120). In North America CAMI is common, but either system increases in fineness as the number goes up (Family Handyman).
Quick decision guide by task
1) Bare wood: new builds or stripped surfaces
- Rough stock: start at 80, then 120, then 150-180; finish at 180-220 before stain or paint (This Old House).
- Planed/smoother boards: start at 100-120, then 150-180; finish at 180-220 (This Old House).
2) Repainting wood trim, doors or furniture
- Scuff an existing paint film to improve adhesion: 120-150 grit (Family Handyman).
- Between coats of paint/clear finish: 220 grit or finer to remove dust nibs and smooth the film (Family Handyman).
3) Heavy removal: confirm the material first
Coarse abrasives remove material quickly but can damage veneers, edges and profiles. Do not select a 40-60 grit simply because an old coating looks thick. Identify the coating and substrate, then choose a suitable removal method. A hazardous coating is not made safe by choosing a finer grit.
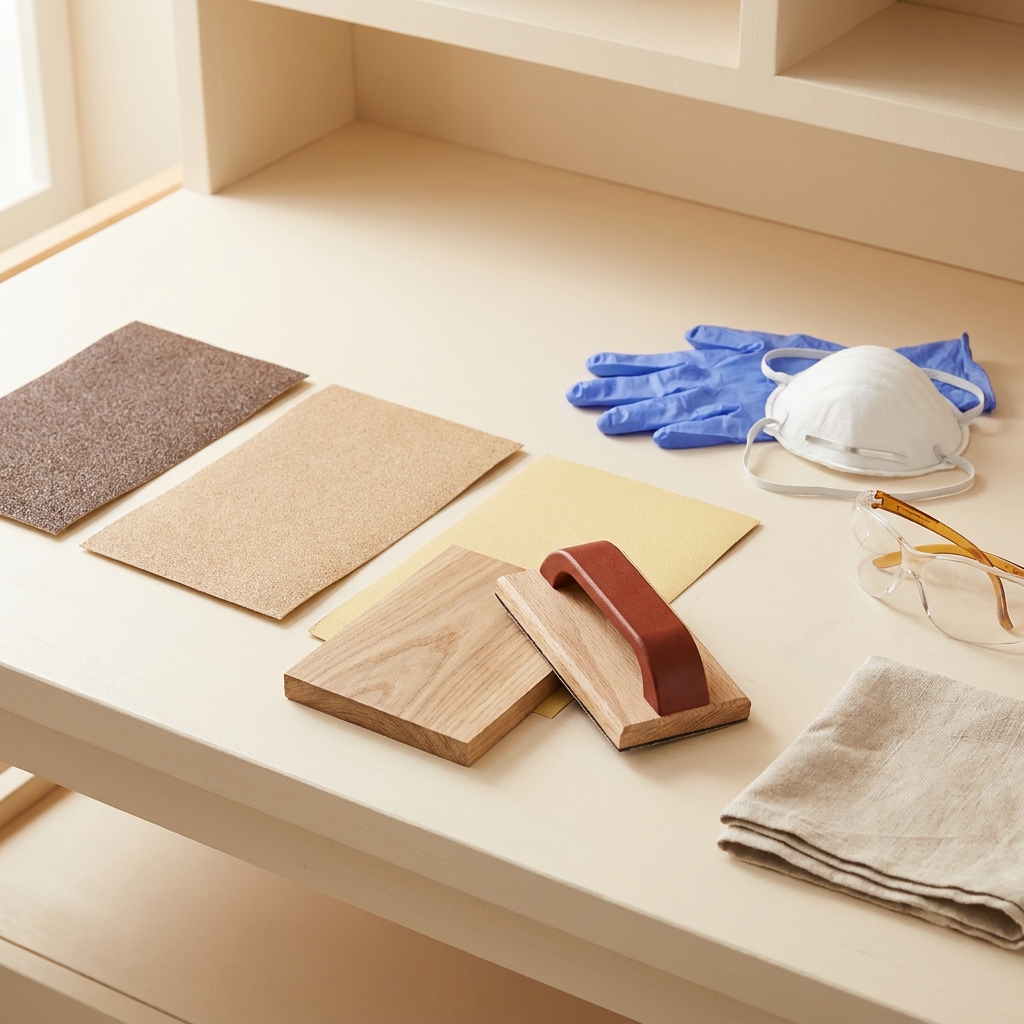
A worked example: refinishing a hardwood tabletop
- Bare solid wood only: if the surface has defects that warrant 80 grit, use controlled passes and keep the sander flat. This example does not cover stripping unknown old paint.
- Blend: 120 grit to remove 80-grit scratches.
- Pre-finish smoothing: 150 or 180 grit. Inspect under raking light.
- Final prep for stain or clear coat: 180-220 grit. Clean thoroughly between each grit change so you don’t drag coarser particles forward (This Old House).
If you plan to apply stain, many projects finish sanding between 180 and 220 before coloring (Red Label Abrasives).
How to confirm you picked the right grit
- Do a small test patch. If you’re not removing defects quickly, start one step coarser; if the surface scars too deeply, go one step finer.
- Advance gradually. Each grit should remove the scratches from the previous one; avoid big jumps that leave deep tracks behind (This Old House).
- Clean between grits. Vacuum and wipe so stray coarse particles don’t create new lines at the next step (This Old House).
When to stop
For many bare-wood projects, a final grit around 180-220 is a reasonable example, subject to the finish instructions. Going much finer than 220 on many woods can slow work and may reduce stain uptake; plan your final grit around the finish you’ll apply (Red Label Abrasives).
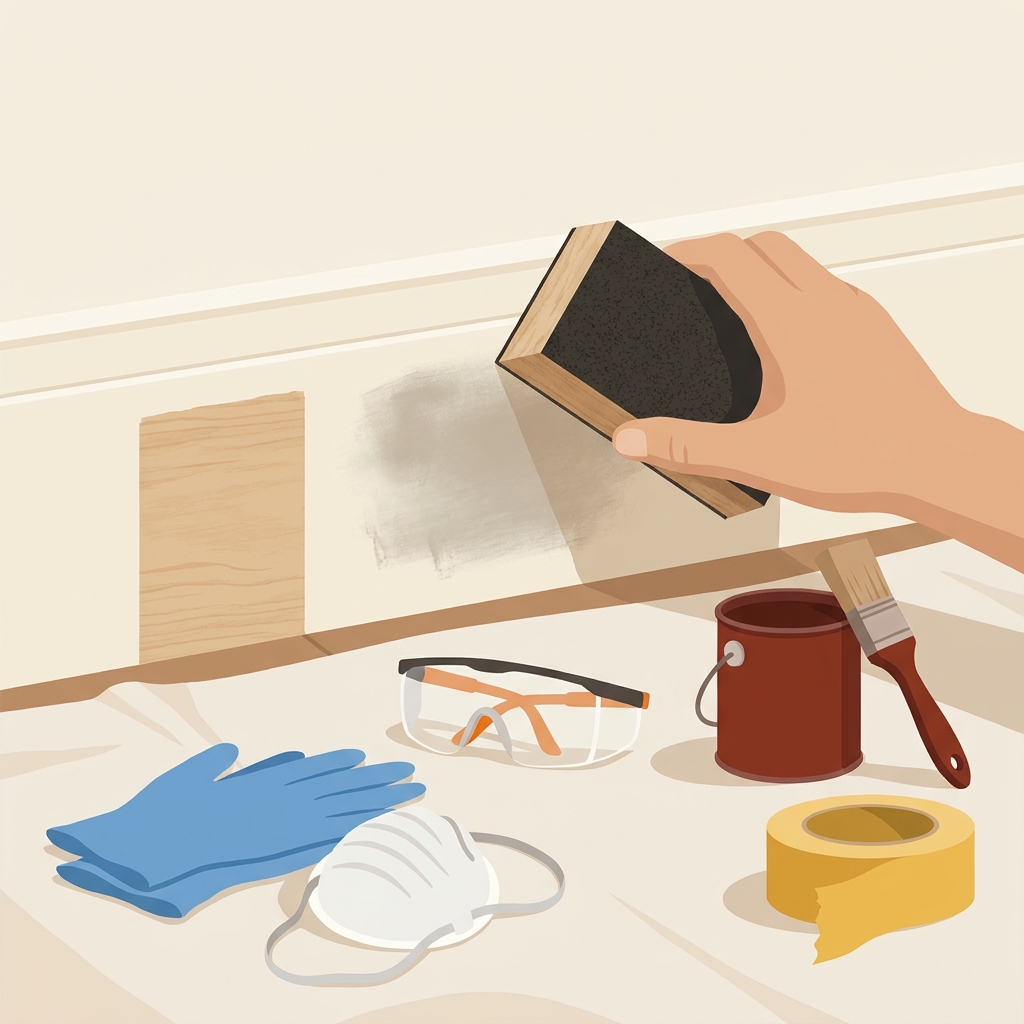
Choose the right wood-sanding grit: quick checklist
Common mistakes to avoid
- Starting too coarse on softwoods, which leaves tracks that are slow to erase (Family Handyman).
- Skipping grits, forcing a fine paper to chase deep scratches (This Old House).
- Pressing too hard. Let the abrasive cut; heavy pressure creates heat and unevenness (This Old House).
- Using aggressive tools on delicate surfaces. On veneers, avoid belt sanders to prevent sand-through (This Old House).
Planning to paint after sanding? See our broader primers explainer for when and why to prime: Is it necessary to use primer before painting walls?. And if you’re reusing tools, here’s practical guidance on cleanup: Can you rinse and reuse paint rollers?

FAQ
Do you ever sand wood above 220 before staining?
It depends on the wood and stain. Many staining projects finish between 180 and 220. Going much finer can reduce stain absorption on some species; follow the finish maker’s guidance and test on a scrap first (Red Label Abrasives).
What grit should I use on wood veneer?
Start finer and sand lightly: 150-180 by hand with a block or a finish sander. Avoid aggressive tools like belt sanders, which can cut through veneer quickly (This Old House).