
The journal
How to replace kitchen cupboard handles
Replace cupboard handles by matching existing fixing holes, checking compatible screws and panel thickness, then fitting and aligning one handle before the full set.
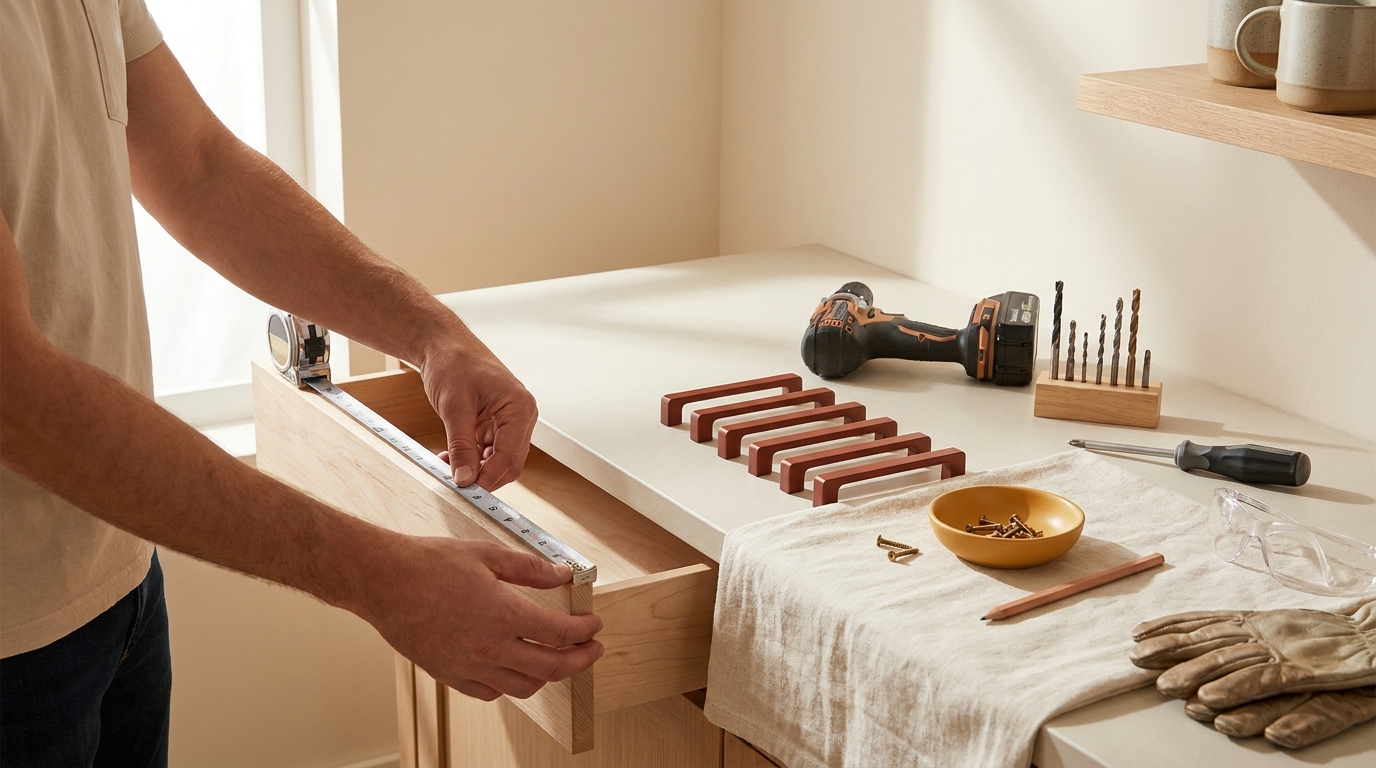
To replace a kitchen cupboard handle, support it from the front, remove its mounting screws from inside the door or drawer, and fit a compatible replacement. For a two-fixing pull, match the distance between the existing hole centres; do not choose by the old handle’s overall length. Check the new maker’s screws and fitting instructions before ordering a whole set.
Measure before you buy
Remove one sample handle and record the fixing arrangement: a single-hole knob, a two-hole pull, or an edge-mounted design. Measure the centre-to-centre distance between two fixing holes, the panel thickness and the clearance around neighbouring doors. Keep an old screw with the sample, but do not assume it fits a different brand’s threads.
The LuxHandles fitting guide distinguishes a machine screw passing through a clearance hole from a wood screw biting into a pilot hole. That distinction determines the fastener and any repair. A replacement should match the actual installation, not merely cover its front face.
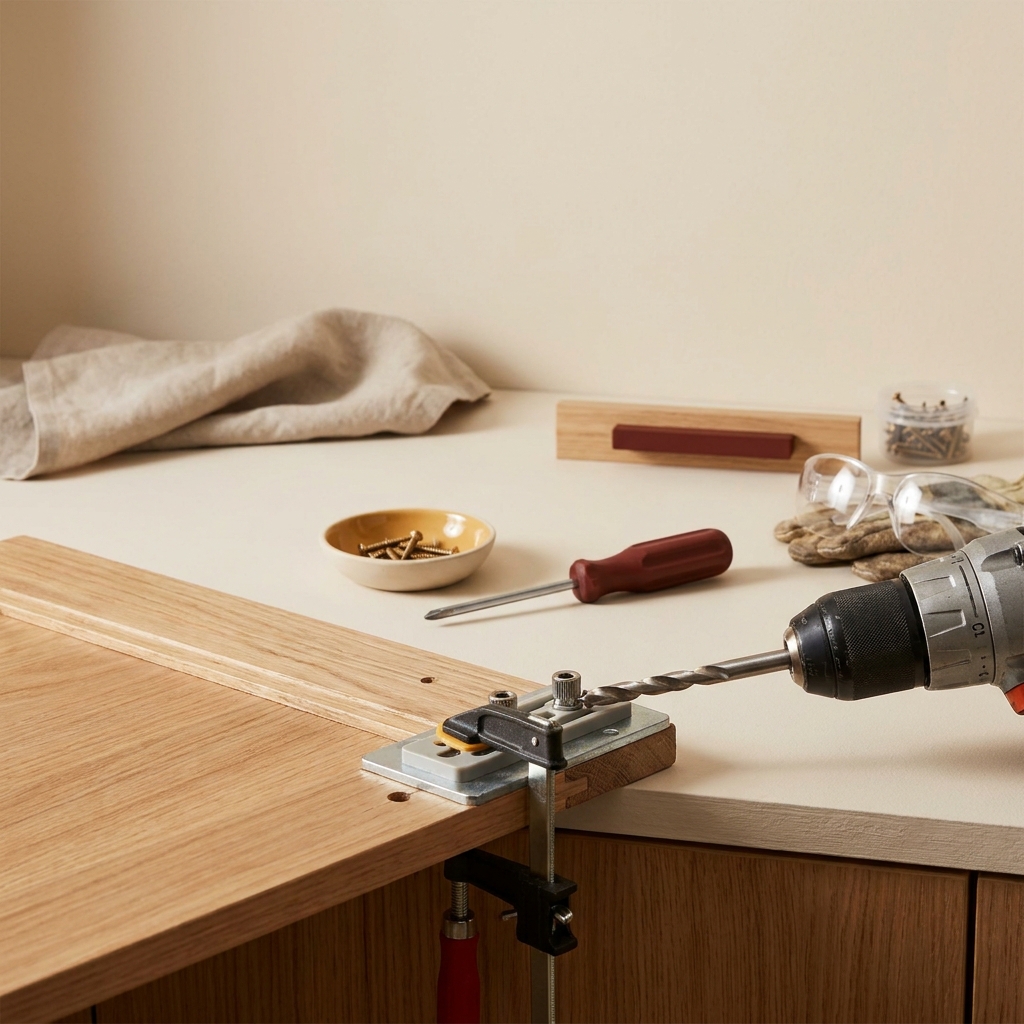
Remove the old hardware without twisting it
- Open the door or drawer and protect its finish. Support the handle so it does not fall when the final screw comes out.
- Use the correctly fitting hand screwdriver on the inside screw heads. Undo the fasteners while holding the outside handle still.
- Lift the handle away and keep its screws together. Remove any separate backplate carefully and inspect the exposed surface.
- Check for crushed board, chipped finish, enlarged holes or damaged hardware before fitting the new part.
Hapny Home’s installation instructions recommend holding the handle in place and tightening from inside with a hand screwdriver. Do not use the outside knob as a lever to force the screw tight.
Check the new screw length and thread
A machine screw must pass through the complete door or drawer-front stack and engage the handle as specified. Too short can mean inadequate engagement; too long can bottom out in a blind threaded hole before the handle clamps. Follow the replacement maker’s specification rather than applying a universal extra length to every panel.
Use supplied compatible screws or obtain the specified replacements. Do not force a nearly matching thread. If a maker supplies breakaway screws, follow its shortening and finishing directions; use a correctly sized replacement if you cannot make a clean, safe cut.
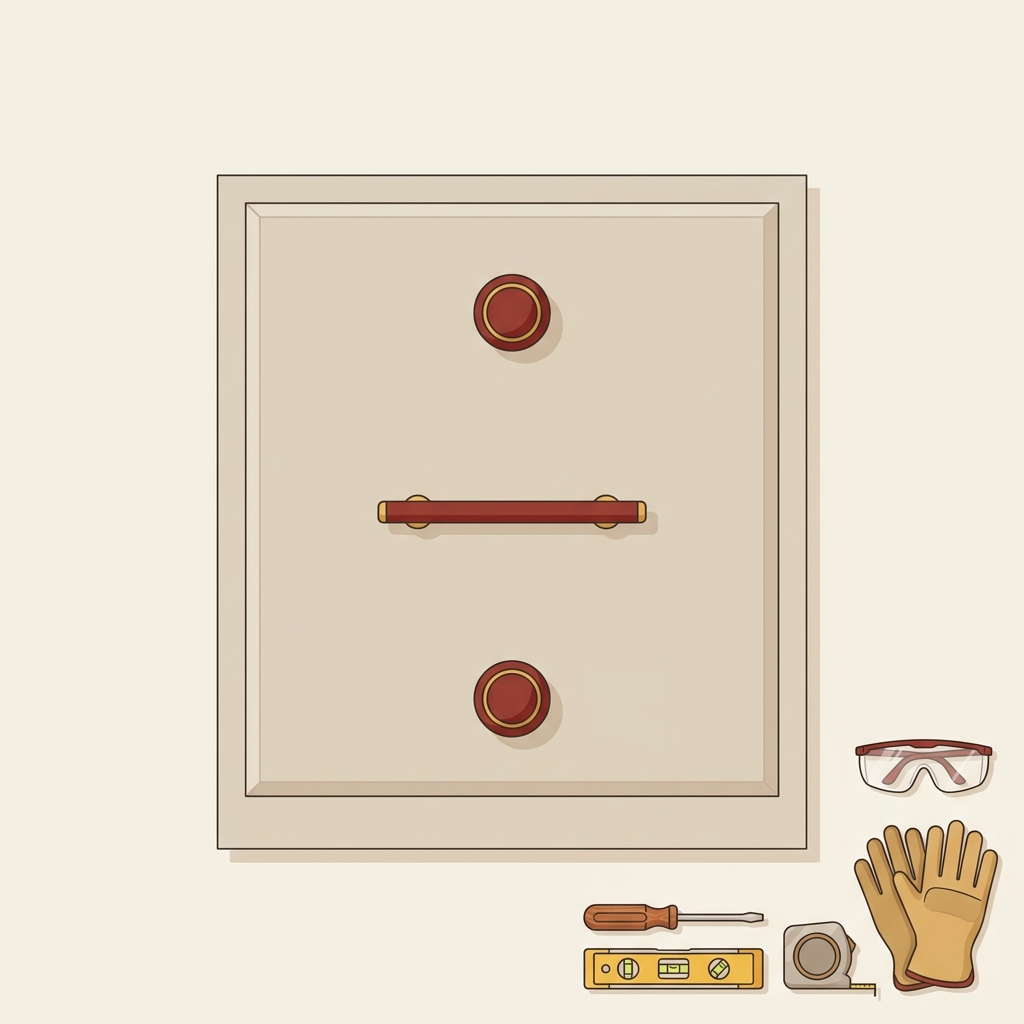
Fit one replacement before doing the full kitchen
Start both screws loosely, align the handle, then tighten them evenly by hand until the part is secure. Stop before crushing the panel or damaging the threads. Open and close the door or drawer to check clearance and check that the handle does not move. Only then repeat the fitting across matching fronts.
If the hole spacing differs, choose a correctly fitting pull or plan an appropriate filling and refinishing job before drilling. Do not enlarge a sound hole simply to force an incompatible handle into position. Our guide to aligning cabinet handles covers consistent reference lines and templates.
Replacement handle checks
If you are keeping the handles and only need to address movement, use the separate guide to cupboard knobs that keep loosening.

Related guides
Sources and further reading
- How to Install Cabinet Handles
- Cabinet Door Handles: Easy Fix for Loose Screws American Express Apple Pay Diners Club Discover Google Pay Maestro Mastercard PayPal Shop Pay Union Pay Visa
- How to Install Cabinet Knobs, Cabinet Handles & Pulls American Express Apple Pay Mastercard PayPal Shop Pay Union Pay Visa