
The journal
Should you silicone the inside or outside of a shower door?
It depends on your exact shower door model and the joint you’re sealing. Two Merlyn manuals show different, model‑specific instructions: one is exterior-only, another separates inside wall joints from outside bottom joints.
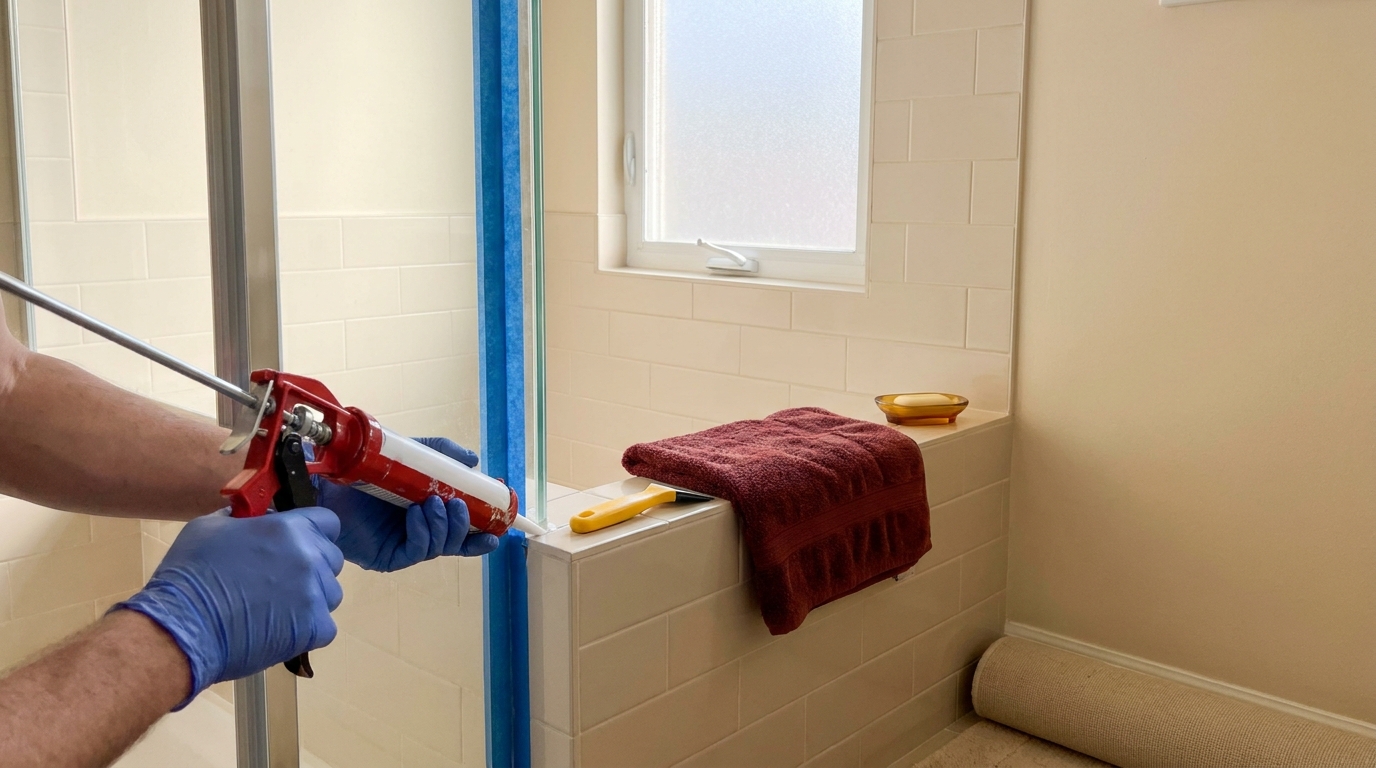
It depends on your shower door’s exact model and which joint you are sealing. Manufacturer instructions vary: one hinged/inline enclosure specifies sealing only on the outside and not at all on the inside, while a side panel system requires an inside vertical wall joint to be sealed but explicitly says not to seal on the inside at the tray. Always follow your door’s installation guide.
What the manuals actually say
Example 1: Hinge Door & Inline panel (exterior only)
Merlyn’s Hinge Door & Inline Panel-Recess Hinge Door & Inline manual instructs: “Only seal the outside of the enclosure… Do not seal the inside.” The diagram shows sealing vertically along the wall, along the outside edge of the bottom profile, and at profile joins including where the bottom track meets the end brackets (Merlyn Hinge Door & Inline Panel-Recess manual). The same page shows a 24 h note beside sealing instructions.
Example 2: Series 8 Side Panel (inside wall joint, outside base)
Merlyn’s Series 8 Side Panel guide separates inside and outside sealing:
- Inside: seal from top to bottom between the wall profile and the wall. Do not apply sealant on the inside on the tray.
- Outside: seal along the bottom rail between the profile and tray, about 50 mm up the wall profiles, and at profile overlaps/joints.
It also states not to use the enclosure for 24 hours after sealing (Merlyn Series 8 Side Panel guide).
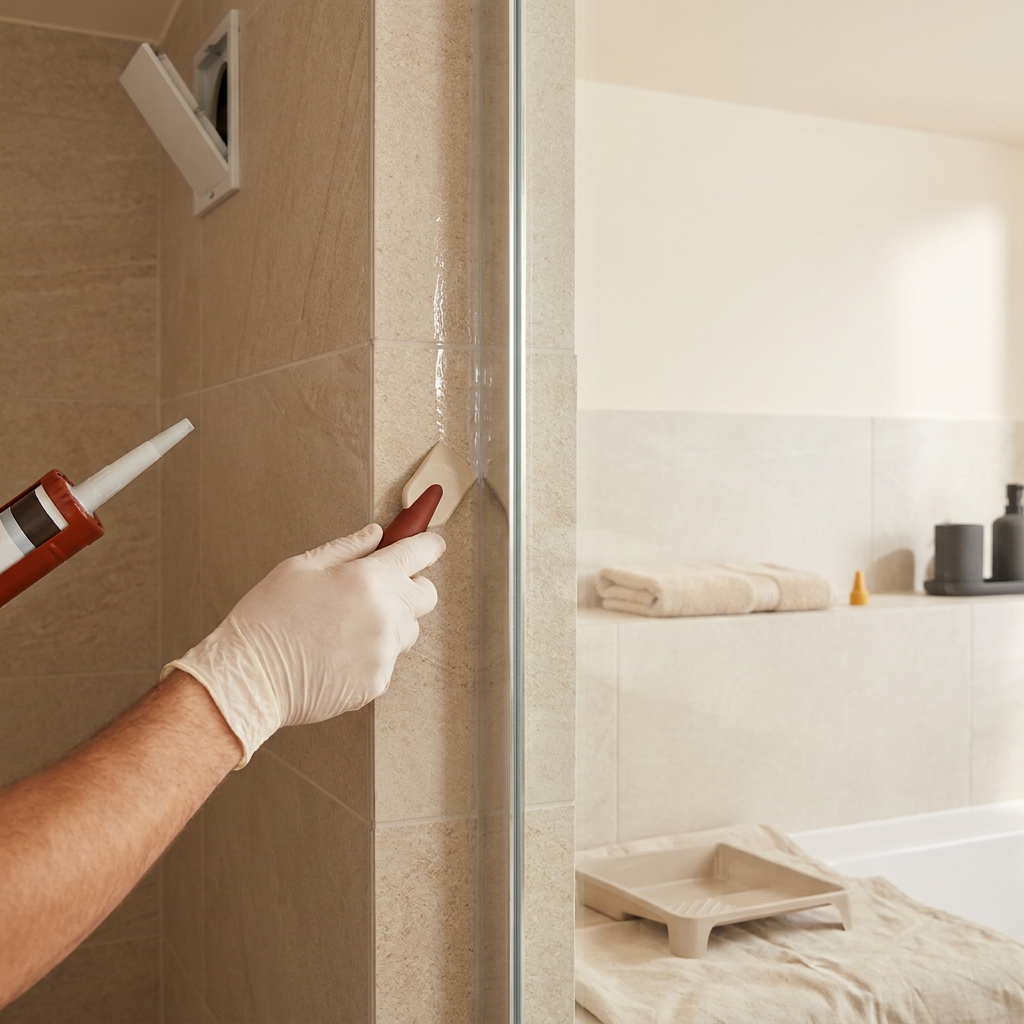
So, should you silicone inside or outside?
Silicone exactly where your model’s diagram shows, and nowhere else. The two examples above illustrate why there isn’t a universal rule:
- Some hinged/inline enclosures: outside only; never inside (Merlyn Hinge Door & Inline Panel-Recess).
- Some side panels: inside vertical wall joint only (not at the tray), and outside along the base and specified overlaps (Merlyn Series 8 Side Panel).
If your model differs, use its specific diagram to identify permitted seal lines.
How to decide for your door
- Identify brand and model: check labels on profiles/hinges, order paperwork, or the tray’s documentation.
- Get the installation guide: search the manufacturer’s site by model number and open the sealing section diagram.
- Match joints in your shower to the diagram’s marked seal lines (often color-coded). Only seal those joints.
- Do not remove or bypass functional door seals or sweeps; they are part of the enclosure’s design.
- If instructions are unclear, contact the manufacturer before applying silicone.
If you’re resealing
Work to your model’s diagram. Clean and dry the surfaces thoroughly before you apply new silicone. Many manufacturer instructions require a wait before use. For example, Merlyn’s Series 8 Side Panel guide says not to use the enclosure for 24 hours after sealing, and the Hinge Door & Inline Panel-Recess diagram shows a 24 h note alongside sealing (Series 8 Side Panel) (Hinge Door & Inline Panel-Recess).
If you’re replacing failed sealant, you’ll generally remove it fully before applying new. For step-by-step removal tips, see our guide: Should I remove old silicone sealant before applying new?
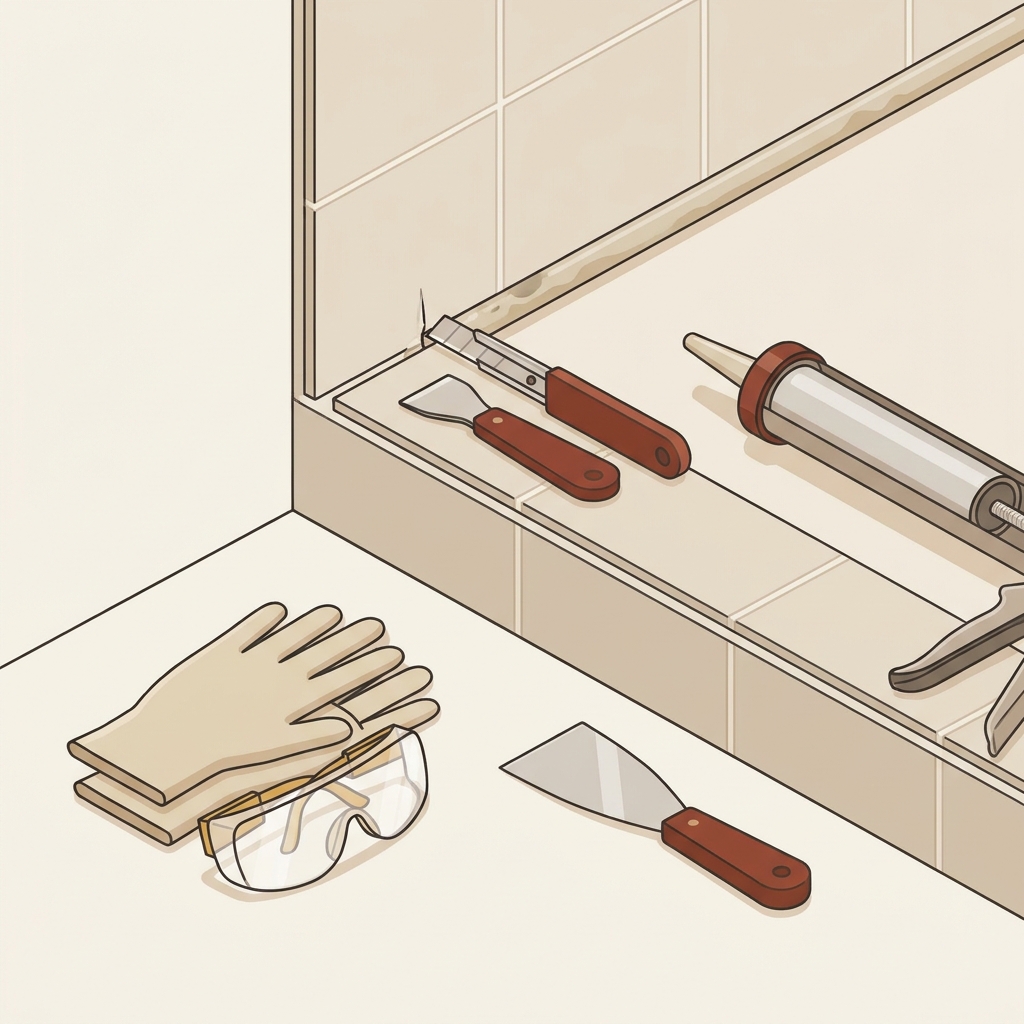
Put this into practice
Identify the exact enclosure model and drainage route, then mark the joints the maker actually instructs you to seal. A neat bead in the wrong place can obstruct the intended route, so do not infer the sealing side from another enclosure’s photograph.
Quick checklist: where to silicone on your shower door
When to stop and get help
Stop and contact the manufacturer or a qualified installer if you cannot identify your model, if joints in your enclosure don’t match the diagram, or if leaks persist after sealing only the specified locations.
Related reading from Home by Doing:
- Should I remove old silicone sealant before applying new?
- What are common caulking mistakes to avoid?