
The journal
Do drywall patch kits work? A practical guide for DIY repairs
how to patch drywall holes, when kits are suitable, materials to choose and when to follow industry repair standards.
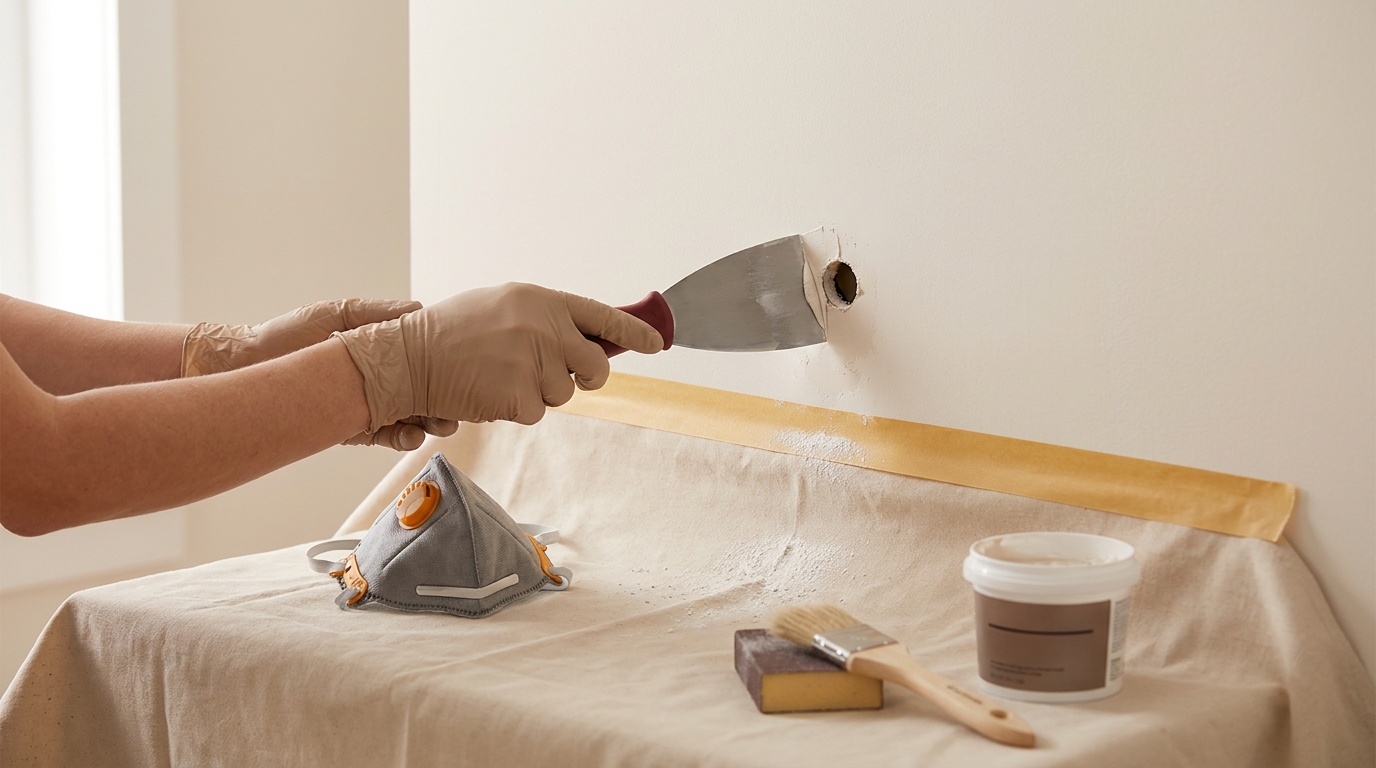
Quick answer: Do drywall patch kits work for fixing holes?
Short answer: yes, drywall patch kits can work for fixing small, surface-level holes if the repair is finished to industry standards so the patch blends and resists cracking. To blend with surrounding paint, aim for a GA-214 Level 4 finish and prime before topcoat, which is the standard approach for paint-ready repairs GA-214 Levels of Finish.
That positive outcome assumes the kit is used on the right size and type of damage, the installer follows recommended embedment and drying practices, and the repair is properly feathered and primed. Consumer kits are generally designed for surface repairs rather than structural restoration and will not, by themselves, restore fire-resistance ratings or replace the need for full-panel repairs that require backing and taping per industry practice GA-216 Application and Finishing.
Practical threshold: for most kits, a "small" hole means a puncture or round hole up to roughly 1 to 3 inches where the surrounding gypsum board is sound and can accept a surface patch. Holes larger than that, ragged edges or missing board usually require cutting back to sound board and installing a backing before taping and finishing to be durable.
Short summary
Drywall patch kits are useful, convenient tools for many typical household repairs when you finish to the recommended Level 4 and prime the surface first. They are not a universal fix for every situation; when repairs affect fire-rated construction, painted surfaces with lead concerns, or areas with missing backing, follow the appropriate standards or consult a professional.
When a kit is the right choice, how to patch drywall holes
Choose a kit when the board around the hole is intact, the damage is limited to the face layer, and you can access both sides if needed to press a patch flat. In these controlled cases a kit that includes a patch, tape or mesh, and compound can deliver a paint-ready result that holds up when finished correctly and primed first.
Remember that the material and method matter: fiberglass mesh that is simply stuck onto the face and covered with a ready-mixed compound is more likely to develop a crack at the seam than a mesh embedded with a setting-type compound as described in industry guidance GA-216 Application and Finishing.
What is inside a drywall patch kit and how each component works
Most consumer drywall patch kits include a rigid or self-adhesive patch, a small quantity of joint compound or spackle, sometimes a short sheet of fiberglass mesh or self-adhesive tape, and a basic finishing tool such as a small knife or sanding pad. Kits are made to be compact and to supply the minimum material for a single small repair.
Self-adhesive fiberglass mesh is a common patch accessory because it is easy to place, but the tape and the compound you use to embed it affect long-term performance. The Gypsum Association cautions that self-adhering fiberglass mesh should not be embedded with ready-mixed compound when a stronger, crack-resistant bond is needed; instead, a setting-type compound is recommended for embedment to reduce cracking at seams and patches GA-216 Application and Finishing. See the DensGlass technical guide for manufacturer recommendations DensGlass Sheathing Tech Guide.
Setting-type joint compounds cure by chemical reaction in a defined set time and shrink less than typical ready-mixed drying compounds, which makes them better for first coats and deep fills; ready-mixed compounds are often chosen for finish coats because they sand more easily and are convenient for feathering. Manufacturer product information discusses working times and intended uses for setting compounds versus drying compounds in more detail USG product information. See a related product submittal for veneer plaster base ToughRock submittal.
In short, a kit gives you the pieces for a repair, but the outcomes depend on which compound you use to embed tape or mesh and how you finish the surface.
Step-by-step: How to patch common hole sizes so the repair lasts
Pinholes and hairline cracks
For pinholes and fine cracks, a tiny amount of spackle or ready-mixed finishing compound, applied and feathered smoothly then primed, is often sufficient. Work in thin layers, sand lightly between coats as needed, and achieve a Level 4 finish for paint blending to avoid visible edges GA-214 Levels of Finish.
Steps for pinholes and hairline cracks:
- Clean loose dust and flaking paint.
- Fill with a small applicator or knife using thin passes.
- Let each thin layer dry or set, sand lightly, and repeat until smooth.
- Prime the area before topcoat to equalize absorption.
Small holes up to about 1 to 3 inches
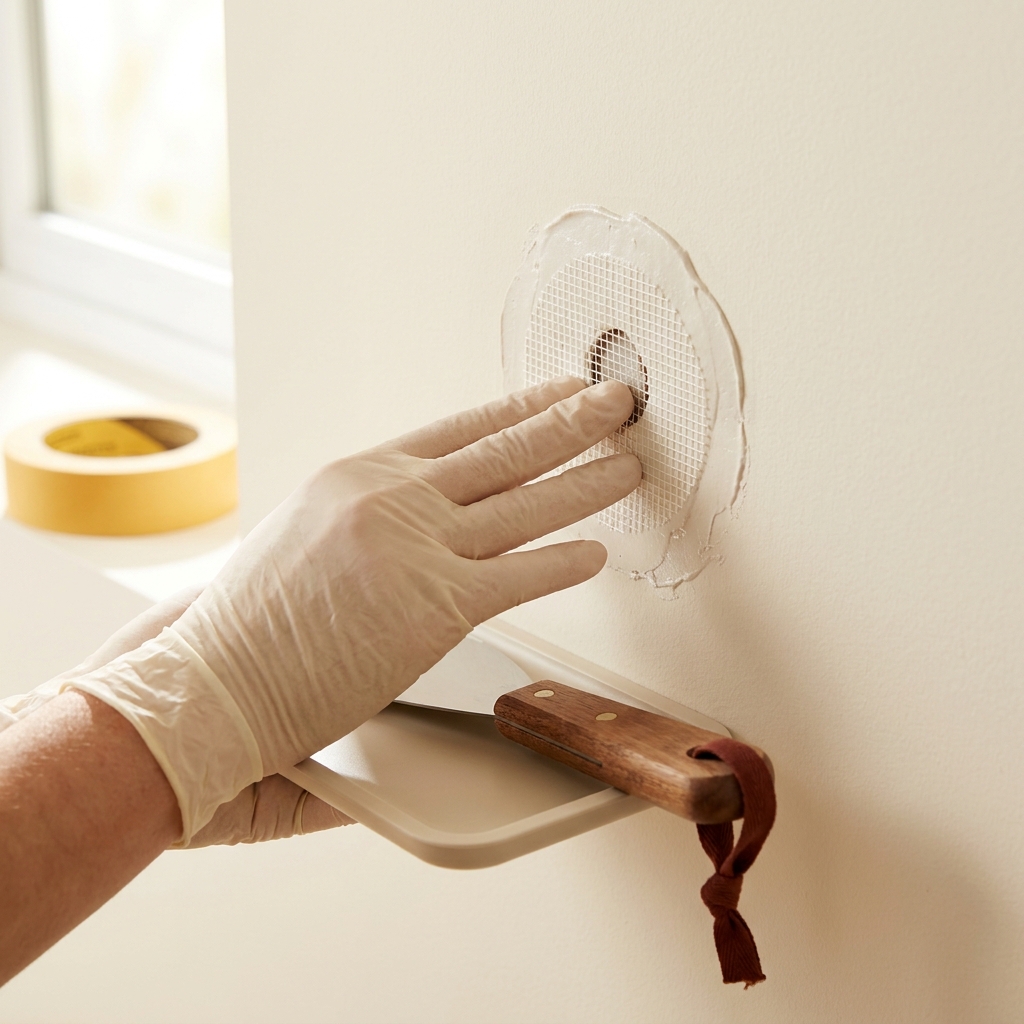
For small round holes, many kits include a self-adhesive patch or mesh patch that sits over the hole and receives compound. These work when the surrounding board is sound and the patch is embedded correctly. For best durability, embed mesh with a setting-type compound for the initial embedment, then use ready-mixed compound for finish coats because it sands more readily and helps achieve a feathered edge ProForm product data.
Procedure for 1 to 3-inch holes:

- Remove any loose material and ensure the patch will sit flat.
- Apply setting-type compound to cover the hole and press the mesh or patch into the compound while it is workable.
- Allow the setting compound to cure per the product instructions for the set time you selected.
- Apply one or two thin finish coats of ready-mixed compound, feathering the edges wider with each coat.
- Sand lightly, prime, and paint.
Do drywall patch kits provide durable, paint-ready repairs?
Yes, for small, non-structural holes a properly applied patch kit can produce a durable, paint-ready repair when finished to GA-214 Level 4 and primed; larger, fire-rated or lead-risk repairs require GA-216 or GA-225 methods or professional help.
Medium to large holes and when to cut back to sound board
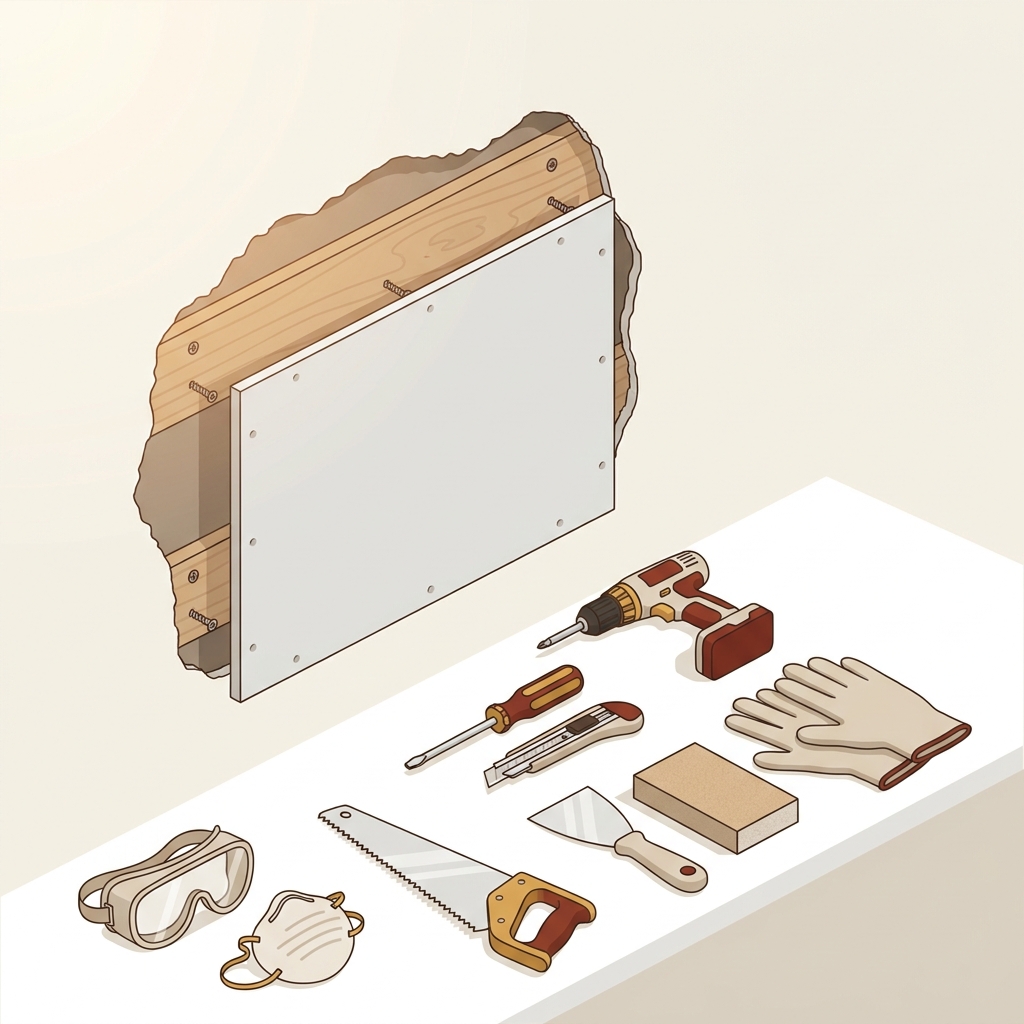
When a hole is too large for a surface patch, or the gypsum face and core are damaged, cut back to sound, square edges and install a backing or framing to support a new piece of board. The Gypsum Association describes full repair methods that include installing backing, taping, and finishing to restore durability rather than relying solely on surface-applied patches GA-216 Application and Finishing. See Division 9 guidance for related specifications Division 9.
When a repair needs backing, the steps are:
- Cut a neat opening to sound board.
- Install a wooden backing or a screw-on support behind the opening.
- Fasten a new piece of gypsum board into the opening and screw to the backing.
- Tape the seams with paper tape or appropriate joint tape, then apply compound per GA-216 methods.
- Finish to the Level 4 or 5 required for the final surface and prime before paint.
Using this approach restores a durable, long-term repair that holds up to normal use better than a surface patch alone.
Choosing materials and tools: setting-type compounds, tapes and finishing products
When you select materials, decide which compound to use for the embed and which for the finish. For initial embedment of mesh tape, choose a setting-type compound because it cures by chemical reaction, shrinks less, and is suited for deeper fills; ready-mixed compounds are excellent for final coats because they sand easily and help you achieve a feathered edge suitable for Level 4 finishing USG product information.
Tape choice matters too. Self-adhesive fiberglass mesh is easy to use but should be embedded with a setting-type compound for best crack resistance; paper tape remains the conventional choice for taped joints and many repairs because it creates a flatter, stronger seam when used correctly GA-216 Application and Finishing.
Essential handheld finishing tools for a tidy repair
Other selection notes: pick a setting compound with a working time that suits your pace if you need a longer working window for embedment, and choose ready-mix finishing compound for feathering that will be sanded before priming. Read the product data to match work times to your skill and project scope ProForm product data.
Basic tools checklist: a 6 to 12 inch taping knife, a narrow putting knife for small spots, a sanding block with medium and fine pads, a utility knife, and a container for mixing if you use a powdered setting compound.
When patch kits are not enough: safety, code and special repairs
Some situations require more than a consumer patch kit. If the wall is part of a fire-resistance-rated assembly, a simple surface patch will not reliably restore the original rating; repairs that affect fire performance should follow GA-225 procedures or be performed by someone familiar with fire-rated assembly repairs to ensure compliance.
Homes built or painted before 1978 may have lead-based paint. Cutting, sanding or demolishing painted drywall in those buildings triggers EPA Renovation, Repair and Painting (RRP) requirements for containment, dust control and cleanup; follow those lead-safe work practices when the work could disturb painted surfaces EPA RRP program.
When to hire a pro: if the repair affects fire-rated construction, if the damage is extensive or structural, if you cannot control dust exposure in a pre-1978 home, or if local code requires licensed work for certain repairs.
Common mistakes, troubleshooting and finishing tips to make a patch invisible
Embedding fiberglass mesh with the wrong compound is a common cause of later cracking or ridging. If mesh is stuck on and covered with a ready-mixed compound that shrinks or separates, the seam can show up as a hairline crack. Re-embedding or dressing the seam with a setting-type compound and then finishing with ready-mix often fixes persistent cracks GA-216 Application and Finishing.
Sanding and primer tips: sand only after finish coats are fully dry or set, and use primer before painting to even out the paint absorption difference between the repair and existing wall; achieving a Level 4 finish and priming are key steps to make the patch disappear under paint GA-214 Levels of Finish.
When to re-do the repair: if the repaired area cracks after settling, or the feathered edge remains visible through paint, consider widening the feathering with another thin coat, or, for severe failures, replace the damaged area with a cutback and backed patch for a permanent solution. Prime before painting to equalize absorption and improve paint blending by following interior painting guidance prime.
Frequently asked questions
Can I use a patch kit on any drywall hole?
Patch kits work best for small holes in otherwise sound drywall. Larger or ragged holes usually require cutting back to sound board and installing backing before taping and finishing.
Do I need a special compound for a patch kit?
Use a setting-type compound to embed mesh for the initial coat and a ready-mixed compound for finish coats to get the best balance of crack resistance and sandability.
Do patch kits restore fire resistance or code compliance?
No, repairs that affect fire-rated assemblies or regulated work like lead paint disturbance require specific procedures and may need a professional.
A consumer drywall patch kit can be a reliable solution for small, well-defined repairs if you choose the right materials and finish to industry standards. For larger or regulated repairs, follow GA-216 or GA-225 methods or consult a pro to ensure a safe, durable outcome. Use this guide to decide whether a kit will work for your situation and to follow the correct steps so the patch blends and lasts.