
The journal
Can you put shelves on a plaster wall? Practical guide for safe installation
Learn how to hang shelves on plaster walls safely: inspection, stud finding, plaster wall anchors and load planning explained.
Quick answer and when it is safe to hang shelves on plaster walls
Short summary
Yes, you can mount shelves on plaster-and-lath walls when the plaster is sound, you fasten brackets into studs where possible, and you use suitable hollow-wall anchors where studs are not available. For an overview of risks and typical anchor choices, see this practical how-to resource from Family Handyman, which covers working with plaster and recommends using metal hollow-wall anchors when studs are absent.
Before you start, inspect the plaster for cracking, bulging or delamination and stop if the surface is loose; historic plaster over wood lath is brittle and can delaminate, so repair first when you find soft or separated patches, as outlined in preservation guidance NPS Preservation Brief 21 on flat plaster repair.
Safety basics are simple: distribute the shelf weight across multiple brackets or anchors, keep the total shelf load at or below the lowest-rated fastener in your assembly, and check manufacturer technical data for the anchors you choose before you install them SNAPTOGGLE technical data.
When to stop and repair first
Do not hang heavy shelves on loose, crumbling or delaminated plaster. If tapping the surface gives a hollow or dull thud, if you see wide cracks, or if patches are pulling away from the wall, pause and plan a repair. Practical repair options include re-bonding loose plaster, replacing failed sections, or adding a stable backing such as a ledger or furring strip after professional assessment NPS guidance on repairing historic plaster.
How plaster and lath behave and how to inspect the wall first
How lath-and-plaster is built and why it can be brittle
Most older plaster walls are a multi-coat finish applied over wood lath strips nailed to studs. The plaster keys into gaps between the lath and hardens into a rigid shell that will take loads well when intact, but the brittle nature of the material makes it prone to cracking and to separating from the lath where the bond has failed. For a clear explanation of these failure modes and repair priorities, see the preservation field guide from the National Park Service NPS Preservation Brief 21.
Signs of delamination, cracking and loose plaster to look for
Walk the whole wall slowly and look for visible cracks, bulges, hairline fractures radiating from nailheads, and areas where paint flakes away in sheets. Tap the wall with a knuckle or the handle of a screwdriver; a solid sound usually means the plaster is well adhered, while a hollow or dull sound suggests delamination. Also check for recent patchwork or layers of skim coat that might hide underlying weakness. When in doubt, treat suspicious patches as unsuitable for direct loading until repaired and confirmed by a pro NPS Preservation Brief 21 on flat plaster.
Simple noninvasive checks and when to call a repair pro
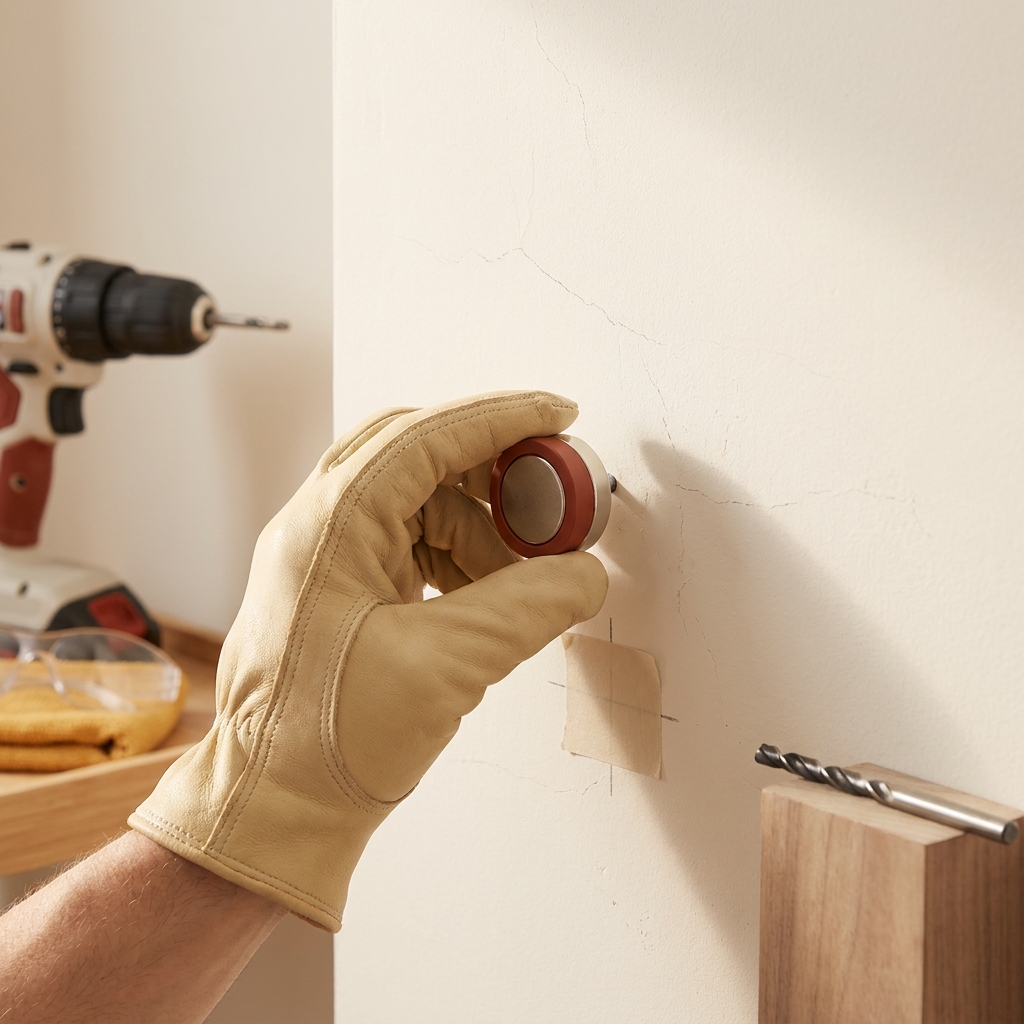
Start with a noninvasive survey: run a strong magnet along the wall to find rows of nails that mark the lath and locate likely stud lines, then test small areas with a gentle tap and a visual inspection for paint cracking. If you find areas where the plaster flakes away, soft spots, or wide separations from the lath, consult a plaster repair professional or a contractor experienced with older homes before mounting heavy shelves Fine Homebuilding on fastening to plaster and lath.

Finding studs and marking bracket positions in plaster walls
Why stud mounting is the strongest option
Fastening shelf brackets directly into studs with wood screws provides the most reliable support because the screw bears on the structural framing behind the plaster and lath. Whenever possible, plan to place at least one bracket on a stud and use screws long enough to penetrate the stud by at least one inch of solid wood for a secure connection.
How to locate studs behind plaster safely
Locating studs behind plaster can be harder than on drywall. A strong magnet moved slowly over the surface will snag on lath or on the nails that secure it, giving you a baseline for likely stud spacing; confirm any suspected stud location with a very small pilot hole before committing to a full screw or anchor. InterNACHI recommends a combination of tools and confirmations when stud finding on older walls InterNACHI on finding studs.
Electronic stud finders can work, but their readings are less reliable on thick plaster and lath; use them as a secondary check rather than the sole method. If you rely on a stud finder, follow up with a small test hole to verify the stud before drilling the full bracket fastener InterNACHI guidance on stud finders.
Can you put shelves on a plaster wall?
Yes, provided the plaster is sound, at least some brackets can be secured to studs, and suitable metal hollow-wall anchors are used where studs are not available.
Pilot holes and drill technique to avoid blowout
To minimize plaster blowout and cracking when making pilot holes, place a piece of painter's tape over your mark to reduce surface chipping, use a sharp high-speed steel or masonry bit sized for the screw or anchor, and drill only far enough to penetrate the plaster and lath to confirm the substrate. Do not use hammer-drill mode; use steady pressure and low speed until you reach the substrate, then enlarge as needed for the anchor or screw.
After you confirm a stud or hollow cavity, remove the tape and complete the hole with the appropriate bit for the selected fastener, keeping the bit aligned and the drill steady to avoid cracking the surrounding plaster. If the plaster shows signs of cracking during pilot drilling, stop and reassess the wall condition before proceeding.
Choosing anchors and planning loads: studs, molly bolts, toggles and limitations
When to use studs versus hollow-wall anchors
Rule of thumb: use studs whenever you can because a wood screw into framing carries far more predictable load than any hollow-wall anchor. When studs are not available where you need them, select a metal hollow-wall anchor sized and rated for the intended load; common choices include molly bolts and toggle-style anchors that spread the load behind the lath and help prevent pullout Fine Homebuilding on fastening to plaster and lath.
As a practical rule, spread the load by using more brackets rather than relying on a single anchor to carry a heavy weight. If you must hang a heavy or high-value item, consider re-locating brackets to engage studs, add a ledger board attached to studs, or consult a contractor for reinforcement options before hanging the shelf.
Anchor types explained: molly bolts, toggle anchors, plastic anchors and their suitability
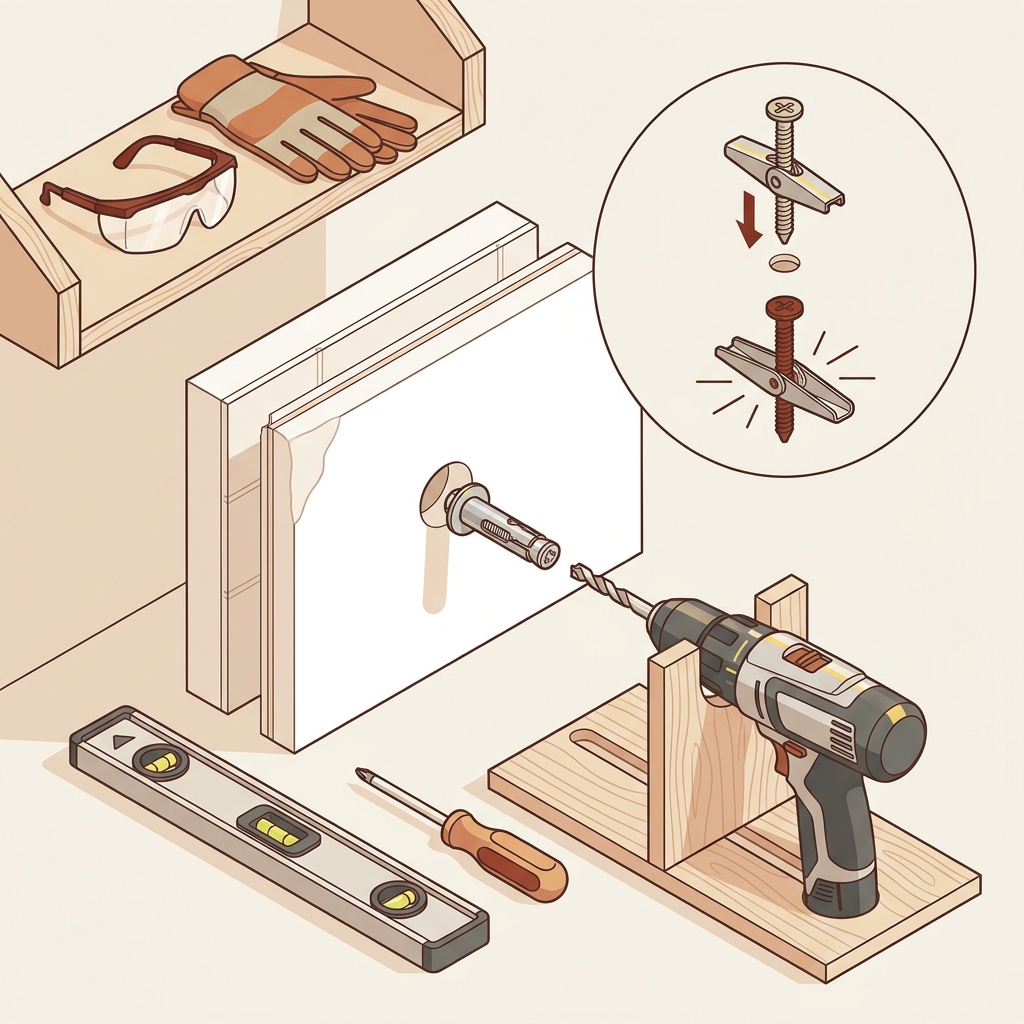
Metal expansion anchors, commonly called molly bolts, expand behind the plaster and lath to form a backing that holds well for moderate loads. Toggle-style anchors, especially heavy-duty toggles, offer wider load distribution behind the wall and are a good option for heavier shelves when studs are not reachable. Plastic expansion anchors are generally less dependable in lath-and-plaster because they do not engage or distribute weight behind the lath as effectively, so they are not the preferred choice for loaded shelving Best Anchors for Plaster Walls.
Load planning: read manufacturer data and distribute weight across anchors
Anchor load capacities vary by product and by substrate, so check the manufacturer technical sheet for the exact substrate and rating before you choose an anchor. For example, heavy-duty toggles and hardware manufacturers publish technical details that show the maximum load per fastener under specified conditions; use those figures to plan how many anchors and brackets you need and keep the total shelf load at or below the lowest-rated fastener in your installation SNAPTOGGLE technical data. You can also review product selections at major suppliers such as Home Depot - Plaster Hollow Wall Anchors.
Step-by-step installation: a typical shelf with brackets on a plaster wall
Measure, mark and level
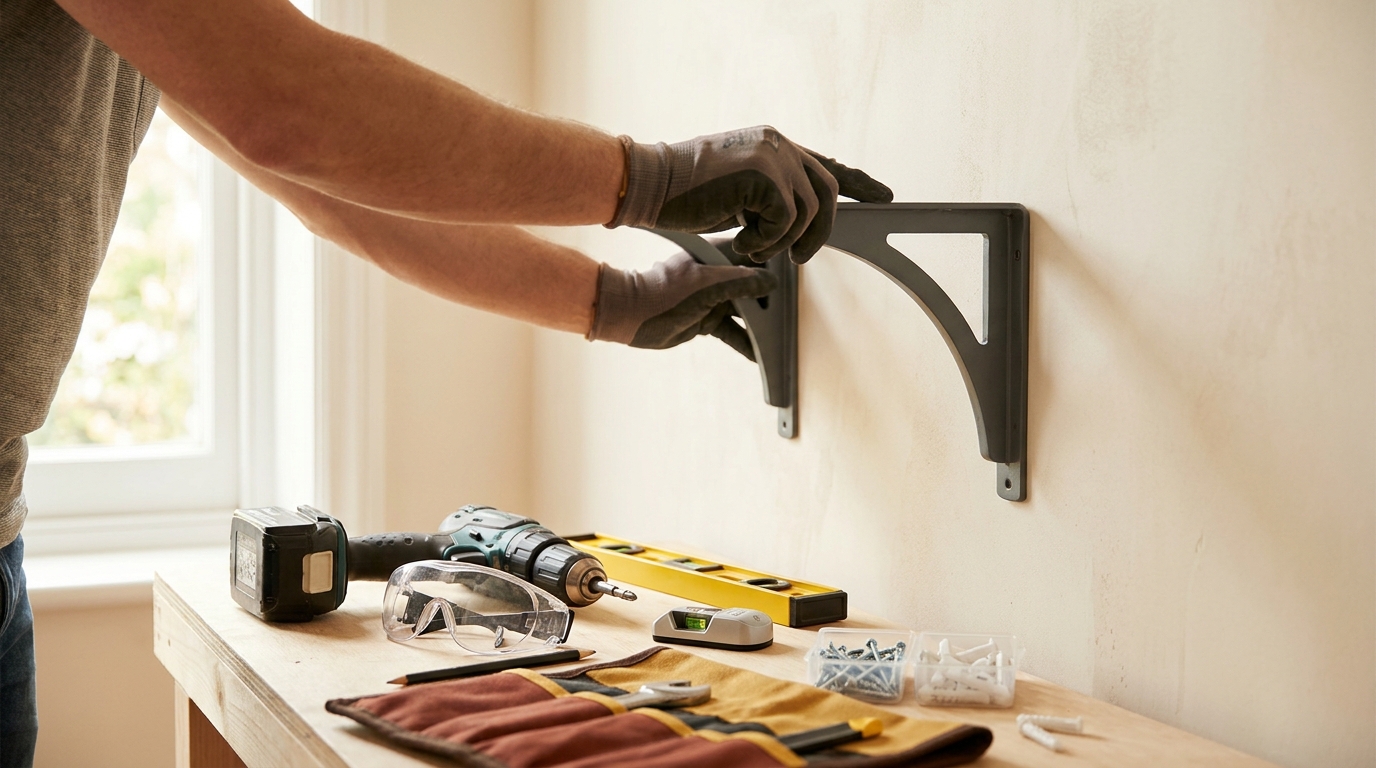
Plan the shelf layout and mark bracket locations carefully. Measure and mark the shelf height and the horizontal positions of the brackets, then use a level and a straight edge to ensure the marks are in one plane. If you expect to load the shelf with variable weights, place brackets closer together—common spacing for heavier loads is 16 inches or less between brackets so that one bracket is likely to hit a stud in many older homes.
Drill pilot holes, install anchors or screw into studs
Once you have marks and verified stud or cavity locations, drill small pilot holes through the plaster as described earlier with painter's tape and a sharp bit. If you hit a stud, install an appropriate wood screw that penetrates the stud at least one inch. If you are in a hollow area, install the chosen metal hollow-wall anchor according to the manufacturer's instructions and verify that it sets securely behind the lath.
Hang shelf, test load and adjust
Attach brackets to the wall and mount the shelf. Test the installed shelf gradually: start with a light load, then add more weight while watching for signs of movement, crack propagation, or anchor loosening. If any fastener shows shifting or if the plaster cracks, remove the load immediately and reassess the mounting points. Remember that the safe shelf load is limited by the weakest anchor in the set, so use conservative loading when in doubt.
For ongoing safety, periodically inspect the shelf and anchors, especially in older houses where seasonal humidity and settling can affect plaster adhesion over time The Spruce on hanging shelves.
Common mistakes, troubleshooting and safer alternatives
Typical errors that lead to failure
Common mistakes include relying on lightweight plastic expansion anchors for loaded shelves, placing all weight on a single anchor, and failing to check plaster condition or anchor ratings before installation. These errors increase the chance of pullout, plaster damage, or sudden failure under load. When you choose anchors, prefer metal hollow-wall options and plan for multiple attachment points to reduce the load on any single fastener.
Repair and reinforcement options before mounting heavy loads
If the plaster is compromised, consider these safer alternatives: repair the plaster properly, attach a continuous ledger board that is fastened into studs and supports the shelf edge, or apply furring strips anchored into studs and then screw the shelf into the strips. These approaches distribute load into the framing and reduce stress on fragile plaster surfaces NPS guidance on repair and reinforcement.
quick checks before hanging shelves on plaster walls
Final safety checklist
Inspect the plaster and listen for hollow spots, locate and verify studs when possible, choose metal hollow-wall anchors when not on studs, distribute weight across multiple brackets, and always consult manufacturer technical data for anchors so the total load does not exceed the lowest-rated fastener. If the wall shows signs of serious deterioration, seek professional repair before hanging substantial loads SNAPTOGGLE technical data.
When you follow these steps—inspect, find studs, use the right anchors, and plan loads—shelves on plaster walls can be a secure, long-lasting solution in older homes.
Frequently asked questions
Can I use plastic anchors in plaster walls?
Plastic expansion anchors are generally not recommended for lath-and-plaster because they do not engage or distribute load behind the lath as reliably as metal hollow-wall anchors.
How do I know if my plaster is safe to hang shelves on?
Tap the wall, look for cracks, bulges or loose patches, and use a magnet to find lath nails; if the plaster sounds hollow or flakes away, repair is needed before loading.
Is it okay to rely on a single anchor for a heavy shelf?
No, distribute weight across multiple brackets and ensure the total load does not exceed the lowest-rated fastener in the assembly.
Mounting shelves on plaster requires a little more inspection and care than drywall, but with the right checks and anchors it is a reliable home project. When in doubt about plaster condition or anchor suitability, pause and consult a professional to protect your walls and belongings. Follow the step-by-step checklist and manufacturer guidance, distribute loads, and inspect mounted shelves periodically to keep them secure over time.
References
- https://www.nps.gov/tps/how-to-preserve/briefs/21-flat-plaster.htm
- https://www.toggler.com/product/snaptoggle/
- https://www.nachi.org/stud-finders.htm
- https://www.thespruce.com/how-to-hang-shelves-4588472
- https://www.ashanging.com/en_us/blog/best-anchors-plaster-walls?srsltid=AU7gw4WKkZsztlXKrRb1VZj9o3ZTbuGWOzET4GuTiYMWgmIlQD8d3b9c
- https://www.homedepot.com/b/Hardware-Fasteners-Anchors-Hollow-Wall-Anchors/Plaster/N-5yc1vZ2fkp96iZ1z1r801
- https://www.thisoldhouse.com/walls/choosing-the-proper-fastener
- https://homebydoing.com/guides/wall-repairs-and-preparation/
- https://homebydoing.com/guides/measuring-and-project-planning/
- https://homebydoing.com/guides/wall-mounting-and-storage/
Product options for this topic
As an Amazon Associate I earn from qualifying purchases. These are researched options, not hands-on test results. Check the exact size or model, current price and availability on Amazon.
| Product option | Fit and limits to check | Retailer |
|---|---|---|
| RYOBI PCL206B drill/driver, tool only | A cordless drill/driver option within the ONE+ system. This listing is tool-only: check compatible battery and charger requirements. | View on Amazon |
| Stanley PowerLock 25-foot tape measure | A retractable tape for room and furniture measurements. This listing uses imperial measurements; choose a metric alternative if that suits your plans. | View on Amazon |