
The journal
Tighten a loose toilet seat: the quick, correct way
Tighten a loose toilet seat in minutes. Identify your hinge type, tighten from the top, and troubleshoot spinning bolts or quick‑release seats with clear steps.
Quick answer
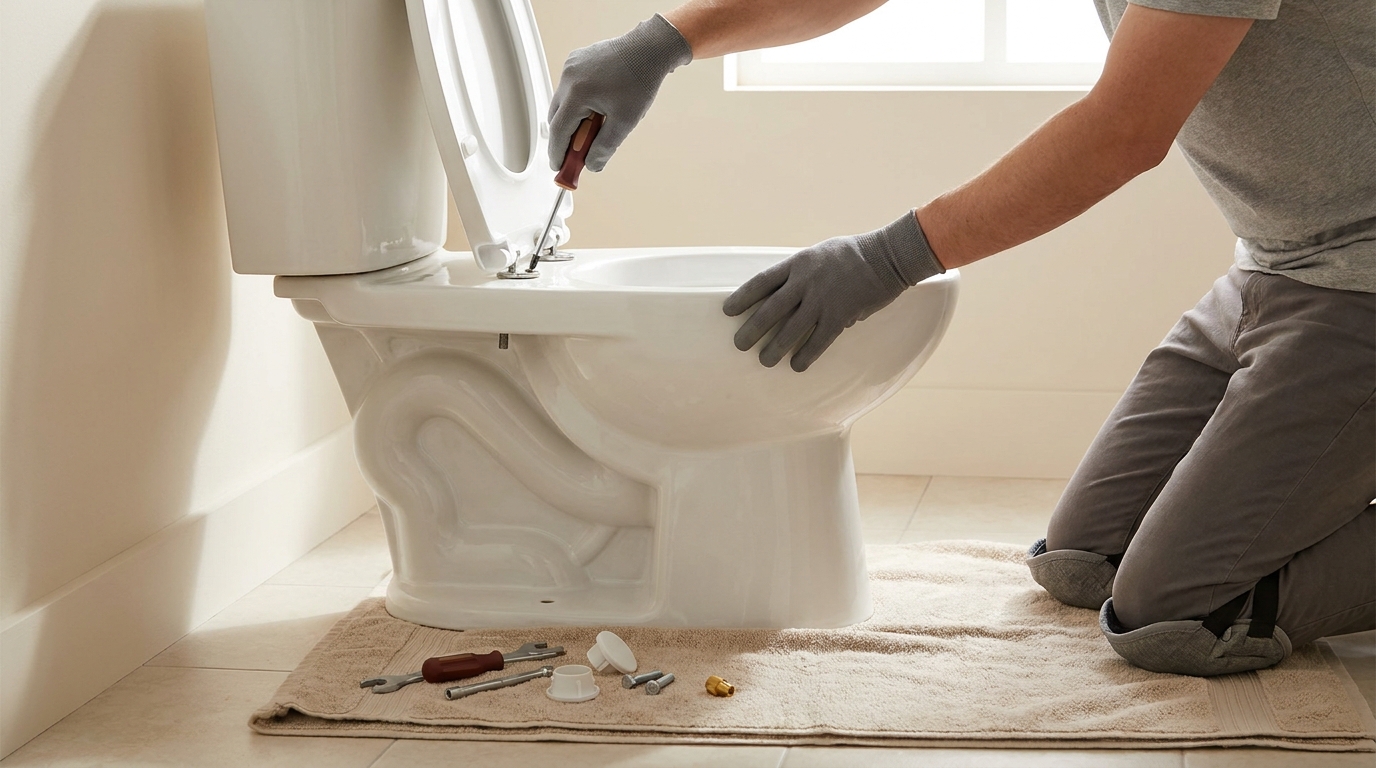
Identify the seat’s fixing system first. On many screw-and-nut designs, you centre the seat, expose the hinge screws and tighten from above while holding the underside nut still. Top-fix expanding plugs and proprietary systems can use different instructions. Follow the seat maker’s method and avoid overtightening, which can damage hardware or the ceramic bowl (Bath Royale toilet seat tightening tips; Bemis: How to tighten a toilet seat).
Identify your seat and hardware
Top-fix (secured from above)
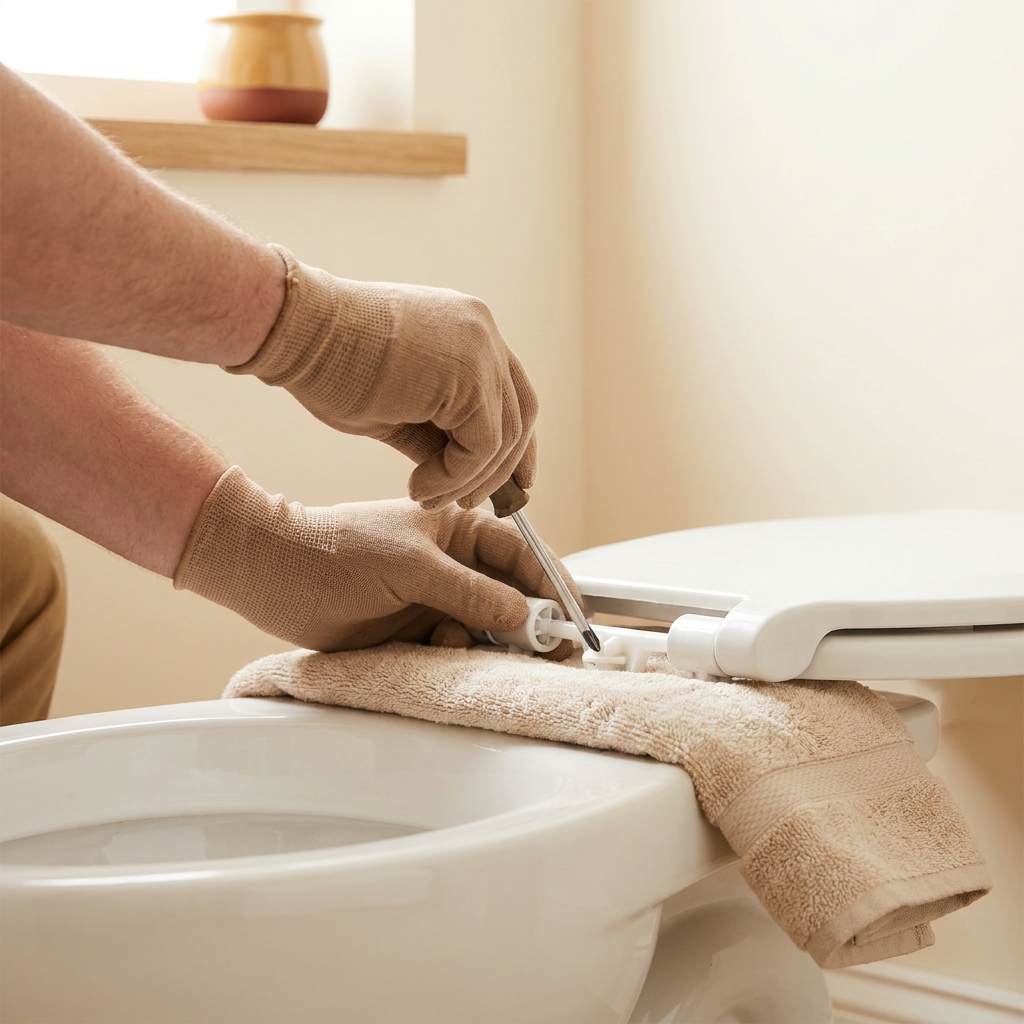
Top-fix seats are designed to be secured from above, often where access below the pan is restricted. Covers alone do not identify the system. Find the exact seat instructions before turning an expanding plug or other hidden fixing (Bath Royale; Bemis).
Bottom-fix (accessible nuts beneath the bowl)
Center the seat on the bowl. If your bolts have wing nuts below, many designs still tighten best by turning the screw from above while holding the nut beneath. Some manufacturers specify not to turn split wing nuts and to tighten only from the top once the nut is seated in the hole (Bath Royale). If your bolts simply spin, grip the nut with pliers and tighten the screw from above (Bemis).
Step-by-step: tighten the seat
- Check whether your model needs a screwdriver, hex key or its own fitting tool. Use the correct size. Keep a small wrench or pliers handy to hold an underside nut if needed (Bath Royale; Bemis).
- Flip open the hinge caps and center the seat on the bowl (Bemis).
- Tighten the hinge screws from the top. If the bolt wants to turn, hold the nut lightly beneath. Stop when snug; overtightening can strip or break plastic hardware (Bemis).
- Close the caps and test. The seat should not shift out of position when you apply gentle side pressure. If it still moves, see troubleshooting below.
If your seat is quick‑release
Some soft-close or quick-release seats have buttons to remove the seat before you access the screws. Press the release buttons to lift off the seat, pop the hinge covers, tighten the screws carefully, then refit the seat onto the hinges (American Standard: tighten a Fluent seat).
Tighten a loose toilet seat: do‑it‑now checklist
Troubleshooting and when to replace parts
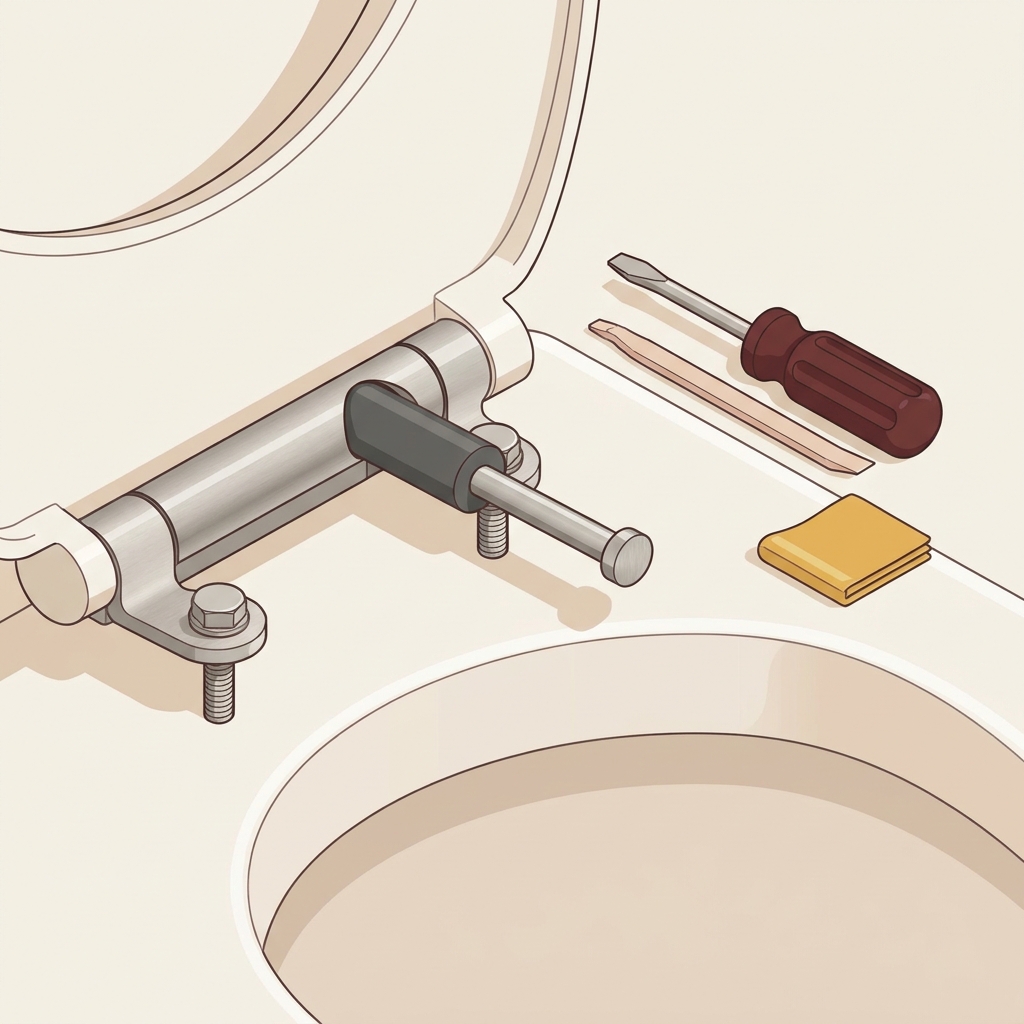
- Bolts spin without tightening: the nut may be stripped. Hold the nut with pliers while tightening from above; if it still won’t bite, replace the nut/bolt set. Some seats use proprietary hardware, so check your seat brand for compatible parts (Bath Royale).
- Seat still walks sideways after tightening: ensure the seat is centered, then snug the screws again. Check that the specified washers and anti-slip pads are present and correctly positioned; do not add arbitrary hardware that changes the fixing (Bemis).
- Slippery mounting area: if the seat has been loose for a while, clean and dry the bowl’s mounting surface before reassembly. Avoid spraying liquid directly into the hinge area; apply cleaner to the cloth, then wipe (Bath Royale).
- Hardware damage: cracked nuts or broken bolts should be replaced with the seat maker’s specified parts for a secure fit (Bath Royale).
Worked example: split wing nuts that won’t bite
If your seat uses split wing nuts that wedge into the underside of the bowl holes, press each wing nut upward so its tips center in the hole, then tighten only by turning the screw from the top to the maker’s specified fit, without adding excessive force. Do not turn the wing nut itself on this design (Bath Royale: split wing nut guidance).
Related from Home by Doing

FAQ
What tools do I need?
A flathead or Phillips screwdriver sized to your hinge screws, plus a small wrench or pliers to hold an underside nut if required (Bath Royale; Bemis).
How tight is tight enough?
Snug so the seat doesn’t shift under gentle side pressure, but not so tight that plastic hardware strains. Overtightening can strip or break plastic bolts or nuts (Bemis).
My seat has release buttons. Do I remove it first?
It depends on the release design. The cited American Standard Fluent guide describes its own removal and tightening sequence. Other seats use different buttons, catches or covers, so follow that model’s instructions rather than forcing the seat off (American Standard).